12
PFM-4000
Part Number 6Z8303
Installation and Setup
2
Place the flange machine in its permanent location, allowing enough space
for safe movement around it. Loosen the four bolts that attach the table to
the skid.
3
Remove the skid.
4
Locate the box containing the sewing head. Open the box and remove any
packing material from the sewing head.
5
Remove the sewing head from the box.
Installing the PFM-4000 Flange Machine
Install the flange machine in the following order:
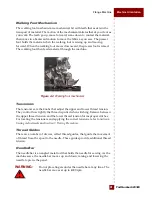
Synchronizer
The
synchronizer positions the
sewing head needles up or
down.
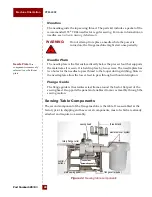
Flange Rack
The flange
rack holds the rolls of
flange material.
1
Assemble the belt guard.
2
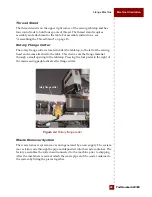
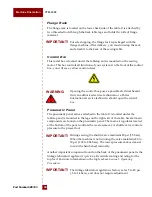
Position the synchronizer, the waste remover system, and the flange rack.
3
Assemble the thread stand.
4
Lubricate the sewing head.
5
Thread the sewing head.
Assembling the Belt Guard
Assemble the belt guard during the setup and installation of the machine. Do this
before attaching the synchronizer to the handwheel. To assemble the belt guard:
1
Place the sewing head in its designated operating position on the sewing
table.
2
Connect the V-belt to the sewing head and the motor pulley.
3
Attach the belt guard to the fixing screws using the belt guard locking
screws.
Positioning the Synchronizer, the Waste Remover
System, and the Flange Rack
Position the synchronizer, the waste remover system, and the flange rack after
assembling the belt guard. To ensure proper installation:
1
Attach the synchronizer to the handwheel and secure into position using a
3 mm hex key.
2
Position the waste pipe to the output of the trim waste remover system by
fitting the pieces together.
3
Stretch the cover over the top of the waste container.
4
Mount the flange rack assembly to the rear table legs using the two bolts
provided.


