English
English
English
Getting Started
Capturing Images
Transferring Files to Your Computer
1. Open the battery door.
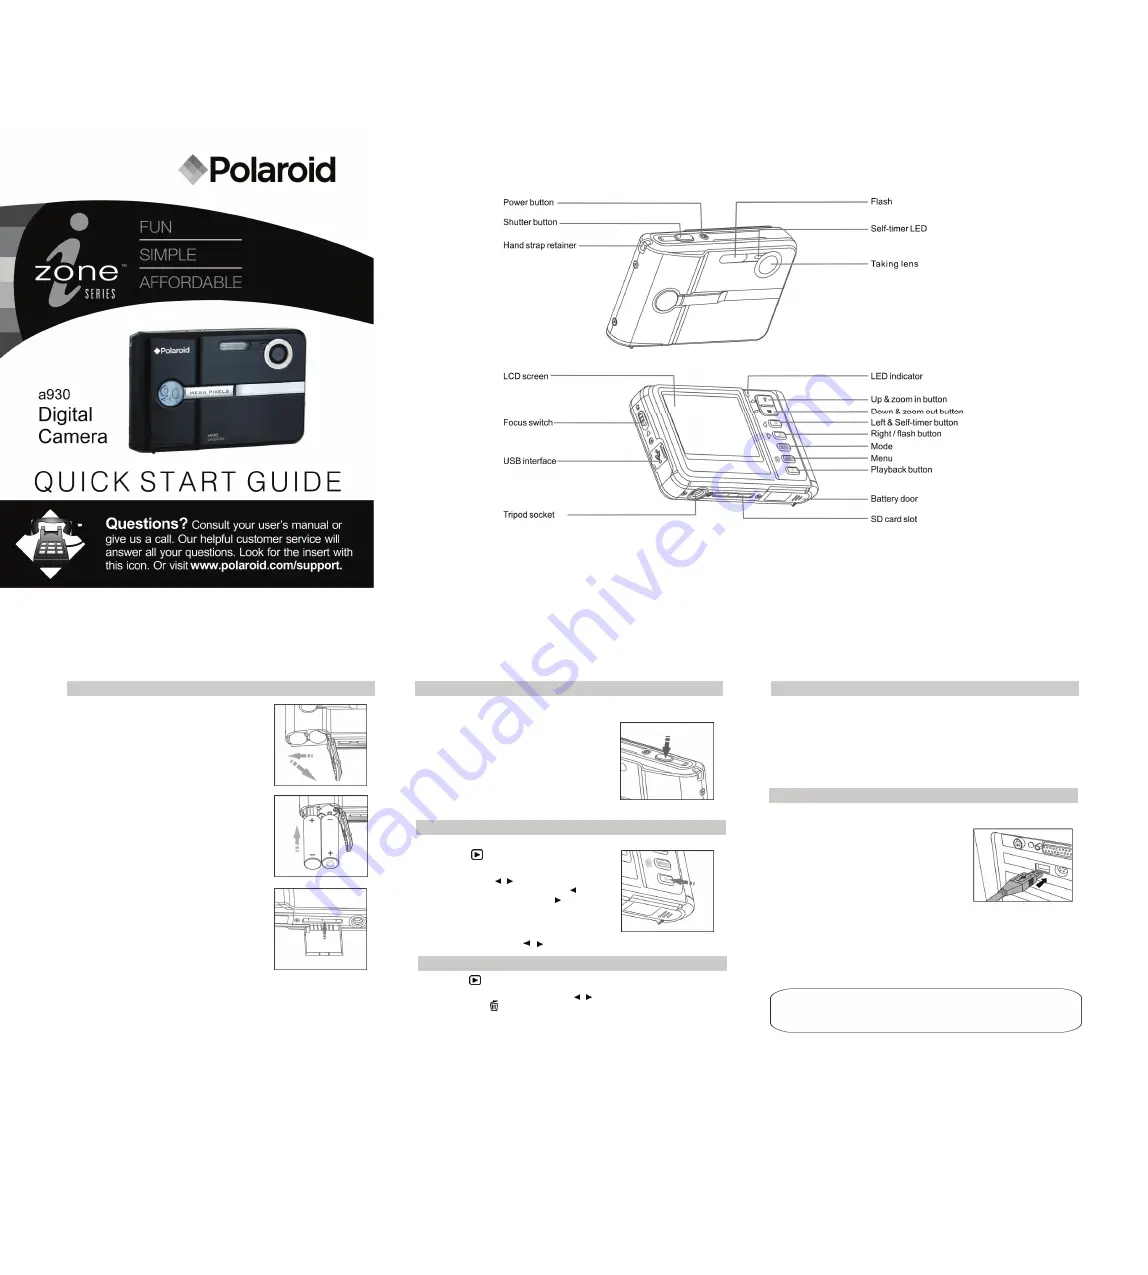
Your camera is equipped with a 2.4" full color LTPS-TFT LCD display to help you com-
pose images, playback recorded images/video clips or adjust menu settings.
1. Press the
Power
button to turn the power on.
2. Compose the image on the LCD display so that the
main subject is within the focus frame.
■
Pressing the
▲
T
button zooms in on the
subject, and enlarges the subject on the LCD
display.
3. Press the shutter button to capture the image.
Windows
■
Pentium III 800 or equivalent
■
Windows 2000/XP/Vista
■
256MB RAM (512 MB recommended)
■
150MB available hard disk space
■
CD-ROM drive
■
Available USB port
Macintosh
■
PowerPC G3/G4/G5
■
OS 9.0 or later
■
256MB RAM (512 MB recommended)
■
128MB available hard disk space
■
CD-ROM drive
■
Available USB port
2. Load the batteries with correct orientation as
shown.
3. Close the battery door and make sure it is
locked securely.
4. Insert an SD/SDHC memory card (Optional).
■
The camera has 16MB internal memory, but
you can load an SD/SDHC memory card
(SDHC memory card up to 4GB- we
recommend the use of Polaroid SD card; not
included).to expand the camera’s memory
capacity.
(We recommend the use of a
Polaroid SD card for your camera).
■
Be sure to format the memory card with this
camera before its initial usage.
See page
15 of the user guide to learn how to format
your SD card.
Playing Back Still Images
You can play back the still images on the LCD monitor.
1. Press the [
] button.
■
The last image appears on the screen.
2. The images can be displayed in reverse or forward
sequence with the / buttons.
■
To view the previous image, press the
button.
■
To view the next image, press the button.
3. Press the
▲
T
button to adjust the zoom ratio.
The magnification factor is displayed on the LCD
monitor.
4. To view different portion of the images, Press SHUTTER
once then press the
▲
/
▼
/ / button to adjust the display area.
Erasing Images
1. Press the [
] button.
■
The last image will be displayed on the screen.
2. Select the image you want to erase with the / buttons.
3. Press the
MENU
button.
4. Select [Delete] with the
▲
/
▼
buttons and press the SHUTTER button.
5. Select [This Image] or [All] with the
▲
/
▼
buttons, and press the
SHUTTER
button.
■
[This Image]: Erases the selected image or the last image.
■
[All]: Erases all of the images except for the protected images.
6. Select [OK] with the
▲
/
▼
buttons, and press the SHUTTER button.
■
To not erase, select [Cancel], and press the SHUTTER button.
Downloading Your Files
1. Connect one end of the USB cable to an
available USB port on your computer.
2. Connect the other end of the USB cable to the
USB terminal on the camera.
3. Select [PC Mode] using the
▲
/
▼
buttons, and press
the
SHUTTER button.
4. From the Windows desktop, double click on “My
Computer”.
5. Look for a new “removable disk” icon.
■
This “removable disk” is actually the
memory (or memory card) in your camera.
Typically, the camera will be assigned drive
letter “e” or higher.
6. Double click on the removable disk and locate the DCIM folder.
7. Double click on the DCIM folder to open it to find more folders.
■
Your recorded images and video clips will be inside these folders.
8. Copy & Paste or Drag-N-Drop image and video files to a folder on your computer.
Mac users:
Double-click the “untitled” or “unlabeled” disk drive icon on your desktop. iPhoto
may automatically launch.
For more information on how to use your new digital camera, please refer
to your user guide or visit www.polaroid.com. Please install Adobe
®
Acrobat
®
Reader
TM
in order to read the user guide.
“Polaroid” and “Polaroid and Pixel” are trademarks of Polaroid Corporation.


