


CHAPTER 3. THE POLAR3D PRINTER LOCAL WEB INTERFACE
68
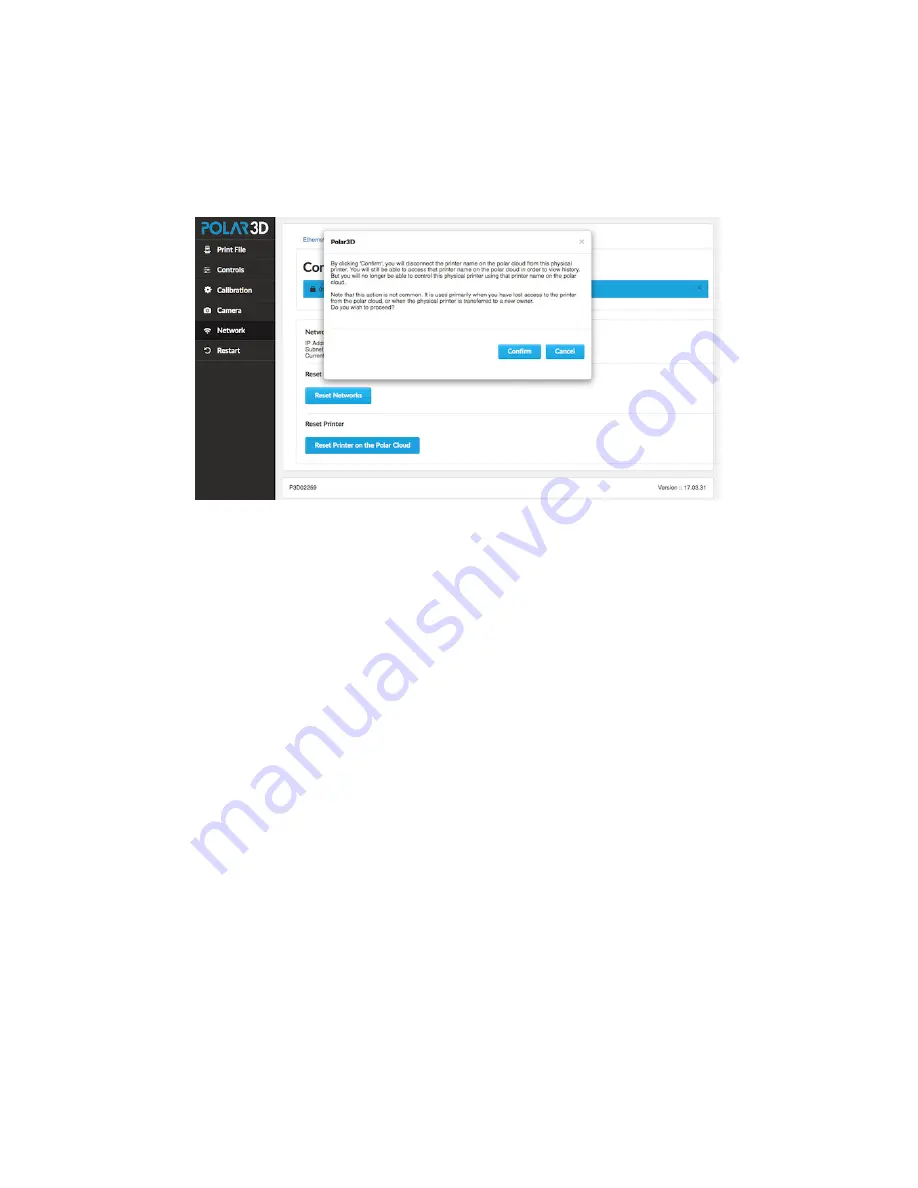
Figure 3.9:
Reset Printer on the Polar Cloud
confirmation check
Thus both the buttons “
Reset Networks
” and even more so
“
Reset Printer on the Polar Cloud
” are primarily of inter-
est when
transferring the printer to another owner
.
3.1.6
The
Update
tab
An “
Update
” tab (update icon) will only be present on the Po-
lar3D printer local web interface main menu at times when the
printer is connected to the Internet and an update to printer
firmware has been made available from Polar 3D.
At such a time, clicking the “
Update
” tab (update icon) at
the Polar3D printer local web interface main menu will show
you a summary of any current update, and ask if you wish to
apply that update; see Figure


