TECHNICAL SUPPORT: [email protected] | (760) 727-0300
PG. 17
THIS DOCUMENT IS PROPRIETARY AND CONFIDENTIAL. © 2021 PRECISION MEASUREMENT ENGINEERING, INC. ALL RIGHTS RESERVED.
2.2 miniWIPERControl
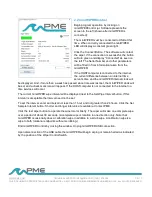
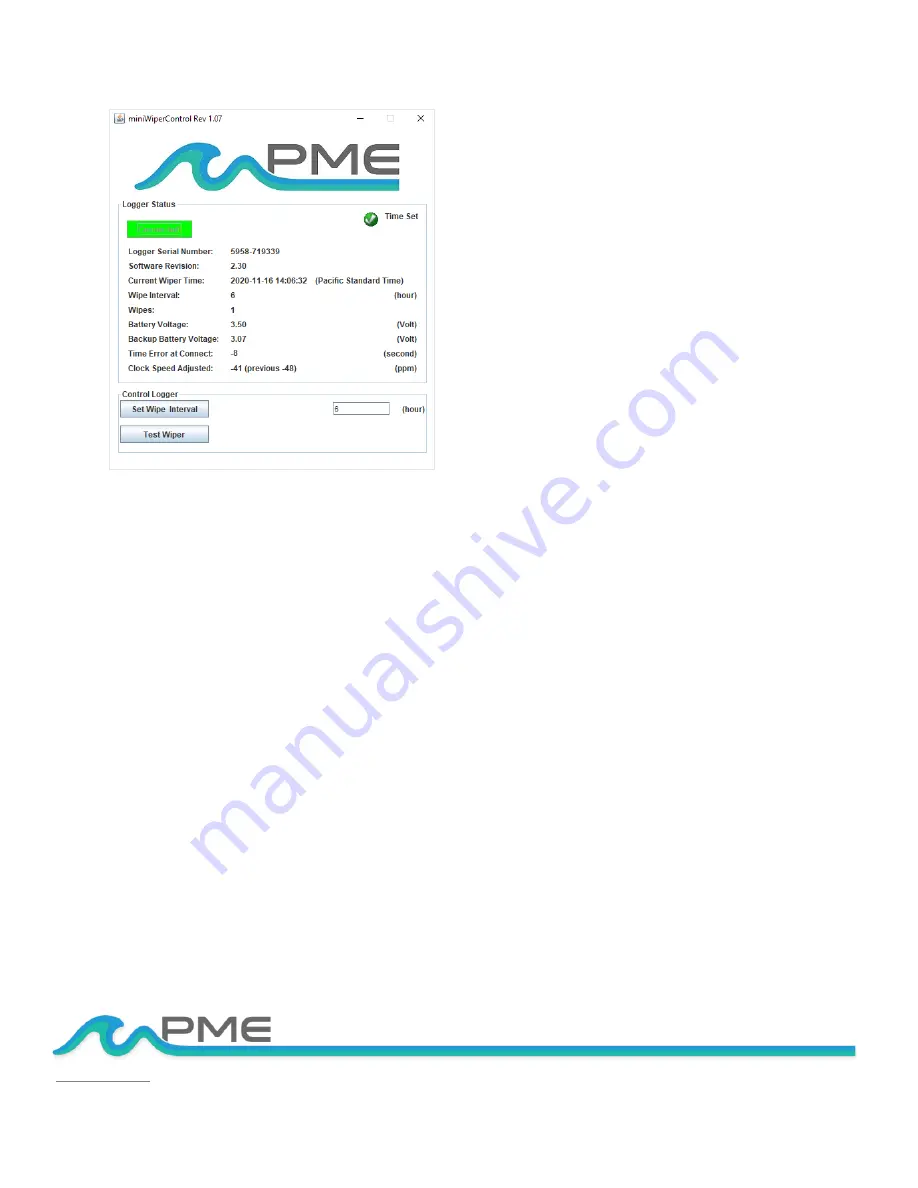
Begin program operation by clicking on
miniWIPERControl.jar. Software presents the
screen to the left (shown after miniWIPER is
connected):
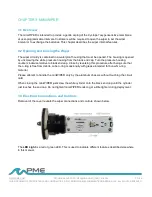
The miniWIPER must be connected to USB at this
time. When correctly connected the miniWIPER
LED will display a constant green light.
Click the Connect Button. The software will contact
the wiper. If the connection is successful, the button
will turn green and display “Connected” as seen on
the left. The Serial Number and other parameters
will be filled in from information taken from the
miniWIPER.
If the HOSTcomputer is connected to the internet,
the current difference between an internet time
server’s time and the miniWIPER internal clock will
be displayed. And, if more than a week has passed since time was last set, the miniWIPER clock will
be set and a check mark icon will appear. If the HOSTcomputer is not connected to the internet no
time services will occur.
The current miniWIPER wipe interval will be displayed next to the Set Wipe Interval button. If this
interval is acceptable the interval need not be set.
To set the interval, enter an interval not less than 1 hour and not greater than 24 hours. Click the Set
Sample Interval button. Shorter and longer intervals are available. Contact PME.
Click the test wiper button to operate the wiper motor briefly. The wiper will make one complete wipe
over a period of about 30 seconds. (A complete wipe is rotation in one direction only. Note that
miniWIPER occasionally does a calibration wipe in addition to a scrub wipe. A calibration wipe is a
wipe to both rotational endpoints without scrubbing.)
End miniWIPER Control by closing the window. Unplug miniWIPER USB connection.
Upon disconnection of the USB cable the miniWIPER will begin wiping or remain halted as indicated
by the position of the Wiper Control Switch.


