20
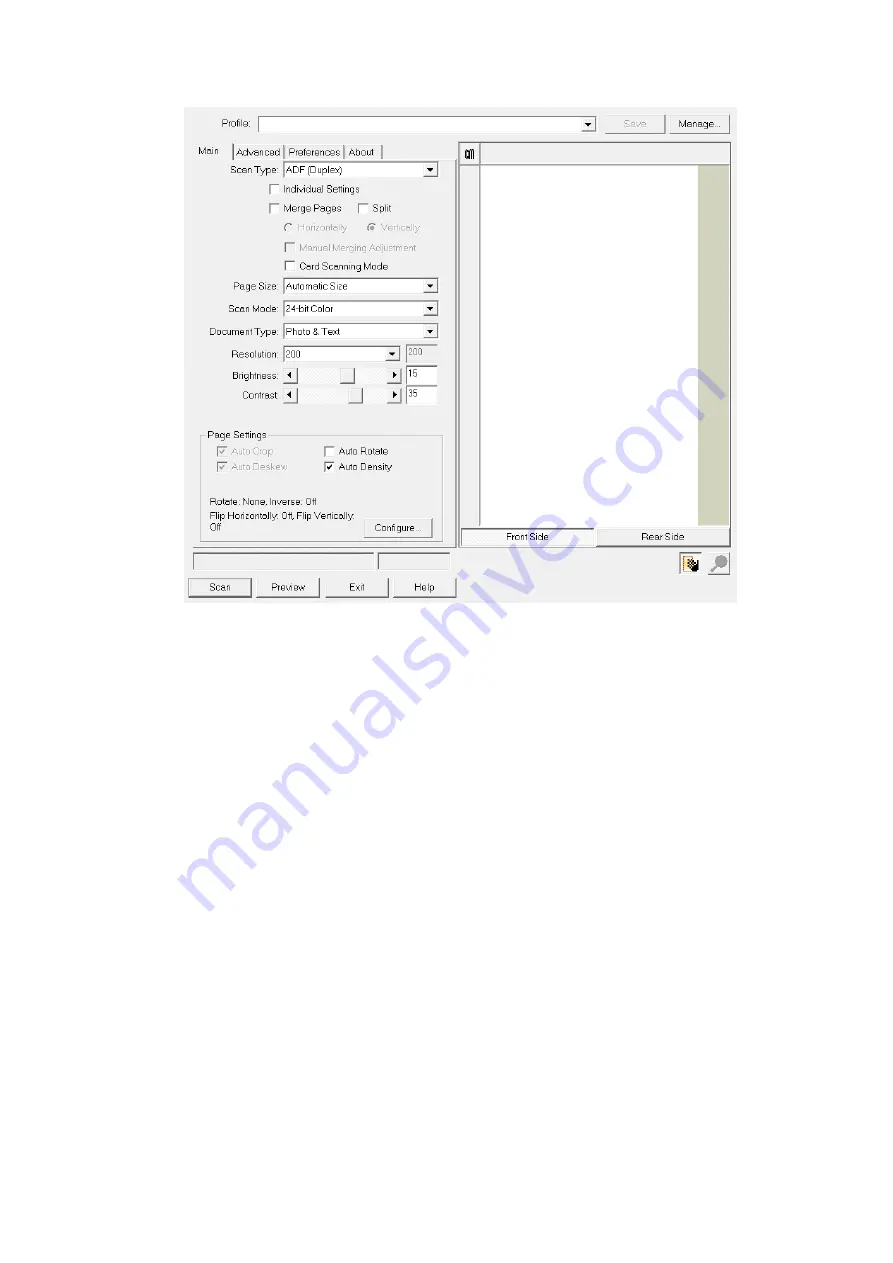
4. Adjust the scanning settings (Paper Size: Automatic Size, Resolution: 300). For
ADF (Duplex)
scan, you can tailor settings individually for front and rear sides
of the business cards. Click
Front Side
button to adjust the scanning settings
of front side and then click
Rear
Side
button to adjust the scanning settings of
rear side.
5. Load one business card and click the
Preview
button. The scanned image
should appear in the Preview Window.
6. Load all business cards and click the
Scan
button.
7. The scanned images are displayed in the Presto! BizCard main window, and
you may proceed OCR to convert images into editable text formats.
Click the
Help
button within the TWAIN window for more information about the
settings.
Scanning from the Scanner’s Front Panel
To complete your scanning projects by using the scanner buttons is very easy and
convenient. The number of scanning task displayed on the scanner’s front panel is
configured through DocAction. DocAction offers you quick access to the most
frequently-used scanning functions. They are especially useful when you need to
repeatedly scan with the same settings and send images to the same destination.
Before performing your first scan via scanner buttons, you are recommended to
configure the button settings to your needs and preferences first.
Summary of Contents for P2-P42
Page 1: ...For Windows User P2 P42 For Mac User P43 P78 ...
Page 2: ...Installation Usage Maintenance ...
Page 39: ...35 Dimensions W x D x H 263 x 132 x 148 mm 10 36 x 5 19 x 5 83 Protocol ISIS TWAIN Compliant ...
Page 43: ...Installation Usage Maintenance ...
Page 55: ...10 ...
Page 73: ...28 ...
Page 75: ...30 Dimensions W x D x H 263 x 132 x 148 mm 10 36 x 5 19 x 5 83 Protocol TWAIN Compliant ...


