4
8. Double click the
“vcredist_x86.exe” file in your language on the CD-ROM to install the “Microsoft
Visual C++ 2008 SP1 Redistributable Package (x86)
”.
Attention
: If you are running on
Windows XP / 8, you must install this patch before you can start monitoring. Otherwise please
proceed with the next step.
9.
Run the “Network Device Search Tool” application on the CD-ROM to search for NVRs.
10. Your NVR works properly when the NVR appears in the Network Device Search Tool window.
11. Double-
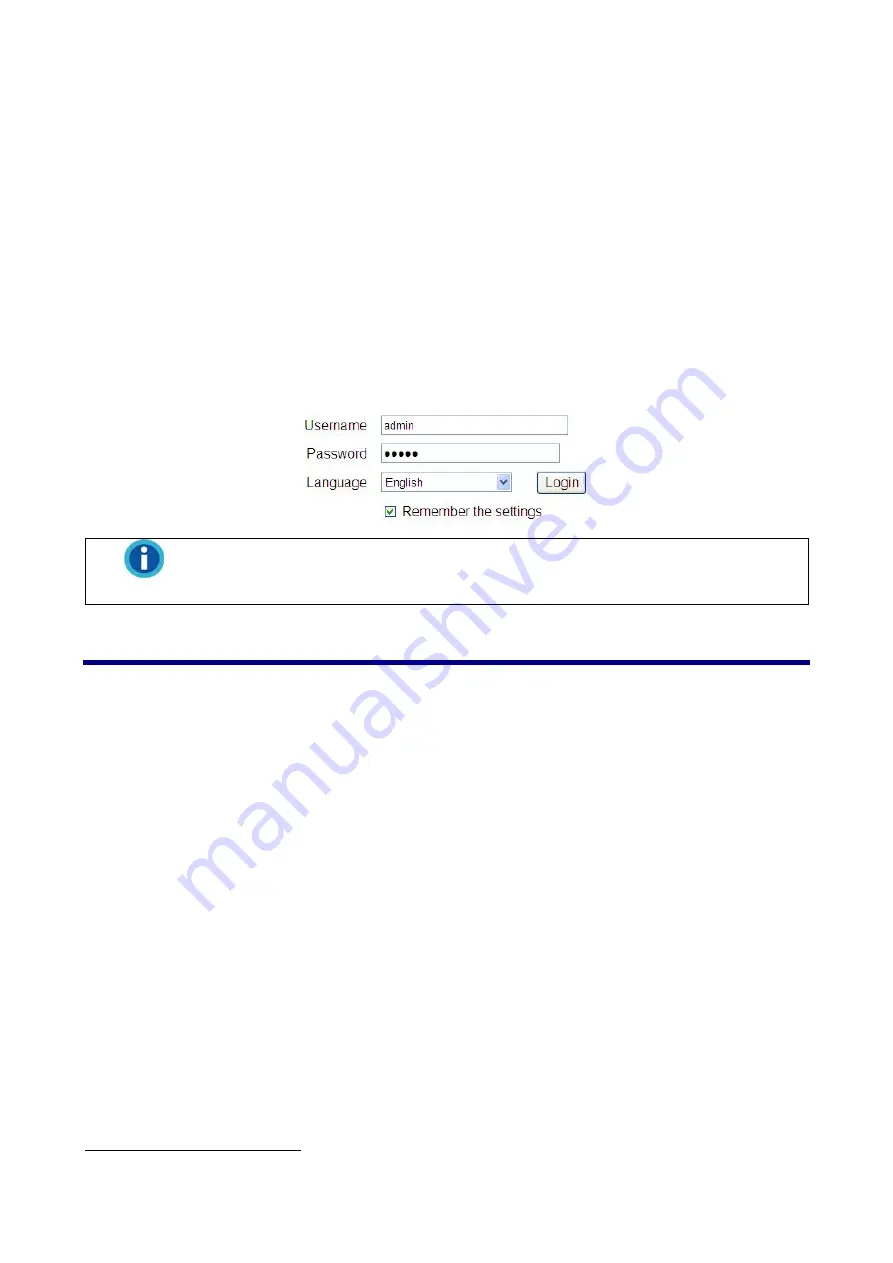
click on your NVR. The NVR’s login page should be opened automatically. Enter the
NVR’s “Username” and “Password” and change the “Language” if necessary, then click on the
“Login” button to log in to the NVR. The “admin” and “admin” are the default user name and
password for your first login of the NVR as Administrator. If you are prompted to install an
element required to view the live view page of the NVR, please follow the on-screen instructions
to install the element.
Information
You can visit our website to download the free Multi-NVR Viewer program.
Easy Accessibility with EasyLink and UDID
1
The EasyLink program allows you to easily connect to your NVR from any computer using the
NVR’s
U
nique
D
evice
Id
entification
(UDID).
How to obtain the UDID
Method I
– by using a USB drive
1. Connect a USB drive to the NVR.
2.
Press the “Multi-function” button.
3. The NVR will beep and copy the files required to establish a connection via EasyLink to the USB
drive (including a .bmp file containing a QR-code image with the UDID).
4. The NVR will beep twice to indicate that the files have been copied successfully. Please wait 5
seconds before removing the USB drive from the NVR.
Method II
– by using a mobile device
1. Scan the QR-code on the side of the device with your mobile device to obtain the 20-digit UDID.
Note:
An application capable of scanning QR-codes is required.
1
This feature is available with “P” series products.


