4-Wire Intercom Connectivity
Connect to the CU
Connect a matrix intercom system to the CU’s 4-Wire intercom ports (labeled 3–4 on CCU-22 and labeled 5–8 on
CCU-44). Then, configure the connection either via CU or CrewWare.
Configure a 4-Wire Connection via CU
Always confirm that the non-Pliant 4-Wire intercom system and the CrewCom wireless system are functioning
properly separately before connecting them together. Use the procedures below to configure the 4-Wire connection
from the CU's Wired Settings menu.
Tip
: See
"Intercom Settings Menu" on page 52
for more information about navigating this CU menu.
Under the
Wired Settings
menu, select
Intercom Settings
:
1. Use the Navigational controls to navigate to the desired setting for a 4-Wire port (CCU-22 ports 3 and 4; CCU-
44 ports 5 through 8).
A. For intercom type, press
Enter
to turn the port on or off; use the navigation buttons to scroll through
the list, and press
Enter
when the desired setting is highlighted.
B. If desired, enable Echo Cancellation (ECAN) for the 4-Wire ports. See the Echo Cancellation section of
"Intercom Settings Menu" on page 52
for more information.
2. Now that your settings are established, connect the 4-Wire intercom system to the appropriate ports via RJ-45
cables/connectors.
3. Adjust in/out audio levels between the CrewCom System and the 4-Wire intercom system as needed.
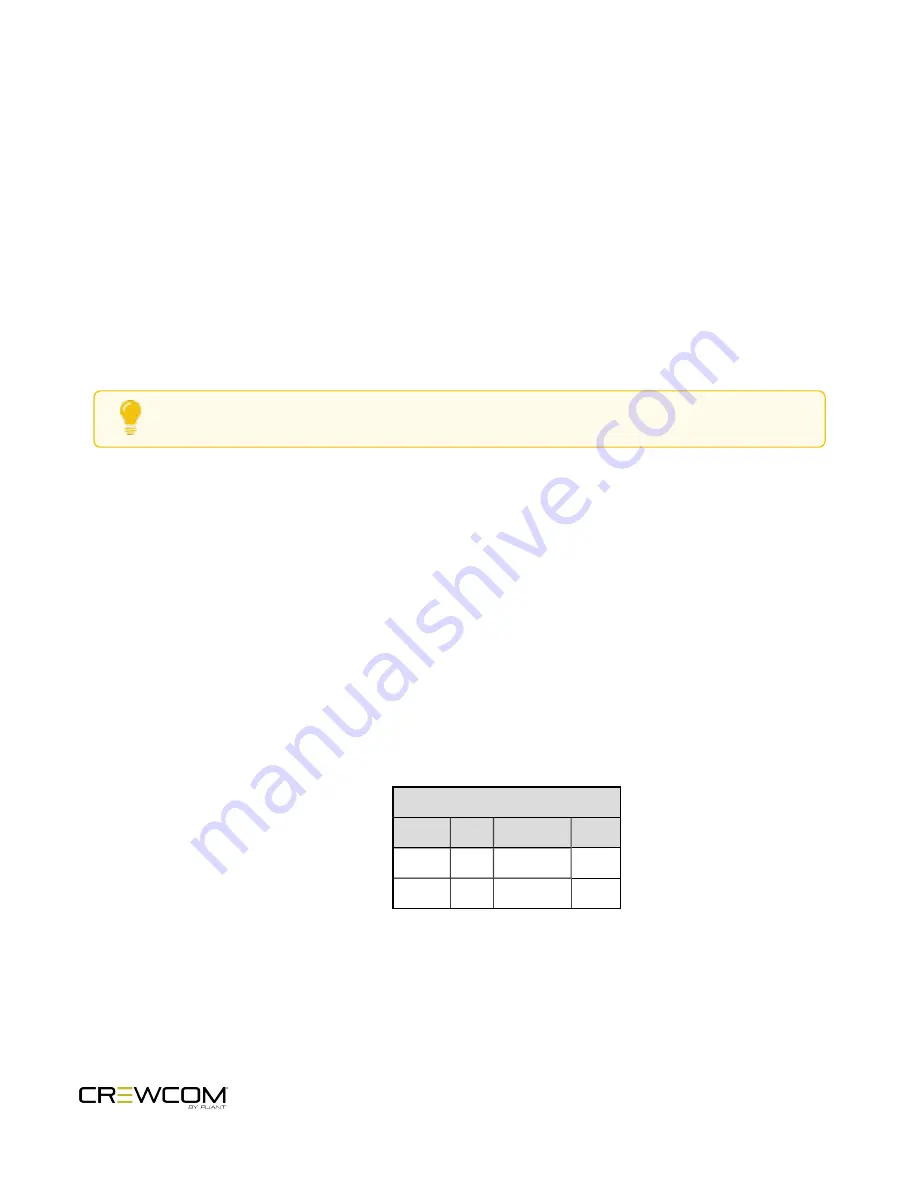
A. With appropriate mic gain settings and expected nominal levels from the interfaced system, the 4-wire
settings you can expect to see for RTS, Clear-Com, and Riedel are provided in the table below.
4-Wire Intercom Settings
RTS
Clear-Com Riedel
4W OUT +2
-3
+1
4W IN
-2
+3
-1
Operation - 58
Summary of Contents for Crewcom CCU-22
Page 1: ...Control Unit OPERATING MANUAL...
Page 2: ...ii...


