background image

Important


– Please read these instructions fully before assembly or using

These instructions contain important information which will help you get the best from your 

equipment and ensure safe and correct assembly, use and maintenance. 

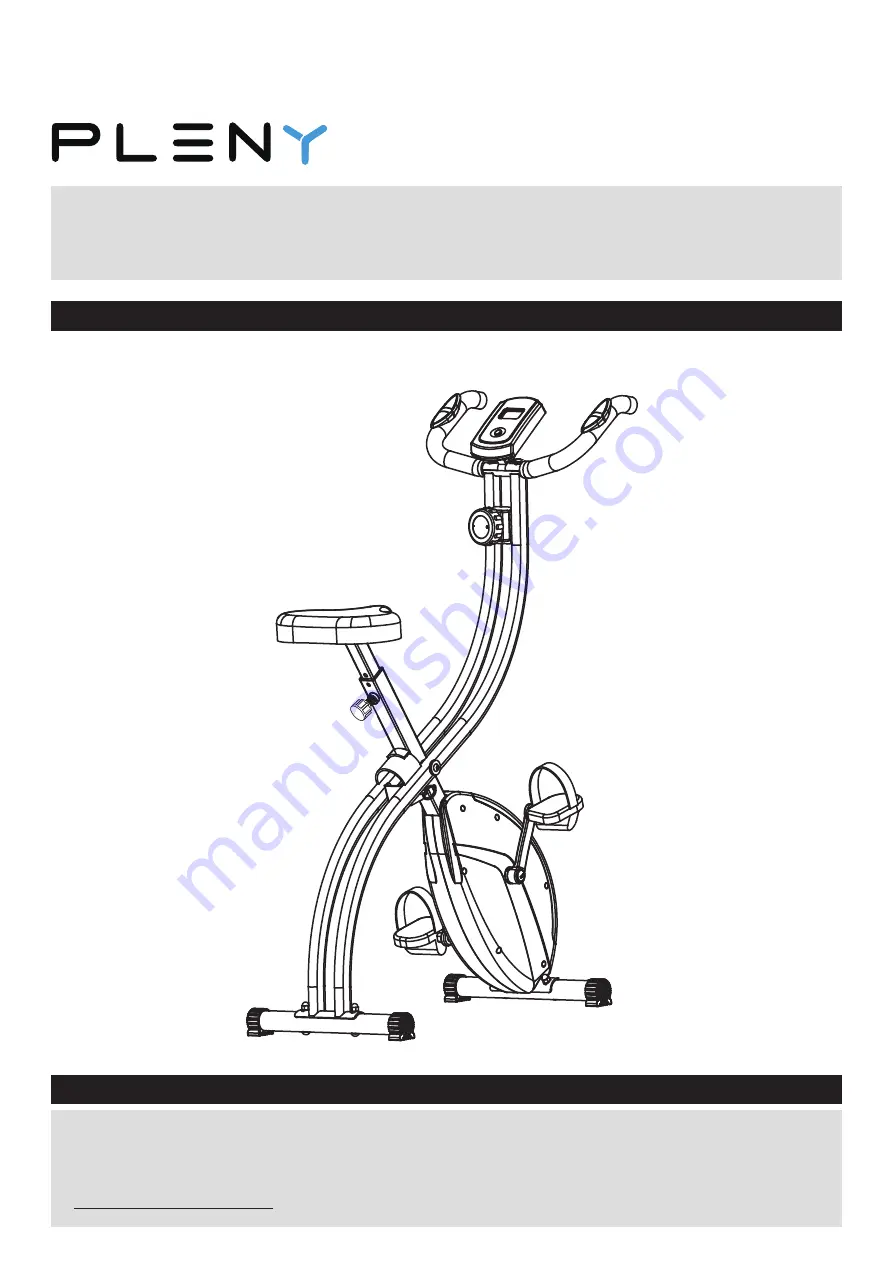
Folding Exercise Bike

Assembly &


User Instructions 

- Please


keep


for future reference


TM

If you need help or have damaged or missing parts, contact Customer Service: 

[email protected]

Summary of Contents for Folding Exercise Bike

Page 1: ...t information which will help you get the best from your equipment and ensure safe and correct assembly use and maintenance Folding Exercise Bike Assembly User Instructions Please keep for future refe...

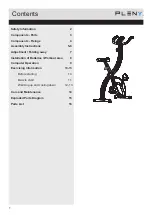
Page 2: ...nstructions Computer Operation Exercising Information Before starting Muscle chart Warming up and cooling down Care and Maintenance Exploded Parts Diagram Parts List 2 3 4 5 6 9 Adjustment Folding awa...

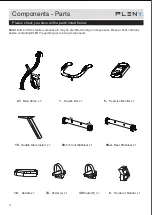
Page 3: ...tted to larger components Please check carefully before contacting PLENY regarding any missing components 21 Main frame x 1 6 Holder of Monitor x 1 50 1 Front Stabiliser x 1 50 2 Rear Stabiliser x 1...

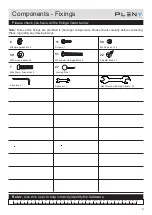
Page 4: ...lp correctly identify the hardware 0 5 10 15 20 25 30 35 40 45 50 55 60 65 70 75 80 85 90 95 100 110 115 120 125 130 135 140 145 150 155 160 165 170 105 Components Fixings 51 M8 x50mm Carriage Blot x...

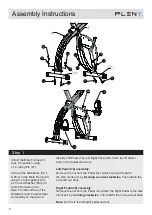
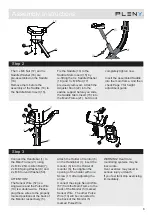
Page 5: ...50 1 27 21 TM 58 59 51 51 58 59 59 58 58 59 51 51 39 74 39 nut Identify Left Pedal 74 and Right Pedal 39 there is L R sticker both on the pedal and crank Left Pedal 74 assembly Remove the nut from the...

Page 6: ...se Wire 13 will be connected to the back of the Monitor 5 marked Pulse Wire WARNING Heart rate monitoring systems may be inaccurate Over exercise may result in serious injury or death If you feel fain...

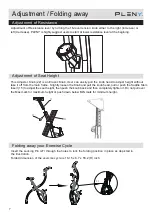
Page 7: ...ace as depicted in the illustration Folded dimension of the exercise cycle is 16 15 x 6 7 x 55 2 H inch Adjustment of Resistance 1 4 7 10 1 3 1 6 27 15 22 21 TM This Adjuster Knob 22 is an Elastic Kno...

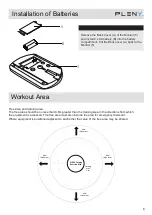
Page 8: ...training area The free area should be no less than 0 6m greater than the training area in the directions from which the equipment is accessed The free area must also include the area for emergency dis...

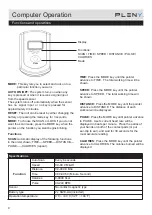
Page 9: ...s the MODE key when the pointer on the function you want begins blinking TIME Press the MODE key until the pointer advance to TIME The total working time will be shown SPEED Press the MODE key until t...

Reviews: