9 INSTALLING THE DIGITAL SYSTEM
34 Planmeca ProOne
Installation Manual
To change the gateway IP address, touch the Gateway
field and enter the new
address on the number keyboard that appears. Save the new gateway IP address by
touching the green check mark button, or exit the number display by touching the red
cross button.
NOTE
The IP, Netmask and Gateway addresses have to be static and specified by the service
technician/local administrator to be used only for this configuration.
Exit the Network settings (U1400)
display by touching the green check mark button in the
bottom right corner of the display.
Then connect the other end of the Ethernet cable to the Ethernet network. Note that you
may have to reboot the ProOne X-ray unit.
9.3 Checking the Ethernet link communication
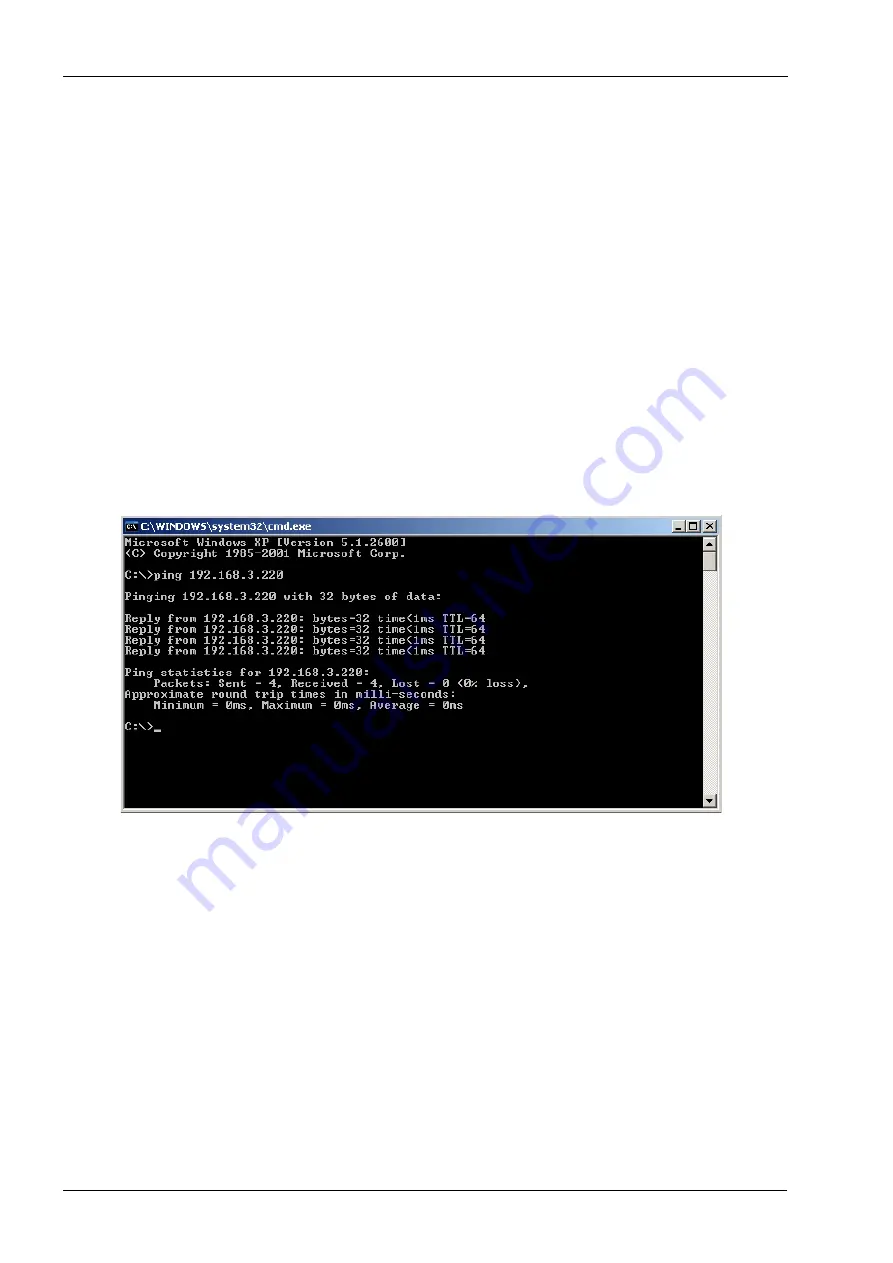
The Ethernet link communication from the PC to the ProOne X-ray unit can be checked by
opening the Command Prompt and executing the command “ping <ProOne IP address>”,
e.g. ping 192.168.3.220.
The ProOne X-ray unit will send a reply message (4 packets) if the Ethernet link is up and
running.
NOTE
If you do not receive a reply message (e.g. Time-out signal) the Ethernet link is not working
properly.
9.4 Installing the Romexis imaging software
Install the software according to the instructions given in the software technical manual.
9.5 Sensor calibration files
On Planmeca ProOne X-ray units, sensor calibration files are stored on the memory chip
of the X-ray unit. You do not need to install sensor calibration files via DIDAPI
Configuration.
Summary of Contents for ProOne
Page 1: ...PlanmecaProOne EN 10016257_12 installation manual ...
Page 2: ......
Page 38: ...10 POST INSTALLATION CHECK LIST 36 Planmeca ProOne Installation Manual ...
Page 39: ...11 DIAGRAMS Installation Manual Planmeca ProOne 37 11 DIAGRAMS ...
Page 40: ......
Page 41: ......
Page 43: ......
Page 45: ......
Page 47: ......
Page 49: ......
Page 51: ......
Page 53: ......
Page 55: ......
Page 56: ......


