Pitco and RSE14 Installation & Operation Manual Download Page 1

Pitco Frialator, Inc.,

P.O. Box 501, Jct I-89 & I-93 Concord, NH 03302-0501 • 509 Route 3A, Bow, NH 03304
(800) 258-3708 • (603) 225-6684 • FAX (603) 225-8497

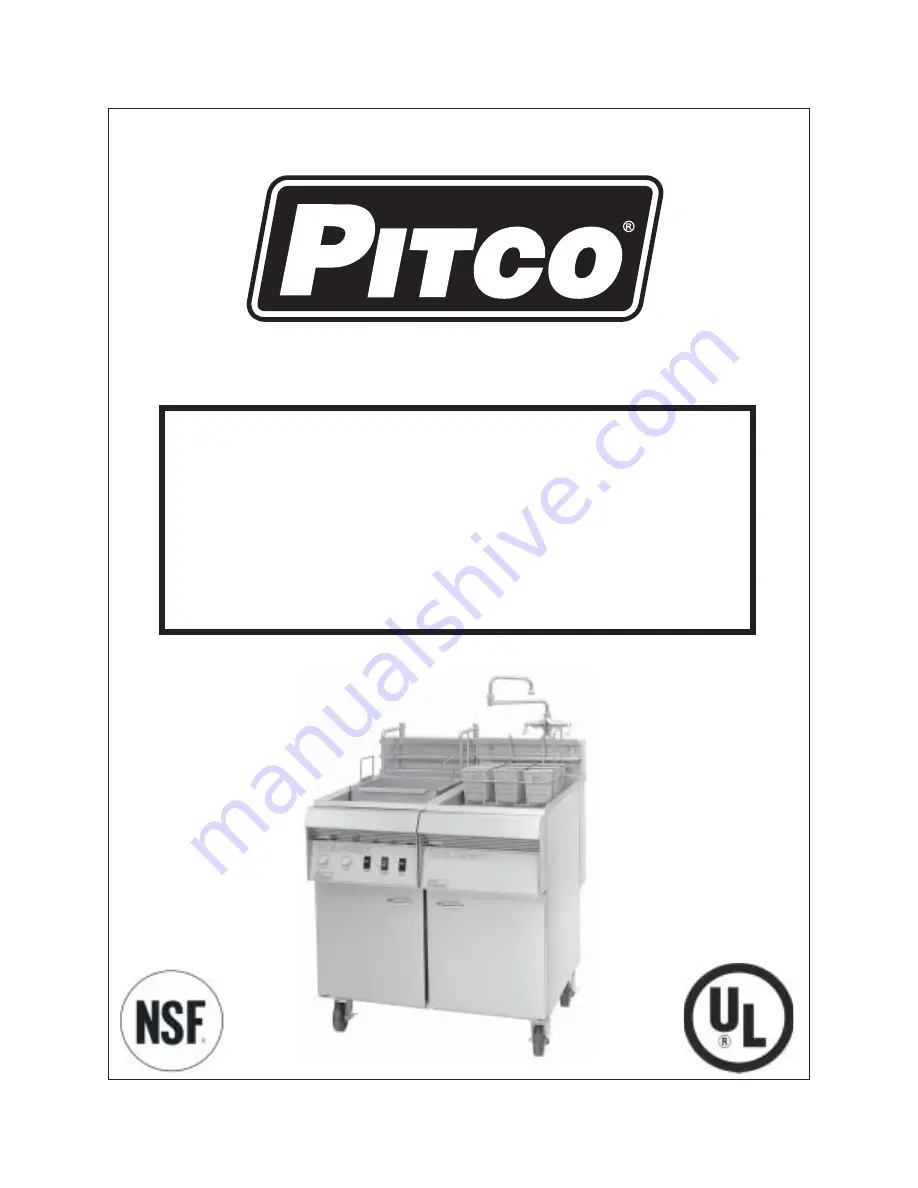
Installation, Operation, and Maintenance Manual

For the

Electric Pasta Cookers Including Options

Covering Models

PPE14-L, PE14, and RSE14

Summary of Contents for and RSE14

Page 1: ...I 89 I 93 Concord NH 03302 0501 509 Route 3A Bow NH 03304 800 258 3708 603 225 6684 FAX 603 225 8497 Installation Operation and Maintenance Manual For the Electric Pasta Cookers Including Options Cov...

Page 2: ...MTS PF35 02 Pitco Frialator L20 093 Original Rev Date 08 01 94...

Page 3: ...with your new cooker before operating it and heed the notices throughout this manual The WARNINGS are listed below and on the following pages for your review prior to operating the cooker FOR YOUR SAF...

Page 4: ...plug This safety plug protectsoperatorsfromelectricalshockintheeventofanequipmentmalfunc tion DO NOT remove the grounding third prong from this plug WARNING Be sure the heating elements are COMPLETELY...

Page 5: ...ections 1 3 1 3 3 Electrical Connection 1 4 1 3 4 Ventilation and Fire Safety Systems 1 5 1 3 4 1 Fire Fighting System 1 5 1 3 4 2 Ventilation 1 5 1 3 5 Inspection 1 6 1 4 INITIAL ADJUSTMENTS 1 6 1 4...

Page 6: ...Table of Contents Section Title Page 3 1 THERMOSTAT CALIBRATION 3 1 3 2 CHECKING AND REPLACING FUSES 3 1 3 3 MAINTENANCE 3 2 3 3 1 Basket Lift Lubrication 3 2 3 4 OPERATOR TROUBLESHOOTING 3 3 ii...

Page 7: ...iii List of Tables Table Title Page 1 1 Electrical Requirements For Pasta Perfect Cooker Models 1 5 1 2 Ventilation and Fire Safety References 1 6...

Page 8: ......

Page 9: ...e or the warm mode and a drain and overflow The rinsing holding section consists of a stainless steel well a swing away hot and cold water faucet and a drain and overflow 1 1 INSPECTING YOUR NEW COOKE...

Page 10: ...washer nut assemblies These parts are sup plied with the cooker d Mount the screws from the inside of the cooker with the lock washer and nut on the outside of the cooker as shown in the adjoining il...

Page 11: ...nstruction Back 6 0 Sides 6 0 Floor 6 6 1 3 2 Plumbing Connections The plumbing installation must be done by a licensed plumber and must comply with local and national codes 1 3 2 1 Water Inlet Connec...

Page 12: ...age The cooker is shipped with internal wiring configured to support the voltage and phase requirements ordered The wiring configuration can be verified by comparing the schematic supplied with the co...

Page 13: ...list of reference documents that provide guidance on ventilation and fire safety systems This table may not be complete and other nationally recognized standards may apply Table 1 1 Electrical Require...

Page 14: ...s will be needed to perform these adjustments Digital Thermometer Temperature probe Table 1 2 Ventilation and Fire Safety References Topic Underwriter Laboratory Document Grease Extractor ANSI UL 710...

Page 15: ...anually filled NOTICE If cold water is used to fill the cooker it will take at least twenty 60 minutes for the cooker to reach operating temperature 1 4 3 Initial Cleaning WARNING The tank must be fil...

Page 16: ...e Drain the water f When the tank has cooled rinse it thoroughly with cool water Continue to rinse the tank until all detergent has been rinsed from the tank g Now that the tank is clean the cooker c...

Page 17: ...small amounts 2 2 COOKER START UP a Ensure the drain valve is closed b Fill the cooking tank with clean water c Place the POWER switch in the ON position The POWER switch ON light will light and the F...

Page 18: ...liftthepasta out of the water g Hang the basket on the rinse section rack and rinse the pasta thoroughly with cold water This will stop the cooking action prevent sticking and remove dissolved starch...

Page 19: ...Pitco cleaner if Pitco cleaner is not available mild detergent may be used d Turn the POWER switch ON e TurntheFUNCTIONSELECTswitchtoSIMMERandallowthecookertoreachnormal operating temperature f Allow...

Page 20: ...2 4...

Page 21: ...use the following procedure a Place an accurate thermometer in the center of the cooking tank with the bulb approximately 3 below the surface of the water Allow enough time for the thermometer to stab...

Page 22: ...re located in bayonet type fuse holders located on the outside of the entrance box The entrance box cover does NOT have to be removed to check these fuses 2 Remove each fuse from its holder by pushing...

Page 23: ...3 4 OPERATOR TROUBLESHOOTING This section is provided to aid troubleshooting in the event of cooker failure If this troubleshooting guide does not help correct the problem contact a qualified technic...

Page 24: ...3 4...

Page 25: ...3 5...

Page 26: ...3 6...

Reviews: