background image

En

12

<J2M22501A>

12

Playing files stored on USB 

devices

  The player may not recognize the USB device, may 

not play files or may not supply power to the USB 
device. For details, see 

When a USB device is con-

nected

 on page 19.

  Pioneer does not support that all files recorded on 

all USB devices will play or that power will be sup-
plied to the USB device. Also note that Pioneer will 
accept no responsibility whatsoever for loss of files 
on USB devices caused by connection to this player.

1  Turn the power on.

Press 


STANDBY/ON

.

2  Switching the input to the USB mode.

Press 

DVD/USB

.

USb

 is displayed on the front panel display.

3  Connecting USB devices.

The Disc Navigator appears automatically.

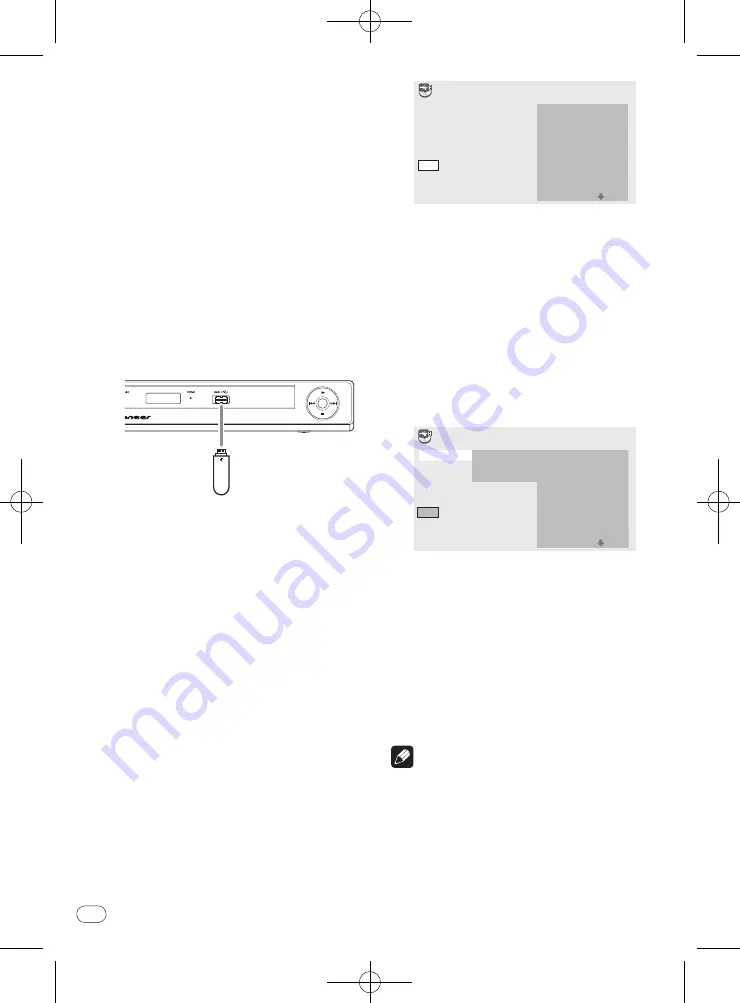
USB device

To USB port

4  Starts playback.

Use 

/


/


/


 to select the file, then press 

ENTER

.

  Turn the power off before removing the USB device.

  The input will remain in the USB mode the next time 

the power is turned on. To return to the DVD mode, 
press 

DVD/USB

 (or press 


OPEN/CLOSE

 to open 

the disc tray).

Recording audio CD tracks 

on USB devices

  The tracks of audio CDs loaded in the player can be 

recorded on a USB device connected to the USB 
port.

  It may not be possible to record tracks of audio CDs 

on a USB device. For details, see 

When a USB device 

is connected

 on page 19.

Recording all the tracks

1  Load the audio CD.

  If playback starts automatically, press 


STOP


to stop playback.

2  Display the CD -> USB Rec screen.

Press 

USB REC

.

CD –> USB Rec

Select Track
Bitrate

Start
Selected Track

Total Time

Track  1–13

Track01

Track02

Track03

Track04

Track05

Track06

Track07

Track08



01:43



03:17



04:18



04:59



04:20



04:38



04:40



04:11



128kbps



13



055:07

3  Start recording.

Use 

/


/


/


 to select 

Start

, then press 

ENTER

.

Selecting the track(s) to be 

recorded

1  Load the audio CD.

  If playback starts automatically, press 


STOP


to stop playback.

2  Display the Home Menu.

Press 

HOME MENU

.

3  Select CD -> USB Rec.

Use 

/


/


/


 to select, then press 

ENTER

.

Start

Selected Track
Total Time



00



000:00

Select Track
Bitrate

Individual
Select All
All Clear



01:43



03:17



04:18



04:59



04:20



04:38



04:40



04:11

Track  1–13
Track01
Track02
Track03
Track04
Track05
Track06
Track07
Track08

CD –> USB Rec

4  Select Select Track 

 Individual 

 the 

track(s) you want to record.

Use 

/


/


/


 to select.


Individual

: Select 1 track at a time.


Select All

: Select all the tracks.


All Clear

: Deselect all the tracks.

5  Select Bitrate (transfer rate).

Use 

/


/


/


 to select, then press 

ENTER

.

  Select 

128kbps

192kbps

 or 

320kbps

.

6  Start recording.

Use 

/


/


/


 to select 

Start

, then press 

ENTER

.

 Notes

  The audio signals are converted into MP3 format for 

output.


CD -> USB Rec

 can only be selected when the audio 

CD is stopped.

  When recording is completed, a folder named 

“PIONEER” is automatically created on the USB 
device. The recorded tracks are stored in this folder.

Summary of Contents for DV-120-K

Page 1: ... J2M22501A 1 DV 220V K DVD Player Operating Instructions Discover the benefits of registering your product online at http www pioneer co uk or http www pioneer eu ...

Page 2: ...nvironment temperature and humidity 5 C to 35 C 41 F to 95 F less than 85 RH cooling vents not blocked Do not install this unit in a poorly ventilated area or in locations exposed to high humidity or direct sunlight or strong artificial light D3 4 2 1 7c _A1_En WARNING This equipment is not waterproof To prevent a fire or shock hazard do not place any container filled with liquid near this equipme...

Page 3: ...atteries please contact your local municipality your waste disposal service or the point of sale where you purchased the items These symbols are only valid in the European Union For countries outside the European Union If you wish to discard these items please contact your local authorities or dealer and ask for the correct method of disposal K058a_A1_En Symbol examples for batteries Symbol for eq...

Page 4: ...isplay on main unit display window 11 Playing files stored on USB devices 12 Recording audio CD tracks on USB devices 12 Playing in the desired order Programmed Play 13 Changing the settings Audio Settings parameters 14 Video Adjust parameters 14 Initial Settings parameters 14 Playable discs and files Playable discs 16 Playable files 17 Additional information Troubleshooting 18 Language Code Table...

Page 5: ...nto flames or water Batteries may have different voltages even if they are the same size and shape Do not use different types of batteries together To prevent leakage of battery fluid remove the batteries if you do not plan to use the remote control for a long period of time 1 month or more If the fluid should leak wipe it carefully off the inside of the case then insert new batteries If a battery...

Page 6: ... trans ferred to an HDMI compatible TV on a single cable with no loss of picture or sound quality After connecting make the player s resolution and HDMI color settings according to the HDMI compatible TV Also refer to the HDMI compatible TV s operating instructions HDMI the HDMI Logo and High Definition Multimedia Interface are trademarks or registered trademarks of HDMI Licensing LLC Notes This p...

Page 7: ...44 1 kHz to 96 kHz 16 bit 20 bit 24 bit 2 channel linear PCM audio including 2 channel downmixing Dolby Digital 5 1 channel audio DTS 5 1 channel audio MPEG audio Manufactured under license from Dolby Laboratories Dolby and the double D symbol are trademarks of Dolby Laboratories Manufactured under license under U S Patent 5 451 942 other U S and worldwide patents issued pending DTS and DTS Digita...

Page 8: ...e settings and move the cursor ENTER Use this to implement the selected item or enter a setting that you have changed 7 HOME MENU Press to display hide the Home Menu Audio Settings Play Mode Disc Navigator Initial Settings Video Adjust HOME MENU DVD CD USB Rec Audio Settings page 14 Video Adjust page 14 Play Mode PLAY MODE on page 8 Disc Navigator MENU on page 9 Initial Settings page 14 CD USB Rec...

Page 9: ...LEAR Press to clear the selected item Use this for exam ple if you input the wrong number i MENU Press to display the menu screen or Disc Navigator Select and play the title chapter track or file from the Disc Navigator Ex DVD video Disc Navigator 01 04 02 05 03 06 Disc Navigator Title 01 49 j RETURN Press to return to the previous screen k Press during playback to fast forward Press in the pause ...

Page 10: ...discs or files 1 Turn the power on 3 Load the disc 4 Starts playback 2 Open the disc tray To stop Before starting turn the TV s power on and switch the TV s input The player s screen display language can be changed OSD Language on page 15 ...

Page 11: ...N When the power is turned off OFF When the disc tray is opened OPEN When the disc tray is closed CLOSE When the disc is being loaded LOAD When the title menu or menu is displayed TITLE When the GUI is displayed or operated GUI When in the USB mode USB When the disc is stopped STOP When no disc is loaded ...

Page 12: ...rding all the tracks 1 Load the audio CD If playback starts automatically press STOP to stop playback 2 Display the CD USB Rec screen Press USB REC CD USB Rec Select Track Bitrate Start Selected Track Total Time Track 1 13 Track01 Track02 Track03 Track04 Track05 Track06 Track07 Track08 01 43 03 17 04 18 04 59 04 20 04 38 04 40 04 11 128kbps 13 055 07 3 Start recording Use to select Start then pres...

Page 13: ...itle chapter or track then press ENTER files are added at the end of program Press RETURN to return to the previous screen If you return to the previous screen when inputting it the settings you have programmed are cleared To delete a step highlight it and press CLEAR 5 Starts playback Press PLAY To play a program that has already been set select Playback Start from the program screen then press E...

Page 14: ...f the brightness of the brightest and darkest portions of the picture Gamma 3 to 3 Adjusts the look of the dark portions of the picture Parameters settings Hue green 9 to red 9 Adjusts the balance between green and red Chroma Level 9 to 9 Adjusts the density of the colors This setting is effective for sources with many colors such as cartoons Brightness Contrast Gamma Hue and Chroma Level are set ...

Page 15: ...y Select whether to display subtitles On or not Off Display settings Options settings Settings OSD Language Change the language of the operation messages Play Stop etc displayed on the TV screen English available lan guages Angle Indicator Select whether to display the angle mark on the TV screen On or not Off On Screen Dis play Select whether to display operation mes sages Play Stop etc on the TV...

Page 16: ...scs recorded with packet writing About region numbers DVD player and DVD Video discs are assigned region numbers according to the region in which they are sold This player s region number s is are as shown below DVD Video 2 Discs not including these numbers cannot be played Discs playable on this player are as shown below DVDs 2 including 2 and ALL Regarding copy protected CDs This player is desig...

Page 17: ... Some external subtitle files may be displayed incor rectly or not at all For external subtitle files the following subtitle for mat filename extensions are supported please note that these files are not shown within the disc naviga tion menu srt sub ssa smi The filename of the movie file has to be repeated at the beginning of the filename for the external sub title file The number of external sub...

Page 18: ... batteries dead Replace the batteries page 5 Disc cannot be played or disc tray opens automatically Is the disc scratched Scratched discs may not play Is the disc dirty Wipe the dirt off the disc page 24 Is the disc properly set in the disc tray Set the disc with the printed side facing up Set the disc within the groove in the disc tray Does the disc have the right region number Discs with the reg...

Page 19: ...red to display large files Black bars are displayed when play ing JPEG files Are you playing files with different aspect ratios Black bars may be displayed along the top and bot tom or sides when JPEG files with different aspect ratios are played When a USB device is connected Problem Check Remedy USB device is not recognized Is the USB device properly connected Connect the device securely all the...

Page 20: ...USB device In this case Available USB space is low is displayed Are there 300 or more folders on the USB device Recording is not possible if the USB device con tains 300 or more folders Are there already 99 PIONEER folders on the USB device Recording is not possible if there are already 99 PIONEER folders on the USB device When connected to an HDMI compatible device Problem Check Remedy Picture is...

Page 21: ...device and the player Even when connected to a Pioneer product com patible with the KURO LINK function some of the functions may not work Is KURO LINK set to On on the con nected device Set KURO LINK on the connected component to ON The KURO LINK function works when KURO LINK is set to ON for all the components con nected to the HDMI OUT terminals Are multiple players connected The KURO LINK funct...

Page 22: ...n 2014 Azerbaijani az 0126 Interlingue ie 0905 Oromo om 1513 Tonga to 2015 Bashkir ba 0201 Inupiak ik 0911 Oriya or 1518 Turkish tr 2018 Byelorussian be 0205 Indonesian in 0914 Panjabi pa 1601 Tsonga ts 2019 Bulgarian bg 0207 Icelandic is 0919 Polish pl 1612 Tatar tt 2020 Bihari bh 0208 Hebrew iw 0923 Pashto Pushto ps 1619 Twi tw 2023 Bislama bi 0209 Yiddish ji 1009 Quechua qu 1721 Ukrainian uk 21...

Page 23: ...a stable place near the TV or stereo system being used with the player Do not place the player on top of a TV or color moni tor Also install it away from cassette decks and other devices easily affected by magnetic forces Avoid the following types of places Places exposed to direct sunlight Humid or poorly ventilated places Extremely hot places Places exposed to vibrations Places in which there is...

Page 24: ... Pioneer authorized service center Although lens cleaners for players are commercially available we advise against using them since some may damage the lens About copyrights This product incorporates copyright protection technol ogy that is protected by method claims of certain U S patents and other intellectual property rights owned by Macrovision Corporation and other rights owners Use of this c...

Page 25: ...gnals for connection to a compatible colour TV or monitor 2018 16 14 1210 8 6 4 2 19 21 17 15 13 11 9 7 5 3 1 PIN no 1 Audio 2 R out 3 Audio 1 L out 4 GND 7 B out 8 Status 11 G out 15 R out 17 GND 19 Video out 21 GND Video output Output level 1 Vp p 75 Ω Output terminal RCA terminal Component video output Y CB PB CR PR Y output level 1 Vp p 75 Ω CB PB CR PR output level 0 7 Vp p 75 Ω Output termin...

Page 26: ... CANADA INC 300 Allstate Parkway Markham Ontario L3R 0P2 Canada TEL 1 877 283 5901 905 479 4411 PIONEER EUROPE NV Haven 1087 Keetberglaan 1 B 9120 Melsele Belgium TEL 03 570 05 11 PIONEER ELECTRONICS ASIACENTRE PTE LTD 253 Alexandra Road 04 01 Singapore 159936 TEL 65 6472 7555 PIONEER ELECTRONICS AUSTRALIA PTY LTD 178 184 Boundary Road Braeside Victoria 3195 Australia TEL 03 9586 6300 PIONEER ELEC...

Reviews: