Schedule
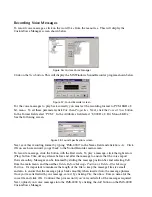
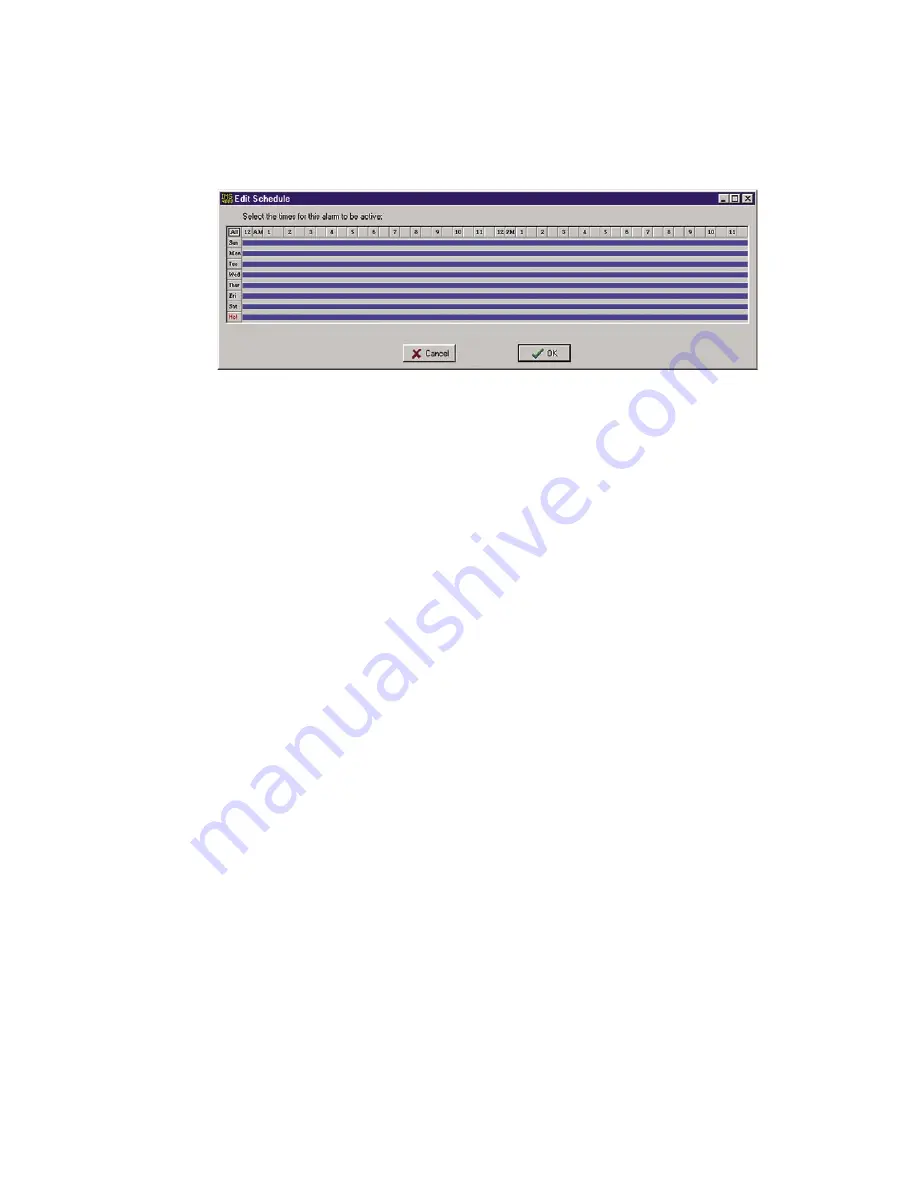
: Click this button to bring up the Edit Schedule screen. This screen allows you to set
times when the IP Alarm is enabled or disabled. The blue line indicates days/times when the
channel is enabled.
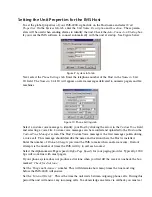
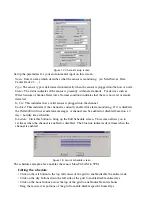
Figure 27: IP Schedule screen
The schedule example above enables the IP alarm 24 hours a day, including holidays.
Editing the schedule:
• Click on the
All
button in the top left corner of the grid to enable/disable the entire week.
• Click on the
day
buttons down the left side of the grid to enable/disable entire days
• Click on the
hour
buttons across the top of the grid to enable/disable entire hours
• Drag the mouse over portions of the grid to enable/disable specific hours/days
Timeout
: If the monitored IP address does not respond within this period of time, then the ping is
considered a failure. If the number of consecutive failures exceeds the number of Retries then a
Ping Timeout alarm is tripped.
Retries
: This is the number of times the monitored IP address is pinged after a failure, before a
Ping Timeout alarm is tripped.
Alarm Class
: Click the drop-down arrow and select the appropriate class for this type of alarm.
If you prefer you can create your own classes on the Class Setup screen to group certain types of
alarms.
Custom Voice
: Click the drop-down arrow and select the custom voice message you would like
assigned to this IP Alarm. Voice messages can be recorded on your PC and uploaded into the
IMS-4000 on the Voice screen.
Reset Time
: This is the time allowed for an acknowledged alarm’s fault condition to be corrected
before the IMS-4000 resets (reactivates) the alarm and begins the message delivery process all
over again. The minimum reset time is 30 minutes.
Alarm on Return-to-Normal
: When this feature is enabled, the unit will send a message (or
messages) when an IP device goes from a Ping Timeout state to a Responding state. The person
who acknowledged the alarm—in addition to all Inform Only contacts in the alarm class—will
receive the Return-to-Normal message.
SNMP Trap Level
: When sending alarm messages via SNMP, this sets the priority of the SNMP
trap. The choices are
Major
or
Minor
.
Note
: See the previous section, “Alarm Response via the PowerGate, PowerGate2, or Camera”
for information on responses to alarms via PowerGates or Cameras.
Chapter 2: Software
57
Summary of Contents for Sensaphone IMS-4000
Page 1: ...IMS 4000 User s Manual Version 2 4 8 PHONETICS INC SENSAPHONE ...
Page 44: ......
Page 59: ......
Page 60: ......
Page 102: ......
Page 106: ...IMS 4000 Manual 106 ...
Page 135: ...Chapter 7 IMS 4000 Sensors 135 ...
Page 146: ...IMS 4000 Manual 146 ...
Page 148: ...IMS 4000 Manual 148 ...
Page 158: ...IMS 4000 Manual 158 ...
Page 159: ...159 ...


