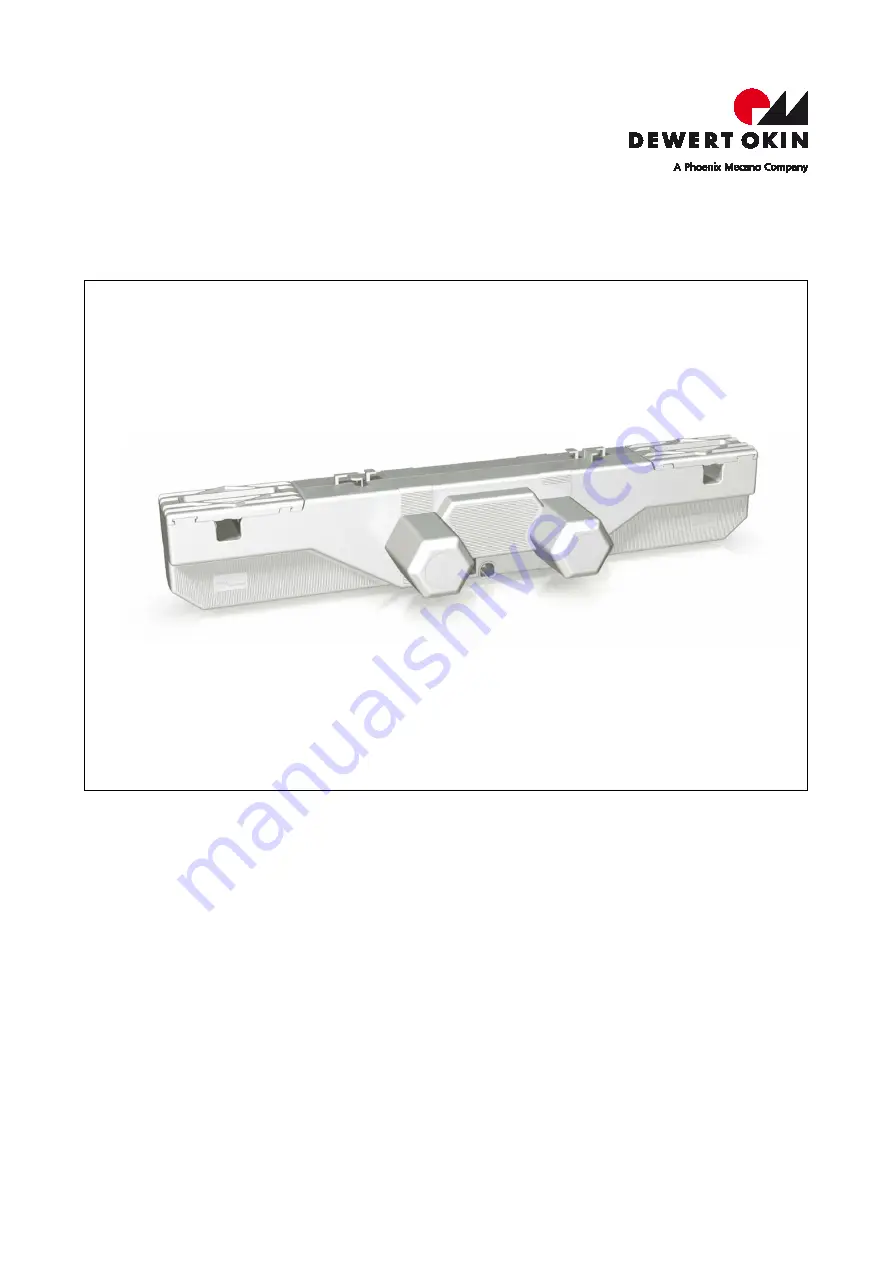
DUOMAT 3 CARE EASY
Installation Instructions
(Translation of the original installation instructions)
Page 1: ...DUOMAT 3 CARE EASY Installation Instructions Translation of the original installation instructions...
Page 2: ......
Page 3: ...e instructions are only intended to be used by the end product manufacturer They should not be given to the operator of the end product The factual information contained within may be used as a basis...
Page 4: ...T V testing label The construction of the DUOMAT 3 CARE EASY has been inspected by the German Inspection Authority T V The T V also monitors the production of the DUOMAT 3 CARE EASY The official Germa...
Page 5: ...and Intended Usage 8 2 2 Safety notices within the installation instruction and the operating instructions for the entire machine 9 2 3 Selection and qualification of personnel 9 2 4 Notice on safety...
Page 6: ...CARE EASY 6 78668 10 Disposal 30 10 1 Packaging material 30 10 2 Components of the DUOMAT 3 CARE EASY 30 10 3 Batteries 30 Declaration of incorporation installation 31 EU Declaration of Conformity 32...
Page 7: ...duct These installation instructions have been written with due care and attention However we cannot guarantee that the data images and drawings are complete and correct nor do we accept any li abilit...
Page 8: ...roduct WARNING The DUOMAT 3 CARE EASY may not be used in any environment where combustible or explosive gases or vapours e g anaes thesiology may be present in the proximity of open fires or other hea...
Page 9: ...n the event of a power outage If the end product manufacturer chooses to guarantee the functionality of the end product during a power outage then the end product manufacturer is responsible for arran...
Page 10: ...Installation Safety fundamentals during the drive installation and during cable and wire routing refer to the Safety notices to observe during installation section in the Installation chapter Using t...
Page 11: ...e drive s ratings plate The ratings plate shown is an example the specifications for your drive may differ from this illus tration Figure 2 Ratings plate example DUOMAT 3 2 CARE EASY Model name xxxxx...
Page 12: ...ected PD14 PD15 power sup ply a DUOMAT 3 CARE EASY as the main drive with a IPROXX2 handset and one or two Mega mat MCZ EASYs as well as a connected PD14 PD15 power supply Systems can be customized by...
Page 13: ...provement process The Possible Combinations chapter describes the different possible combinations of drives and handsets 4 1 Components The main components of the DUOMAT 3 CARE EASY are the electric m...
Page 14: ...B Figure 4 Connections located at the rear of the DUOMAT 3 CARE EASY A LSP port for a single drive B Handset port DUOMAT 3 CARE EASY with three connections A B C Figure 5 Connections located at the re...
Page 15: ...ength x width x height 708 mm x 166 mm x 120 mm Axle gap distance 581 mm Weight Approx 4 4 kg Optional battery operated reset function Voltage Two nine volt batteries type 6LR61 depending on version A...
Page 16: ...Technical Specifications DUOMAT 3 CARE EASY 16 78668 Figure 6 Dimensions of DUOMAT 3 CARE EASY in mm 708 166 120...
Page 17: ...ll the drive in the end product so that it is properly aligned This will help pre vent shear stress Do not position the drive at a slanted angle when installing it in the end product A slanted angle b...
Page 18: ...mple installation Before installing the drive make sure that you are observing all of the safety notices found in the Safety notices to observe during installation section Figure 7 Installing the doub...
Page 19: ...ress in until the tubes snap into the brackets 5 Close the shutters A on the drive by snapping them back in The DUOMAT 3 CARE EASY is now securely attached to the end product 6 Disconnect all addition...
Page 20: ...Looping the cable through the strain relief mechanism A Looped in cable B Secured cable C Handset cable loop 1 Connect the plug from the handset to the handset socket on the DUOMAT 3 CARE EASY 2 Loop...
Page 21: ...ts should be connected or disconnected only when the power sup ply cord connecting cable is unplugged NOTICE There is a delay after the supply voltage is applied before the device actually turns on Wa...
Page 22: ...the DUOMAT 3 CARE EASY s cable should be plugged into the socket on the PD14 PD15 power supply s cable in order to establish the electrical connection between them Figure 11 Connecting the DUOMAT 3 C...
Page 23: ...g cable on the PD14 PD15 power supply or disconnect the power to the PD14 PD15 power supply CAUTION Disconnect the batteries if you are using the battery operated reset function Discon nect the nine v...
Page 24: ...rk together Delayed start up After plugging the PD14 PD15 s power plug into the power outlet NOTICE There is a delay after the supply voltage is applied before the device actually turns on Wait at lea...
Page 25: ...This power outlet must be accessible at all times during operation so that the cable can be unplugged Or you can disconnect the plug on the DUOMAT 3 CARE EASY from the PD14 PD15 power supply This wil...
Page 26: ...then be replaced and properly disposed of CAUTION The battery operated reset function is not a safety system and does not avert danger CAUTION Connect the nine volt batteries first when you would lik...
Page 27: ...e batteries are con nected The drive is suddenly not capable of move ment The overheating protection or system protection has been trig gered Remove the overload change or remove the load Allow the sy...
Page 28: ...Look over the housing peri odically for any signs of damage Check the housing for breaks or cracks The IP class protection will be impaired by any breakage or cracks At least every six months Look ov...
Page 29: ...ure cleaner Do not allow fluids to penetrate into the unit Damage to the system could result Do not use a cleanser that contains benzene alcohol or similar solvents 1 Unplug the power cable between th...
Page 30: ...l corresponding national and regional environmental regulations when disposing of the DUOMAT 3 CARE EASY The disposal of the end product is regulated in Germany by Elektro G internationally by the EU...
Page 31: ...ne after you have confirmed that the end product into which this machine will be installed complies with the Machinery Directive 2006 42 EC On request the manufacturer is obliged to send the special d...
Page 32: ...age Directive 2006 95 EC RoHS Directive 2011 65 EU of the European Parliament and of the Council of 8 June 2011 on the restriction of the use of certain hazardous substances in electrical and electron...
Page 33: ...ions EN60601 1 Section 8 Protection against electrical danger leakage currents EN60601 1 Section 11 1 Overheating protection EN60601 1 Section 11 2 Fire prevention EN60601 1 Section 11 3 Design requir...
Page 34: ...ROXX SE IPROXX or Meditouch EN 60601 2 52 Section 201 9 8 3 2 Static load EN 60601 2 52 Section 201 11 1 1 Temperatures EN 60601 2 52 Section 201 11 6 5 101 Waterproof protection EN 60601 2 52 Section...
Page 35: ......
Page 36: ...DewertOkin GmbH Weststra e 1 32278 Kirchlengern Germany Tel 49 0 5223 979 0 Fax 49 0 5223 75182 http www dewertokin de Info dewertokin de ID Nr 78668...