


RFC 4072S
116 / 272
PHOENIX CONTACT
108580_en_02
4.12
Transferring a project to the controller
To transfer the project to the controller, proceed as follows:
•
Double-click on the controller node in the “PLANT” area.
The controller editor group opens.
•
Select the “Cockpit” editor.
•
Click on the
button (“Write project to controller and start execution. (F5)”).
The project is compiled, transferred to the controller, and executed.
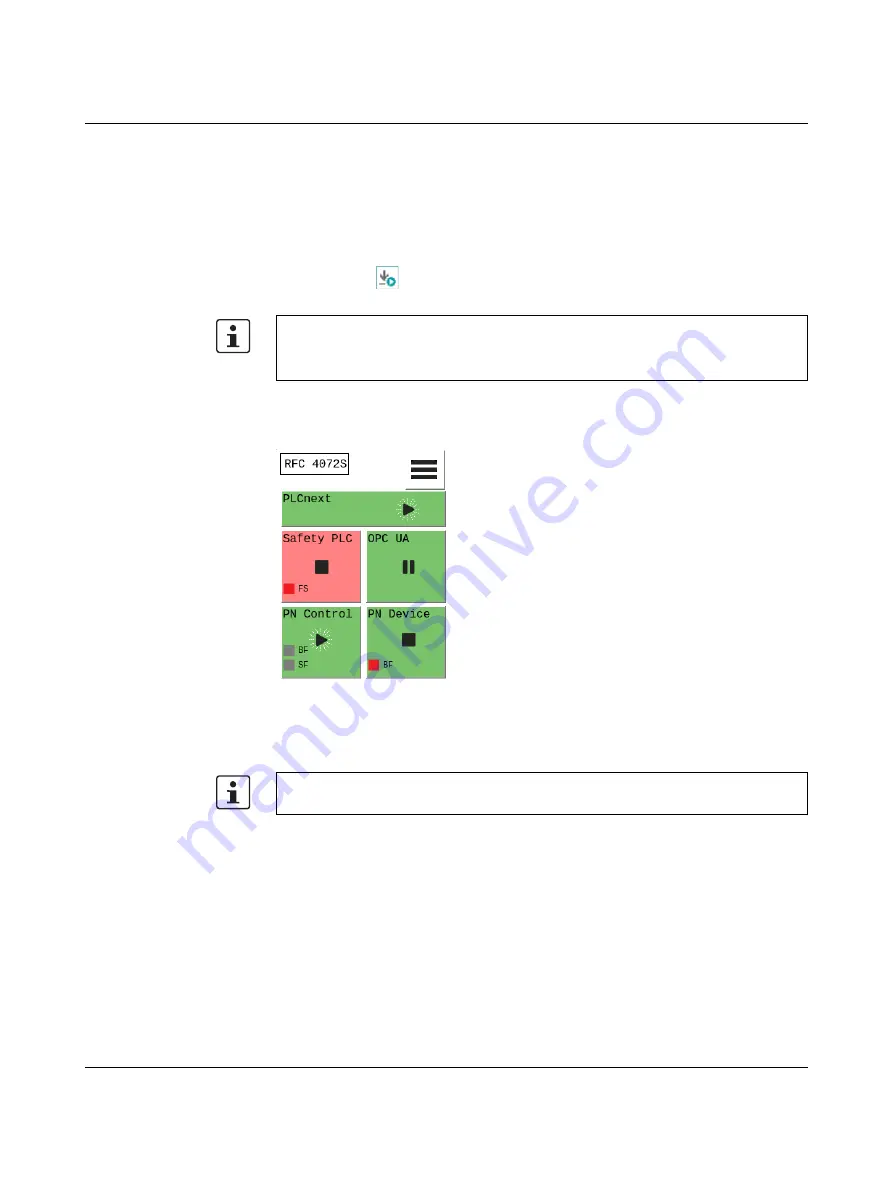
If startup was carried out successfully, the following appears on the RFC 4072S display:
Figure 4-38
Controller in the RUN state, PROFINET controller in the ACTIVE state
If an installation error prevents the system from starting up, a corresponding error message
appears on the display and in PLCnext Engineer.
User authentication
If necessary, refer to the information about user authentication on
•
If necessary, enter the user name and password in the dialog that opens.
The iSPNS 3000 is in the FAIL state, as no safety programming has been performed in
the example project.
Summary of Contents for RFC 4072S
Page 22: ...RFC 4072S 22 272 PHOENIX CONTACT 108580_en_02...
Page 68: ...RFC 4072S 68 272 PHOENIX CONTACT 108580_en_02...
Page 82: ...RFC 4072S 82 272 PHOENIX CONTACT 108580_en_02...
Page 142: ...RFC 4072S 142 272 PHOENIX CONTACT 108580_en_02...
Page 154: ...RFC 4072S 154 272 PHOENIX CONTACT 108580_en_02...
Page 222: ...RFC 4072S 222 272 PHOENIX CONTACT 108580_en_02...
Page 234: ...RFC 4072S 234 272 PHOENIX CONTACT 108580_en_02...
Page 254: ...RFC 4072S 254 272 PHOENIX CONTACT 108580_en_02...
Page 264: ...RFC 4072S 264 272 PHOENIX CONTACT 108580_en_02...
Page 268: ...RFC 4072S 268 272 PHOENIX CONTACT 108580_en_02...
Page 271: ......