background image

10

Getting started

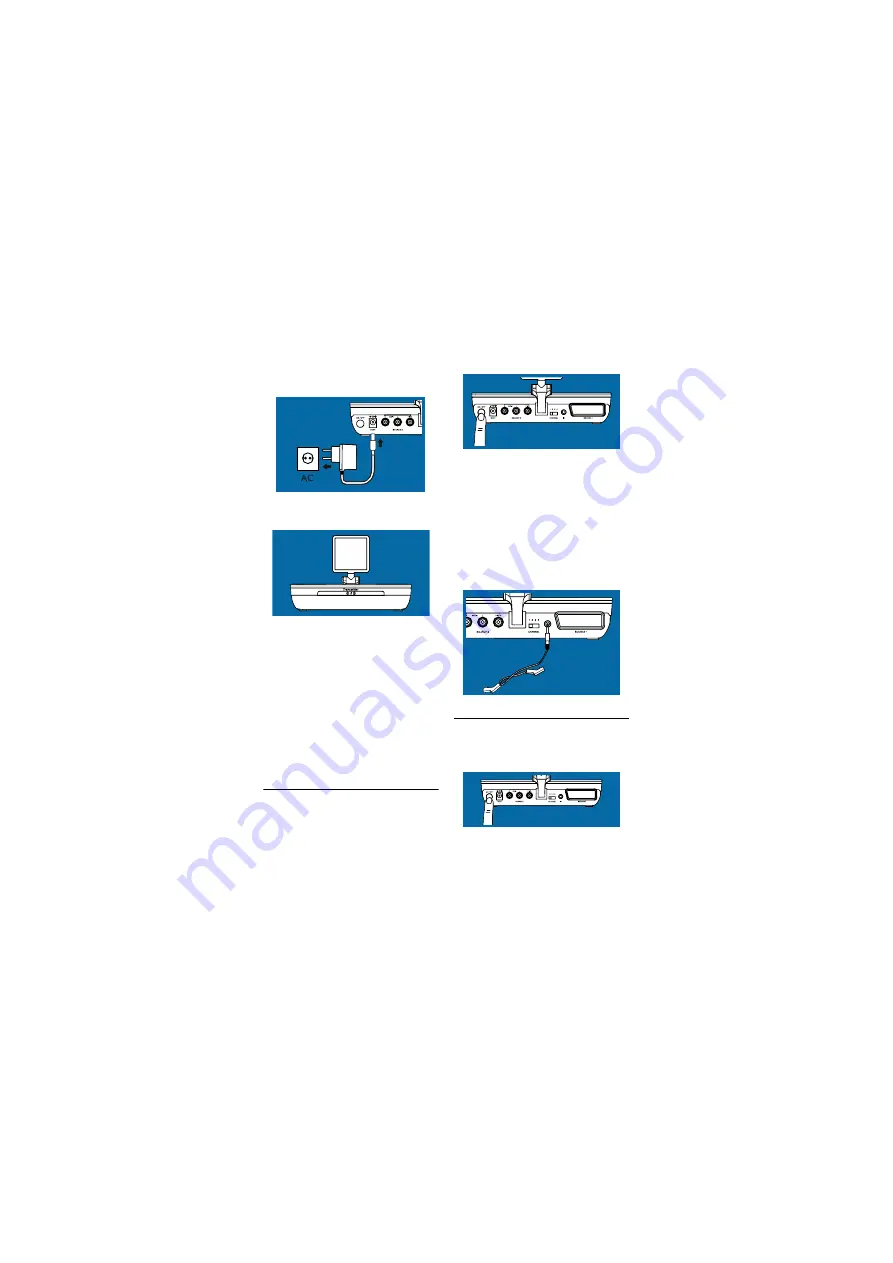
b. Plug the adapter into the power 

outlet.

c. The green LED on the front panel 

should be on.

Note: if it is not the case, press the ON/

OFF switch on the back of the product.

5.

Check that TV1 is working well

a. Switch on TV1

b. Check that TV1 is working well.

c. Switch on the connected video 

source for the video source 

chosen.

d. Check if TV1 shows the image of 

the video source.

> The transmitter is connected 

correctly.

3.2

Install the remote control 

blaster cord

The remote control blaster cord 

transmits IR signal to Source devices.

1.

Switch off the transmitter (A).

2.

Connect the remote control blaster 

cord (F) to the IR socket.

3.

Position the blaster light in front of 

the video source. Just put it in front 

of the IR sensor on the front panel.

Note: See the FAQ “How can I find the IR 

sensor on the video source?” for locating 

the IR sensor on the front panel of the 

video source.

3.3

Connect receiver

Preparation

- Switch on the transmitter (A).

Summary of Contents for SLV4200

Page 1: ...EN Wireless TV Link Register your product and get support at www philips com welcome SLV4200 ...

Page 2: ......

Page 3: ...at s in the box 7 2 2 Overview of the Wireless TV link 7 3 Getting started 9 3 1 Connect transmitter 9 3 2 Install the remote control blaster cord 10 3 3 Connect receiver 10 3 4 Enjoy 11 3 5 Select Source 12 3 6 Remove interference on TV2 12 3 7 Improve the quality of the reception with the antenna 12 4 Technical Data 13 5 Frequently asked questions14 6 Information 16 6 1 Warranty 16 6 2 Glossary ...

Page 4: ...his can deteriorate audio quality and damage the product Active mobile phones in the vicinity may cause interference Do not open your product as you could be exposed to high voltages Do not allow the charger to come into contact with liquids Do not allow the TV link to come into contact with liquids Use only with provided power supply Manufacturer Concord Model Name CM 3AD09005 Power supply inform...

Page 5: ...aging with standard symbols designed to promote the recycling and appropriate disposal of your eventual waste A financial contribution has been paid to the associated national recovery recycling system The labeled packaging material is recyclable 1 4 Electric Magnetic and Electromagnetic Fields EMF 1 Philips Royal Electronics Manufactures and sells many consumer oriented products which usually as ...

Page 6: ... on The product complies with the standards that are defined for it As the product is based on RF technology the quality of the image can be influenced by microwave ovens Bluetooth Wifi etc Therefore the product can suffer from the same kinds of interference as GSMs portable radios and other RF based products ...

Page 7: ... from the support that Philips offers register your product at www philips com welcome 2 1 What s in the box 2 2 Overview of the Wireless TV link Control and display elements 1 SOURCE switch A Transmitter B Receiver D RCA SCART cable G User manual C SCART cable E Power adapter 2x F Remote control blaster cord Transmitter ...

Page 8: ...channel selection switch Select from 4 available channels 9 Remote control blaster cord port 10 SCART cable entry Control and display elements 11 Power light green on 12 Power on off switch 13 Power input connector DC 9V 14 Antenna 15 SCART cable 16 Wireless channel selection switch Select from 4 available channels 17 Connector 18 Blaster light Transmitter Remote control blaster cord ...

Page 9: ...SCART SCART cable C 2 Connect video source 2 to the transmitter A a Unplug the Scart cable that connects source 2 to the TV1 b Take the supplied RCA SCART cable D c Plug the RCA connectors into the corresponding ports of the transmitter A d Plug the SCART connector of the RCA SCART cable into the SCART port of the video source 2 3 Connect TV1 a Plug the SCART cable from TV1 into the SCART connecto...

Page 10: ... the video source The transmitter is connected correctly 3 2 Install the remote control blaster cord The remote control blaster cord transmits IR signal to Source devices 1 Switch off the transmitter A 2 Connect the remote control blaster cord F to the IR socket 3 Position the blaster light in front of the video source Just put it in front of the IR sensor on the front panel Note See the FAQ How c...

Page 11: ... adapter into the power outlet c The green LED on the front panel should be on Note if it is not the case press the ON OFF switch on the back of the product 3 Set the CHANNEL switch to the same channel number as on the transmitter A 3 4 Enjoy All the operations listed on 3 1 and 3 3 should have been done 1 Switch on TV2 2 Switch on the receiver B 3 Select the correct SCART input on TV2 4 Point the...

Page 12: ...er 3 6 Remove interference on TV2 Depending on your specific situation after completing 3 1 and 3 3 you may experience some interference 1 Find the CHANNEL switch on the transmitter A There are 4 channels You may have to change the channels in case of interferences 2 Set the CHANNEL switch to a different number on the transmitter A in case of interferences 3 Find the CHANNEL switch on the receiver...

Page 13: ...e 3m Receiver System RF TV LINK Weight 0 33kg Dimensions 120X182X40 2mm Playback frequency range 5750 5855MHz Channels 4 Audio S N ratio 50dB at 15m Video S N ratio 43dB at 15m Audio Output level 2V Video Output level 1 1V Video Frequency Response 50Hz 5 5MHz Audio frequency response 40Hz 15kHz Power Requirements 9V 500mA IR Extender Transmitter IR Frequency 433 92MHz RF Output Power 7 9dBm IR car...

Page 14: ...nge the wireless channel that is used for communication See Remove interference on TV2 on page 12 The receiver B is out of range of the transmitter A The number of walls and ceilings between the receiver B and transmitter A restricts the distance Interference in the image on TV2 Slightly change the position of the receiver B or the transmitter A Change the wireless channel that is used for communi...

Page 15: ...to react the IR sensor location is found Mount the blaster light on this location at the front of the video source Another possibility is to move the remote control over the front of the video source while operating it Once the video source starts to react the location of the IR sensor is found This method is less accurate and does not work for each remote control model Also consult the documentat...

Page 16: ...e product has not been damaged whether as a result of an accident or of repair by others than the manufacturer 6 2 Glossary CVBS Video standard for showing colors on a TV Easylink Gives a VCR or DVD recorder the possibility to automatically take over the preset programming of the TV RCA Separate connectors to connect audio video equipment RF technology Technology based on radio frequency used for ...

Page 17: ...nnect transmitter 9 E Enjoy 11 F Frequently asked questions 14 G Getting started 9 I Information 16 Interference 12 O Overview of the Wireless TV link 7 R Remote control blaster cord 10 T Technical Data 13 W What s in the box 7 Y Your Wireless TV link 7 ...

Page 18: ...8 Declaration of Conformity ...

Page 19: ...Philips Electronics N V All rights reserved Reproduction in whole or in part is prohibited without the written consent of the copyright owner Document number SLV4200_12_EN_UM_V1 1 145 142000002 master EN Printed in China ...

Reviews: