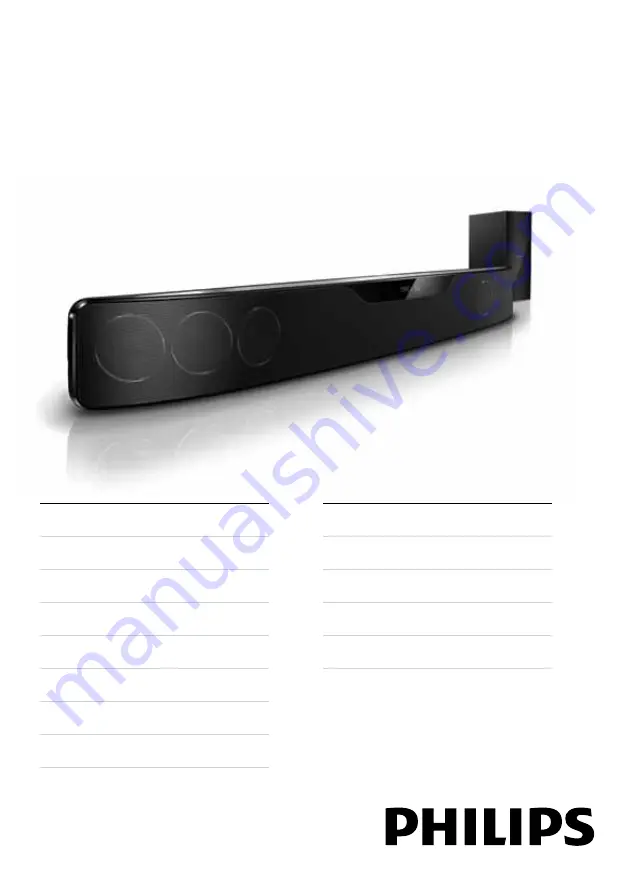
background image

HTS7111

Register your product and get support at

www.philips.com/welcome

EN 

User manual 

DA 

Brugervejledning 

DE 

Benutzerhandbuch 

EL 

Εγχειρίδιο χρήσης 

ES 

Manual del usuario 

FI 

Käyttöopas 

FR 

Mode d’emploi 

IT 

Manuale utente 

NL 

Gebruiksaanwijzing 

NO 

Brukerhåndbok 

PT 

Manual do utilizador 

SV 

Användarhandbok 

TR 

Kullanım kılavuzu 

Summary of Contents for HTS7111

Page 1: ... com welcome EN User manual DA Brugervejledning DE Benutzerhandbuch EL Εγχειρίδιο χρήσης ES Manual del usuario FI Käyttöopas FR Mode d emploi IT Manuale utente NL Gebruiksaanwijzing NO Brukerhåndbok PT Manual do utilizador SV Användarhandbok TR Kullanım kılavuzu ...

Page 2: ......

Page 3: ...Important 5 Safety 5 Care for your product 6 Care of the environment 6 4 Your SoundBar 7 Main unit 7 Remote control 7 5 Connect your SoundBar 9 Subwoofer 9 Connectors 9 Connect toTV 10 Connect to other devices through HDMI 11 Connect audio fromTV and other devices12 Listen to a connected device 13 6 Use your SoundBar 14 Choose your sound 14 MP3 player 15 iPod or iPhone 15 EasyLink 16 7 Change sett...

Page 4: ...eo tutorials and find answers to many frequently answered questions FAQs on your product at www philips com Tutorials To set up your SoundBar and get additional information refer to the video tutorials at www philips com support FAQs If you have a problem refer to the frequently asked questions FAQs for this SoundBar at www philips com support If you still need help contact Philips Consumer Care i...

Page 5: ... power outlet ensure that the power voltage matches the value printed on the back or bottom of the product Never connect the product to the power outlet if the voltage is different Risk of injury or damage to the SoundBar For wall mountable products use only the supplied wall mount bracket Secure the wall mount to a wall that can support the combined weight of the product and the wall mount Konink...

Page 6: ...ocal rules on separate collection of batteries because correct disposal helps to prevent negative consequences for the environmental and human health If the product is transported in temperatures below 5 C unpack the product and wait until its temperature matches room temperature before connecting it to the power outlet Parts of this product can be made of glass Handle with care to avoid injury an...

Page 7: ...10 11 12 13 14 4 Your SoundBar Congratulations on your purchase and welcome to Philips To fully benefit from the support that Philips offers register your SoundBar at www philips com welcome Main unit a SOURCE Select an audio source for the SoundBar b Standby On Switch the SoundBar on or to standby When the SoundBar is in standby the standby indicator turns red c Volume Increase or decrease volume...

Page 8: ...menu Previous Next Skip to the previous or next track or file Press and hold to search backwards or forwards Play Pause Start pause or resume play Press and hold to switch off the iPod or iPhone Navigation button Return to the previous menu on the iPod or iPhone or return to the previous SoundBar menu h Mute Mute or restore volume i Volume Increase or decrease volume j TREBLE Increase or decrease ...

Page 9: ...your SoundBar This section helps you connect your SoundBar to a TV and other devices For information about the basic connections of your SoundBar and accessories see the quick start guide For a comprehensive interactive guide see www connectivityguide philips com Note For identification and supply ratings refer to the type plate at the back or bottom of the product Before you make or change any co...

Page 10: ...user manual 2 On your TV turn on HDMI CEC For details see the TV user manual The audio from theTV is automatically played on your Soundbar 3 If audio from the TV does not play automatically select the correct video input on the TV TV Rear center a HDMI IN 1 2 Connect to the HDMI output on the audio devices b TO TV HDMI OUT ARC Connect to the HDMI input on the TV c DOCK for iPod Connect to a Philip...

Page 11: ...he TV audio see the TV user manual TV Option 2 Connect to TV through an analog audio cable If your TV does not have HDMI connectors connect your SoundBar to the TV through an analog audio cable connection 1 Using an analog cable connect AUX connectors on your SoundBar to the audio connectors on the TV 2 Select the correct video input on your TV 3 Press SOURCE on the SoundBar repeatedly to select t...

Page 12: ...device Tip To play video from the device connect the device to the TV through a video connection VCR Connect audio from TV and other devices Play audio fromTV or other devices through your SoundBar Use the best quality connection available on other devices Note The audio connections in this user manual are only recommendations You can use other connections too When your SoundBar and TV are connect...

Page 13: ...put HDMI SOURCE HDMI IN1 or HDMI IN2 HDMI input Note HDMI ARC can only be selected if you connect your SoundBar to the HDMI ARC compliant TV through HDMI ARC see Option 1 Connect to TV through HDMI ARC on page 10 Set up audio for connected devices When you connect a device to your SoundBar check the audio settings 1 On your TV and other devices turn on HDMI CEC For details see the user manual of t...

Page 14: ...SOUND SETTINGS repeatedly to select AUTO VOL on the display panel see Sound options and settings on page 14 2 Press OK 3 Press the Navigation buttons to select a setting ON Turn on auto volume OFF Turn off auto volume 6 Use your SoundBar This section helps you use the SoundBar to play audio from connected devices Before you start Make the necessary connections described in the quick start guide an...

Page 15: ... and place it on the dock Night mode For quiet listening decrease the volume of loud sounds when you play discs Night mode is only available for Dolby encoded DVD and Blu ray discs 1 Press SOUND SETTINGS repeatedly to select NIGHT on the display panel see Sound options and settings on page 14 2 Press OK 3 Press the Navigation buttons to select a setting ON Turn on night mode OFF Turn off night mod...

Page 16: ... iPod or iPhone see Dock your iPod or iPhone on page 15 2 Press DOCK for iPod IPOD appears on the display panel 3 Press the play buttons to control play Button Action Navigation buttons Navigate up and down the menus OK Confirm an entry or selection Previous Next Skip to the previous or next track or file Press and hold to search backwards or forwards Play Pause Start pause or resume play Press an...

Page 17: ...nnected HDMI CEC compliant devices with a single remote control One touch standby When you press and hold Standby on the remote control the SoundBar and all the connected HDMI CEC devices that support one touch standby switch to the standby mode If One touch standby is enabled on your SoundBar you can switch to standby with the remote control of the TV or other connected HDMI CEC devices System Au...

Page 18: ... B Press the Navigation buttons to select IN FRONT RIGHT LEFT or CORNER and then press OK 4 Set the distance between your listening position and the SoundBar A Press the Navigation buttons to select DISTANCE and then press OK B Press the Navigation buttons to select 0M 2M from zero to two meters 2M 3M from two to three meters or ABOVE 3M above three meters and then press OK 7 Change settings This ...

Page 19: ...e rubber feet you cannot stick them back on the bottom of the SoundBar For information about how to wall your SoundBar see the wall mount guide 25mm 3 3 5mm Display panel Change the brightness of the SoundBar display panel 1 Press SETUP repeatedly to select DISPLAY on the display panel see Setup menu options and settings on page 18 2 Press OK 3 Press the Navigation buttons to select BRIGHT DIM 1 o...

Page 20: ...on 55 W Standby power consumption 1 W Center speaker Speaker impedance 6 ohm Speaker drivers 2 x 64 mm 2 5 full range Frequency response 150 Hz 20 kHz Front Rear speakers Speaker impedance 3 ohm Speaker drivers 4 x 64 mm 2 5 full range Frequency response 150 Hz 20 kHz Dimensions WxHxD 945 x 108 x 86 mm Weight 3 82 kg Stand for SoundBar and TV STS1100 STS1300 If you have a PhilipsTV you can mount y...

Page 21: ...ed device see Set up audio for connected devices on page 13 Reset your SoundBar to its factory settings see Apply factory settings on page 19 and then switch it off and switch on again On your SoundBar press SOURCE repeatedly to select the correct audio input on the display panel Make sure that the SoundBar is not muted Press to select MUTE OFF on the display panel Distorted sound or echo If you p...

Page 22: ... photos from an iPod or iPhone on the TV Browse and select videos and photos from the iPod or iPhone screen and play them on your TV Make sure that the iPod or iPhone software has not been tampered with or illegally modified Cannot view pictures from an iPod or iPhone on the TV Connect a yellow composite cable to the iPod dock and the TV Switch the TV to the AV VIDEO source corresponding to the ye...

Page 23: ... 2011 Koninklijke Philips Electronics N V All rights reserved sgptt_1131 12_v2 book1 back page indd 4 book1 back page indd 4 12 29 2010 3 28 13 PM 12 29 2010 3 28 13 PM ...

Reviews: