background image

Register your product and get support at

www.philips.com/welcome

IT  Manuale utente 

89

NL Gebruiksaanwijzing 111
PT  Manual do utilizador 133
SV Användarhandbok  155

EN  User manual 

3

DE Benutzerhandbuch  23
ES  Manual del usuario  45
FR  Mode d’emploi 

67

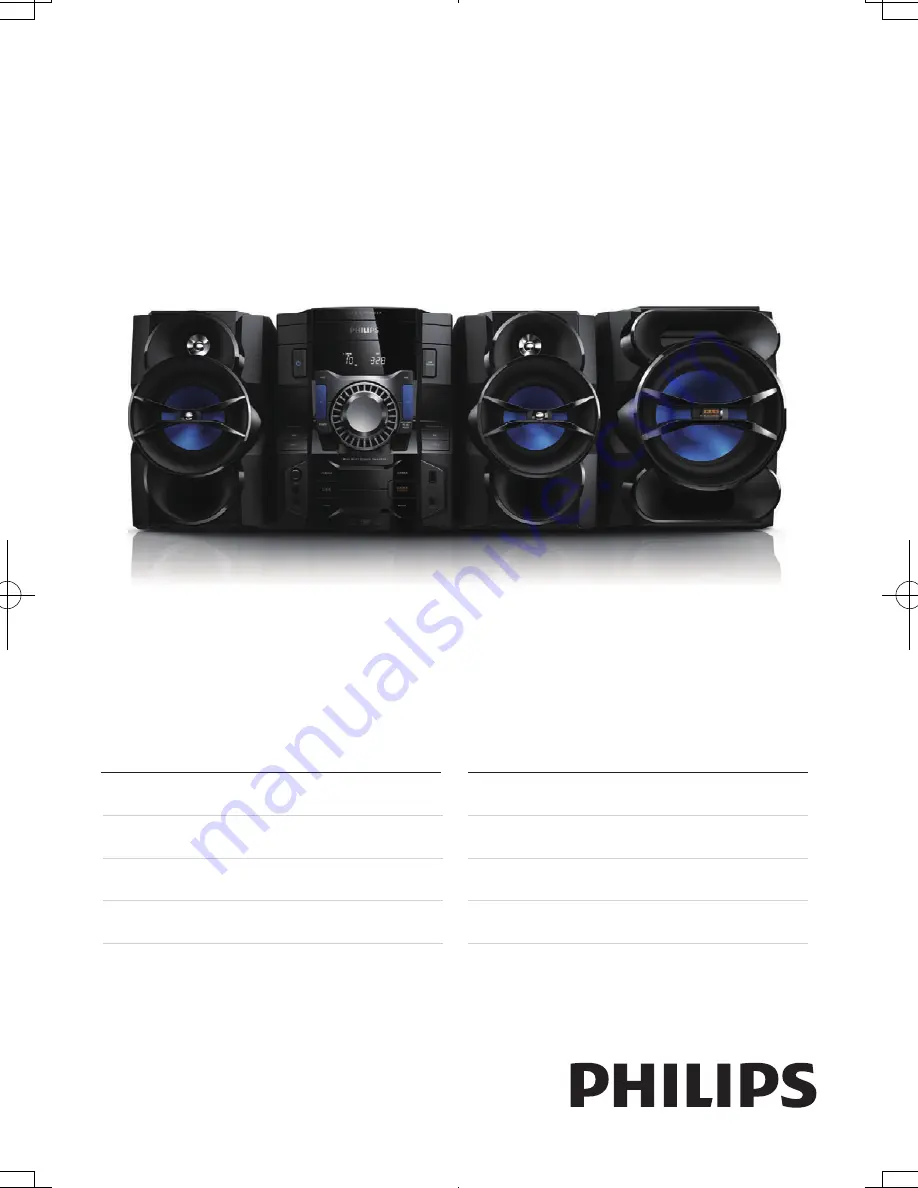
FWM6000

Summary of Contents for FWM6000

Page 1: ...et support at www philips com welcome IT Manuale utente 89 NL Gebruiksaanwijzing 111 PT Manual do utilizador 133 SV Användarhandbok 155 EN User manual 3 DE Benutzerhandbuch 23 ES Manual del usuario 45 FR Mode d emploi 67 FWM6000 ...

Page 2: ...play information 14 7 Adjust volume level and sound effect 15 Adjust volume level 15 Mute sound 15 Boost sound power 15 Select a preset sound effect 15 Enhance bass 15 Virtual surround 15 Customize sound for room acoustics 15 8 Listen to radio 16 Tune to a radio station 16 Program radio stations manually 16 Select a preset radio station 16 Change AM tuning grid 16 Display RDS information 16 9 USB ...

Page 3: ...being walked on or pinched particularly at plugs convenience receptacles and the point where they exit from the apparatus j Only use attachments accessories specified by the manufacturer k Use only with the cart stand tripod bracket or table specified by the manufacturer or sold with the apparatus When a cart is used use caution when moving the cart apparatus combination to avoid injury from tip o...

Page 4: ... to your hearing To guard against this set your volume to a safe level before your hearing adapts and leave it there To establish a safe volume level Set your volume control at a low setting Slowly increase the sound until you can hear it comfortably and clearly without distortion Listen for reasonable periods of time Prolonged exposure to sound even at normally safe levels can also cause hearing ...

Page 5: ...oad up to 3 discs at once To enrich sound this music system offers you these sound effects MAX sound for instant power boost Digital Sound Control DSC Dynamic Bass Boost DBB Incredible surround IS Virtual Ambience based Control VAC The music system supports the following media formats Check and identify the contents of your package Main unit x 1 RemovableVDE UK power cord X 1 Loudspeaker box x 3 R...

Page 6: ...andby mode 0 0 92 52 323 6 0 1 5 0 L Q L L L 6 V W H P Z P 86 63 80 35 6 7 80 35 6 7 03 1 86 3 5 86 5 25 03 1 3 1 2 7 12 6 781 5 02 6 6 1 23 1 26 6 6 a b d c e f g i j h e l k k n m t s i h p q r o v u e Source selection keys Select a source f Stop play or erase a program g VOLUME Adjust volume h ALB PRESET Skip to the previous next album Select a preset radio station ...

Page 7: ...ce p MAX SOUND Turn on or off instant power boost for sound q USB PLAY REC Connect to a USB mass storage device r DISPLAY Select display information s Start or pause play t USB RECORD Record to a USB device u Disc compartment door v OPEN CLOSE Open or close the disc compartment Overview of the remote control a Turn on the system Switch to standby mode to ECO mode b Source selection keys Select a s...

Page 8: ... preset sound equalizer n VAC Select an ambience based equalizer setting o DBB IS Turn on or off dynamic bass enhancement Turn on or off incredible surround p VOL Adjust volume q DISPLAY RDS Select display information For a FM station with RDS press it repeatedly to display various broadcast information r Adjust radio frequency Fast backward or fast forward s USB DELETE Delete audio files stored o...

Page 9: ... the supplied FM antenna to the FM jack on the back of the main unit Connect speakers Note For optimal sound use the supplied speakers only Connect only speakers with impedance that is the same or higher than the supplied speakers Refer to the Specifications section of this manual Note Make sure that the colors of the speaker wires and terminals are matched Insert the wire completely Insert the ri...

Page 10: ...hen you connect power and no radio stations are stored the unit automatically begins to store radio stations 1 Connect the unit to the power supply AUTO INSTALL PRESS PLAY auto install press the PLAY button is displayed 2 Press on the main unit to start installation AUTO auto is displayed The unit automatically stores radio stations with sufficient signal strength When all the available radio stat...

Page 11: ...unit to open the disc compartment 3 Load up to two discs on the disc trays with the printed side facing up To load the third disc press DISC CHANGE on the main unit to rotate to the disc tray 4 Press OPEN CLOSE on the main unit to close the disc compartment Play starts automatically To select a disc press DISC 1 2 3 To pause resume play press To stop play press To select another track press To sel...

Page 12: ... 1 3 1 2 86 3 5 5 Listen to an external device You can listen to an external audio device through the speakers of this unit Listen to an MP3 player 1 Press MP3 LINK to select the MP3 source 2 Connect the supplied MP3 link cable to the MP3 LINK jack 3 5mm on the unit the headphone jack on the MP3 player 3 Start to play the device refer to the device user manual Listen to a PC You can connect a PC o...

Page 13: ...cks are played randomly 2 To return to normal play press MODE repeatedly until play mode is no longer displayed Tip Shuffle play cannot be selected when you play programmed tracks You can program a maximum of 40 tracks 1 At CD USB mode in the stop position press PROG to activate the program mode PROG program is displayed 2 For MP3 tracks press ALB PRESET to select an album 3 Press to select a trac...

Page 14: ...select ROCK rock SAMBA samba JAZZ jazz POP pop TECHNO techno Enhance bass The best DBB Dynamic Bass Enhancement setting is generated automatically for each DSC selection You can manually select the DBB setting that best suits your listening environment During play press DBB repeatedly to select DBB 1 DBB 2 DBB 3 DBB off If DBB is activated DBB is displayed Virtual surround You can enhance audio wi...

Page 15: ...s Tip To overwrite a programmed station store another station in its place Select a preset radio station In tuner mode press ALB PRESET to select a preset number Tip Position the antenna as far as possible fromTV VCR or other radiation source For optimal reception fully extend and adjust the position of the antenna Change AM tuning grid In some countries the AM radio frequency step between adjacen...

Page 16: ...ress Note If the USB device does not have enough memory to store the audio files a message about a full memory is displayed Schedule radio to USB record Schedule radio recordings in advance and you can listen to your favorite programs at your convenience Note A recording is activated only in the standby mode The maximum length of a recording is 12 hours 1 Ensure that you set the clock correctly 2 ...

Page 17: ...isappears Tip In MP3 link or AUX mode the alarm timer cannot be set If disc or USB source is selected but no audio file can be played radio is activated automatically Set the sleep timer This music system can switch to standby automatically after a set period of time When the music system is turned on press SLEEP TIMER repeatedly to select a set period of time in minutes When sleep timer is activa...

Page 18: ...enna Speakers Speaker Impedance 6ohm Woofer 2 x 5 25 Tweeter 2 x 1 75 Dimensions W x H x D 200 x 320 x 314 mm Weight 6 2 kg each Woofer Speaker Impedance 6ohm Dimensions W x H x D 250 x 330 x 465 mm Weight 6 3 kg each General information Specs AC power 220 240V 50 Hz Operation power consumption 130 W ECO power consumption 0 5 W USB direct Version 2 0 1 1 Dimensions Main Unit W x H x D 265 x 322 x ...

Page 19: ...length Maximum album number 99 Supported sampling frequencies 32 kHz 44 1kHz 48 kHz Supported Bit rates 32 320 kbps variable bit rates ID3 tag v2 0 or later Directory nesting up to a maximum of 8 levels Maintenance Clean the cabinet Use a soft cloth slightly moistened with a mild detergent solution Do not use a solution containing alcohol spirits ammonia or abrasives Clean discs When a disc become...

Page 20: ...emote control does not work Before you press any function button first select the correct source with the remote control instead of the main unit Reduce the distance between the remote control and the unit Insert the batteries with their polarities signs aligned as indicated Replace the batteries Aim the remote control directly at the sensor on the front of the main unit No disc detected Insert a ...

Page 21: ... do not dispose of your old products with your normal household waste Correct disposal of your old product helps to prevent potential negative consequences for the environment and human health Your product contains batteries covered by the European Directive 2006 66 EC which cannot be disposed with normal household waste Please inform yourself about the local rules on separate collection of batter...

Page 22: ...Specifications are subject to change without notice 2012 Koninklijke Philips Electronics N V All rights reserved FWM6000_10_UM_V2 0 ...

Reviews: