14
EN
2
Navigate to the photo folder/album and
press
to start the slideshow.
»
Slideshow begins and continues till the
end of the photo folder or album.
»
Audio continues till the end of the last
file.
•
To return to the previous menu, press .
•
To stop the slideshow, press .
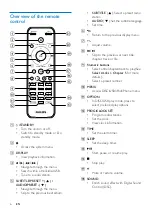
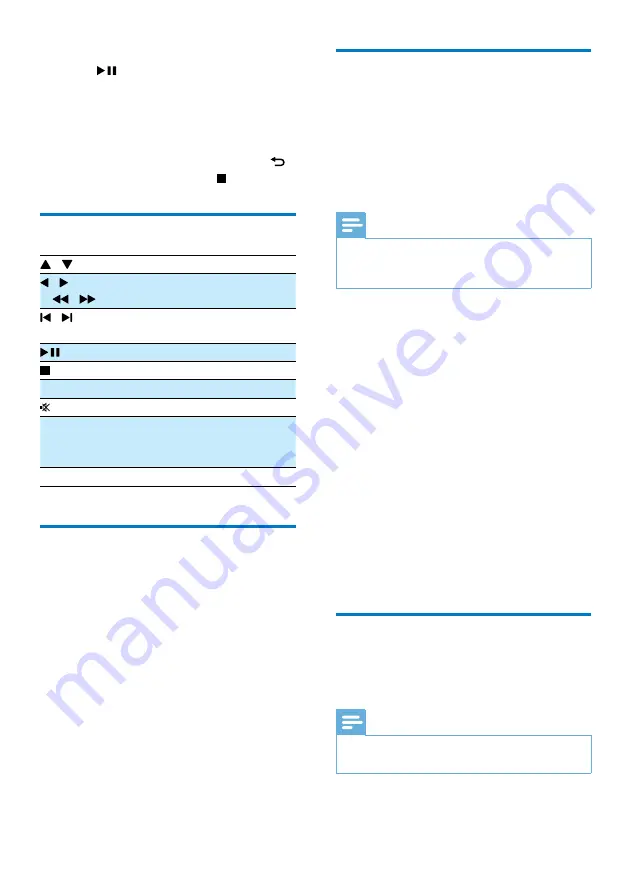
Control play
/
Select a folder.
/
( / )
Fast backward/forward.
/
Skip to the previous or next
title/chapter/track/file.
Pause or resume play.
Stop play.
+/-
Increase or decrease volume.
Mute or restore sound.
SOUND
Enrich sound effect with DSC:
balanced, clear, powerful, warm,
and bright.
DISPLAY
View playback information.
Select tracks
1
Press one of any numeric buttons to
activate the track select.
»
The total track numbers display on the
screen.
2
Press three numeric buttons sequentially to
select a track( Total track numbers<999),
or press four numeric buttons sequentially
to select a track ( Total track numbers >
= 1000)
For example: Press 001 to select track 1, or
press 0002 to select track 2.
3
Press
OK
to confirm.
Play options
In
DISC/USB
play mode, press
OPTION
to
select different play options.
•
[PBC]
: turn PlayBack Control on/off.
•
[Aspect Ratio]
: select a picture display
format to fit the TV screen.
•
[Angle]
: switch between camera angles.
Note
•
Some DVDs contain alternate scenes, such as scenes
recorded from different camera angles. For such DVDs,
you can select from the available alternate scenes.
•
[Microphone]
: turn on or off the
microphone sound output.
•
[Karaoke Setup]
: increase or decrease the
volume level and echo level of microphone
input, and the key level of music.
•
[Vocal]
: select various Karaoke audio
modes, or turn off the original vocal.
•
[Zoom]
: during video play, zoom in/out to
pan through the image.
•
[Repeat]
: choose a repeat play option or
turn off the repeat function.
•
[GOTO]
: during video play, specify a
position to start play by entering the
desired time or number.
•
[Slow Backward]
&
[Slow Forward]
:
during video play, select a slow backward/
forward speed.
Enjoy karaoke
You can connect a microphone (not supplied)
to sing along with a music source.
Note
•
Before you connect a microphone, set the microphone
volume to the minimum to prevent howling.
Summary of Contents for DCD1190
Page 2: ......


