2
Setting Up
2.1
Read Safety
Read the safety instructions first before you use the
TV.
To read the instructions, in
Help
, press the colour
key
Keywords
and look up
Safety Instructions
.
2.2
TV Stand and Wall Mounting
TV Stand
You can find the instructions for mounting the TV
stand in the Quick Start Guide that came with the TV.
In case you lost this guide, you can download it
from
Use the product type number of the TV to look for
the
Quick Start Guide
to download.
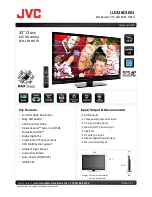
Wall Mounting
Your TV is also prepared for a VESA-compliant wall
mount bracket (sold separately).
Use the following VESA code when purchasing the
wall mount . . .
• 49PUS7803
VESA MIS-F 200x200, M6 (min.: 15mm, max.:16mm)
• 55PUS7803
VESA MIS-F 300x200, M6 (min.: 15mm, max.:17mm)
• 65PUS7803
VESA MIS-F 400x300, M6 (min.: 15mm, max.:17mm)
• 75PUS7803
VESA MIS-F 600x400, M8 (min.: 15mm, max.:15mm)
Preparation
Make sure that the metal screws, to mount the TV to
the VESA-compliant bracket, go about 10mm deep
inside the threaded bushes of the TV.
Caution
Wall mounting the TV requires special skills and
should only be performed by qualified personnel. The
TV wall mounting should meet safety standards
according to the TVs weight. Also read the safety
precautions before positioning the TV.
TP Vision Europe B.V. bears no responsibility for
improper mounting or any mounting that results in
accident or injury.
2.3
Tips on Placement
• Position the TV where light does not shine directly
on the screen.
• Dim lighting conditions in the room for best
Ambilight effect.
• The ideal distance to watch TV is 2 to 5 times its
diagonal screen size. When seated, your eyes should
be level with the centre of the screen.
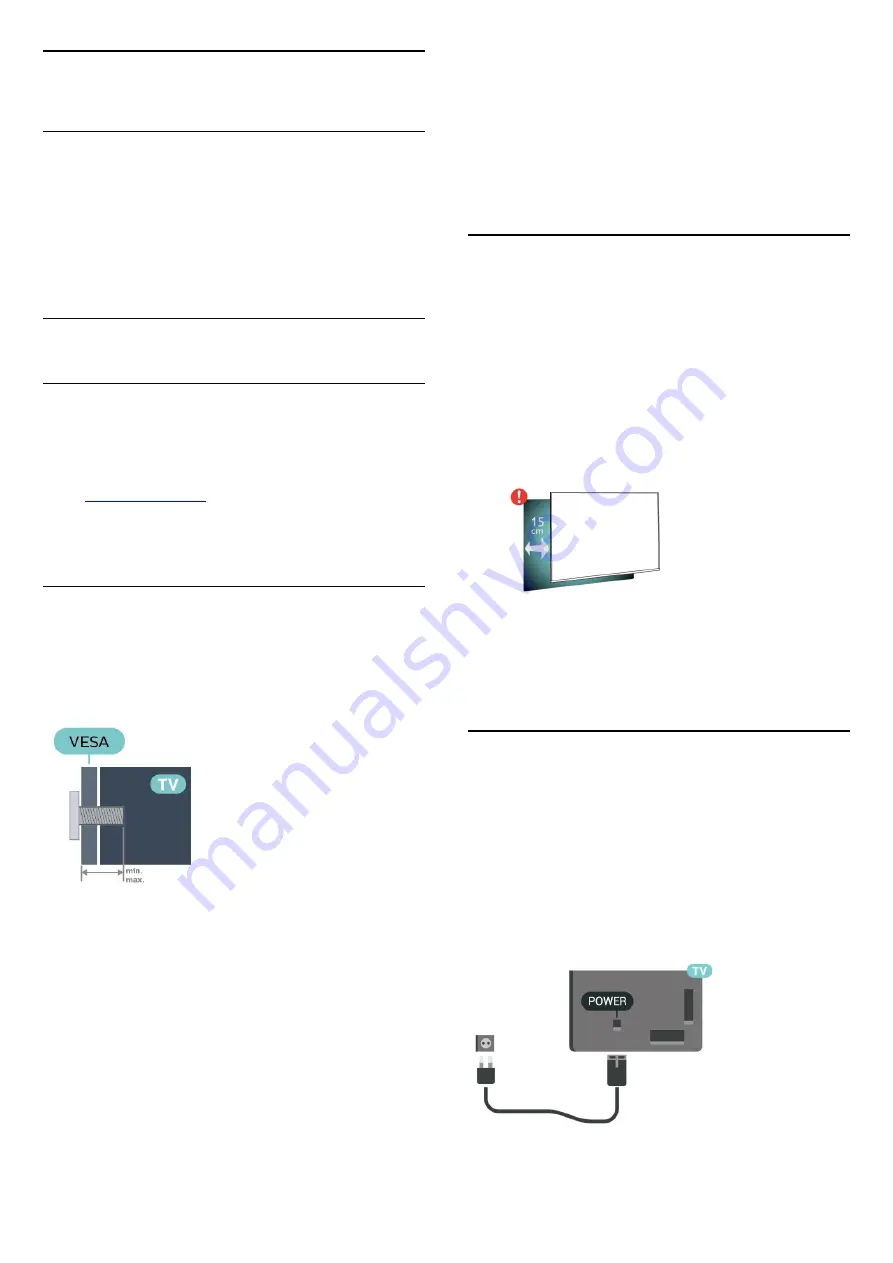
• When wall mounted, position the TV up to 15 cm
away from the wall.
Note
:
Please keep the TV away from dust-producing
sources such as stoves. It is suggested to clean the
dust regularly to avoid getting dust into the TV.
2.4
Power Cable
• Insert the power cable into the
POWER
connector
on the back of the TV.
• Make sure the power cable is securely inserted in
the connector.
• Make sure that the power plug, in the wall socket, is
accessible at all times.
• When you unplug the power cable, always pull the
plug, never pull the cable.
Although this TV has a very low standby power
5