


Using the Raman IdentiCheck . 55
After Spectrum closes, if you do not switch off the instrument it will remain active for
5 minutes. This is so that you do not have to wait for the CCD detector to cool and the laser
to stabilize should you need to exit Spectrum and then restart the software immediately, or
when changing methods in the AssureID software application.
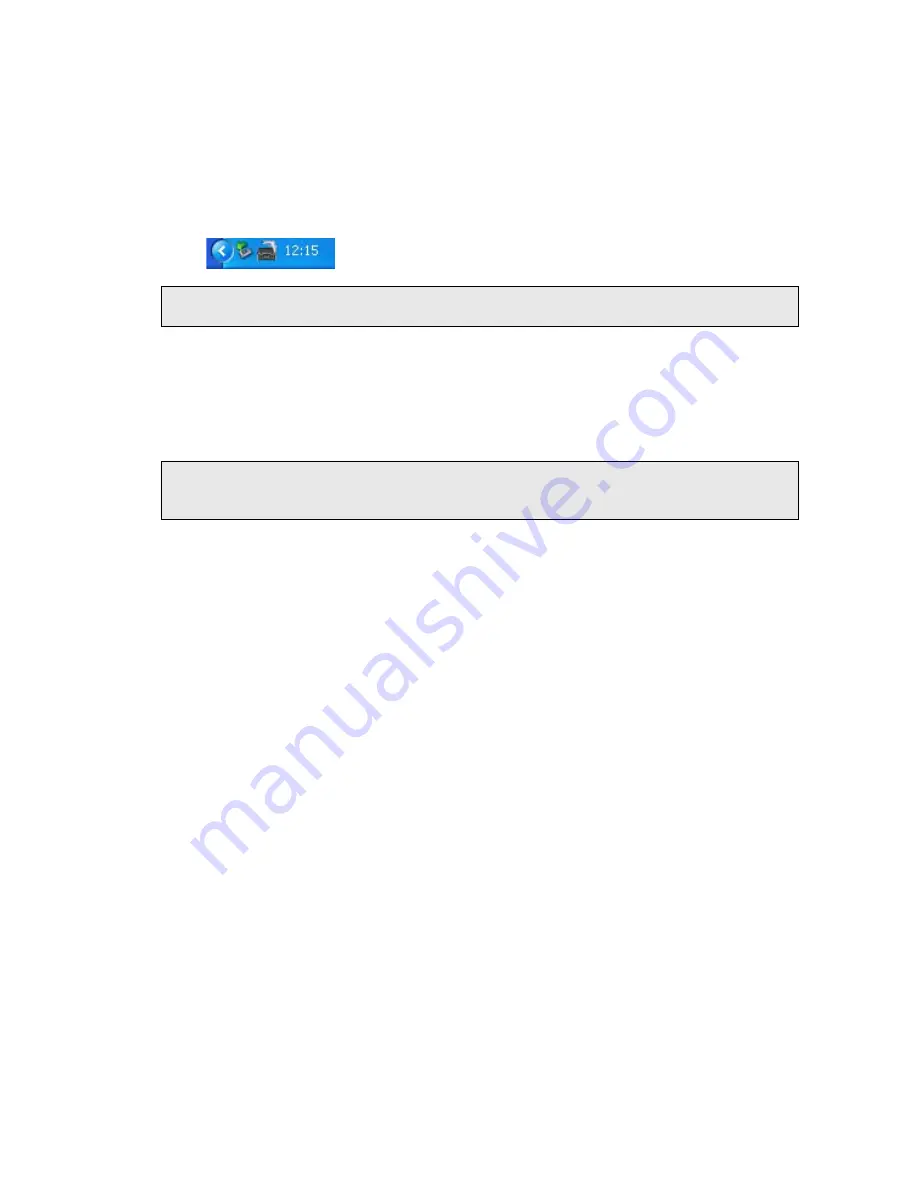
The instrument will shut down automatically after the appropriate time period. Alternatively,
you can shut down the instrument by right clicking on the Raman instrument icon in the
Notification area of the Windows Taskbar and accessing the shortcut menu.
NOTE: If Spectrum software stops responding, refer to
starting on page 70
for details of how to shut down the instrument and restart the software.
SOP-3: Setting-Up Experimental Parameters
This SOP is designed to act as a quick guide to help you start collecting data. The exact
setup for optimized spectral collection is sample dependent, and we recommend that you
modify these settings to suit your needs.
NOTE: If you intend using PerkinElmer software packages other than Spectrum to carry out
data acquisition or analyses, AssureID for example, you should refer to the
appropriate user guides and/or on-screen help provided.
1.
Ensure that the Raman IdentiCheck is switched on by following SOP-1.
2.
Using the Instrument Settings toolbar, check and set the instrument parameters, such
as the Start and End points of the scan range (in Raman Shift, for example, 3200 cm
-1
to 100 cm
-1
), and enter a unique Sample ID and Description.
3.
Set the
Exposure Time
and number of
Accumulations
.
You can define the Accumulations as a number of Exposures, or as a number of minutes
or seconds.
Typical values for Exposure Time and Accumulations are 5 seconds and 5 exposures,
respectively. Spectra may be optimized by increasing or decreasing the Exposure Time
and number of exposures. To obtain a good signal-to-noise ratio, you should co-add a
number of spectra. This can be carried out by choosing a suitable number of exposures.
4.
If required, adjust the
Data Interval
in Raman Shift (cm
−1
).
The default data interval is 2 cm
−1
. The Data Interval can be set on the Setup
Instrument Basic tab. To display the Setup Instrument tabs, select Raman
Instrument from the Setup menu. The tabs are displayed in the dialog pane.
5.
If you wish to edit the data collection parameters, such as how background scans are
collected, select the Setup Instrument Data Collection tab.
To display the Setup Instrument tabs, select Raman Instrument from the Setup
menu. The tabs are displayed in the dialog pane.
6.
In the Background Exposures section, we recommend that you select As samples.
This sets the number of background scans to the same value as the number of sample
scans. You may also choose one of the Background Collection options to define when a
background will be taken.
Summary of Contents for Raman IdentiCheck
Page 1: ...Raman IdentiCheck Getting Started Guide MOLECULAR SPECTROSCOPY ...
Page 5: ...Introduction ...
Page 10: ...10 Raman IdentiCheck Getting Started Guide ...
Page 11: ...Safety Practices ...
Page 26: ...26 Raman IdentiCheck Getting Started Guide ...
Page 27: ...Raman History Theory and Instrumentation ...
Page 34: ...34 Raman IdentiCheck Getting Started Guide ...
Page 35: ...Introduction to the Raman IdentiCheck ...
Page 50: ...50 Raman IdentiCheck Getting Started Guide ...
Page 51: ...Using the Raman IdentiCheck ...
Page 65: ...Maintenance and Troubleshooting ...
Page 73: ...Appendix A Using your own PC ...


