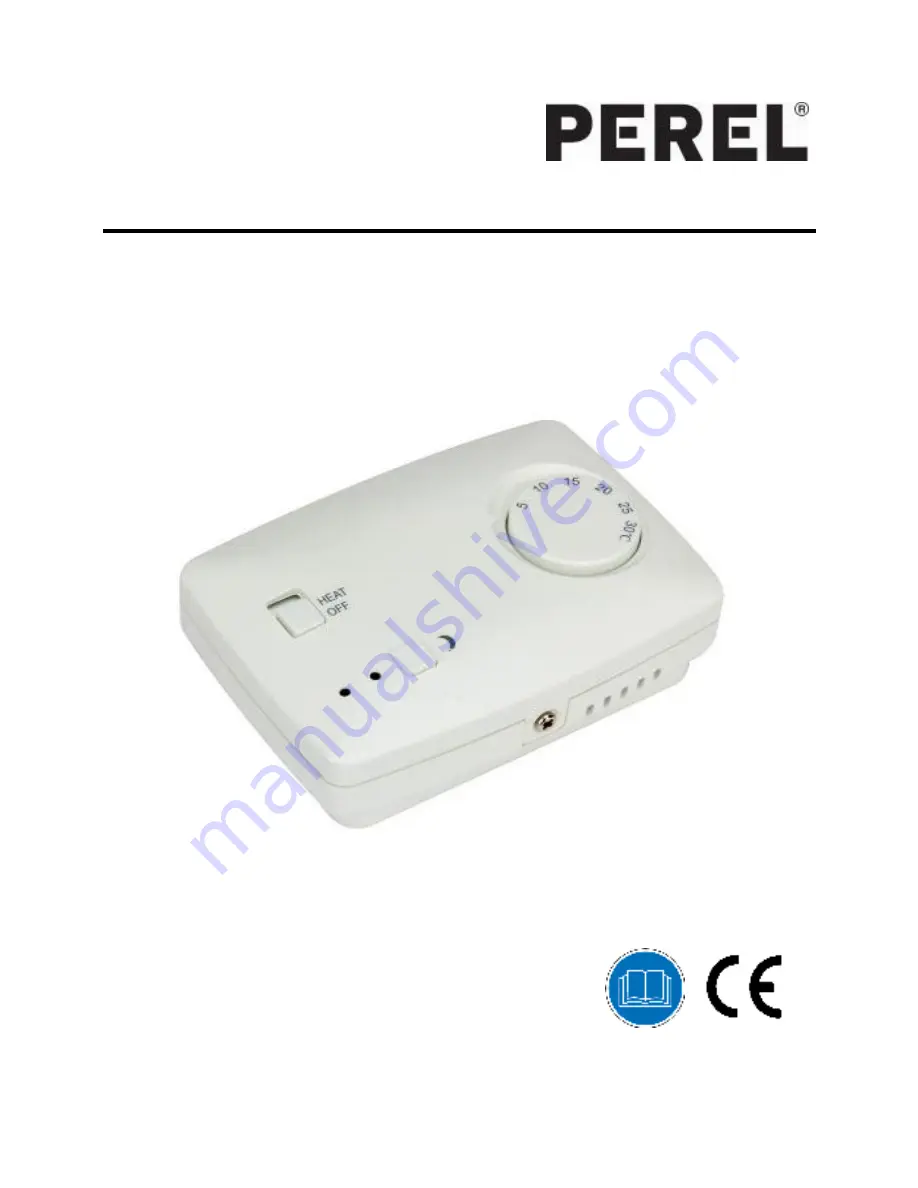
background image


CTH407 


NON-PROGRAMMABLE THERMOSTAT 
NIET-PROGRAMMEERBARE THERMOSTAAT 
THERMOSTAT NON PROGRAMMABLE 

TERMÓSTATO NO PROGRAMABLE 
NICHT PROGRAMMIERBARES THERMOSTAT 
TERMOSTATO NÃO PROGRAMÁVEL 


USER MANUAL 

3


HANDLEIDING 

7


MODE D'EMPLOI 

11


MANUAL DEL USUARIO 

15


BEDIENUNGSANLEITUNG 

19


MANUAL DO UTILIZADOR 

24


Summary of Contents for CTH407

Page 1: ...EERBARE THERMOSTAAT THERMOSTAT NON PROGRAMMABLE TERM STATO NO PROGRAMABLE NICHT PROGRAMMIERBARES THERMOSTAT TERMOSTATO N O PROGRAM VEL USER MANUAL 3 HANDLEIDING 7 MODE D EMPLOI 11 MANUAL DEL USUARIO 1...

Page 2: ...CTH407 V 01 10 05 2016 2 Velleman nv...

Page 3: ...re bringing this device into service If the device was damaged in transit do not install or use it and contact your dealer 2 Safety Instructions Keep this device away from children and unauthorized us...

Page 4: ...accept responsibility for any ensuing defects or problems Do not use outside the technical specifications Keep this manual for future reference 4 Overview Refer to the illustrations on page 2 of this...

Page 5: ...EAT position The thermostat will switch on and enter the temperature control status 2 Turn the temperature SET knob 4 to the desired room temperature The working LED 2 will light 3 Slide the on off sw...

Page 6: ...control switch relay switch rated power 230 V 50 Hz 7 3 A size 106 x 166 mm weight 157 g Use this device with original accessories only Velleman nv cannot be held responsible in the event of damage o...

Page 7: ...iding grondig voor u het toestel in gebruik neemt Werd het toestel beschadigd tijdens het transport installeer het dan niet en raadpleeg uw dealer 2 Veiligheidsvoorschriften Houd dit toestel buiten he...

Page 8: ...orloofd gebruik De garantie geldt niet voor schade door het negeren van bepaalde richtlijnen in deze handleiding en uw dealer zal de verantwoordelijkheid afwijzen voor defecten of problemen die hier r...

Page 9: ...sel aan de voorkant terug en schakel de stroom in De statusled 2 licht blauw op bij een correcte aansluiting 6 Gebruik 6 1 De temperatuur instellen 1 Schuif de aan uit schakelaar 1 naar HEAT De thermo...

Page 10: ...n of sterke detergenten 8 Technische specificaties temperatuurbereik 5 C 30 C controleschakelaar relais nom vermogen 230 V 50 Hz 7 3 A afmetingen 106 x 166 mm gewicht 157 g Gebruik dit toestel enkel m...

Page 11: ...ination Nous vous remercions de votre achat Lire attentivement le pr sent mode d emploi avant la mise en service de l appareil Si l appareil a t endommag pendant le transport ne pas l installer et con...

Page 12: ...ie Les dommages occasionn s par des modifications l appareil par le client ne tombent pas sous la garantie et votre revendeur d clinera toute responsabilit pour les probl mes et les d fauts qui en r s...

Page 13: ...er conform ment 5 Remettre le couvercle frontal et brancher l alimentation lectrique La LED d tat 2 s allume en bleu pour indiquer que la connexion est correcte 6 Emploi 6 1 R gler la temp rature 1 Fa...

Page 14: ...ons techniques plage de temp rature 5 C 30 C bouton de contr le relais puissance nominale 230 V 50 Hz 7 3 A dimensions 106 x 166 mm poids 157 g N employer cet appareil qu avec des accessoires d origin...

Page 15: ...racias por elegir Perel Lea atentamente las instrucciones del manual antes de usar el aparato Si ha sufrido alg n da o en el transporte no lo instale y p ngase en contacto con su distribuidor 2 Instru...

Page 16: ...causados por descuido de las instrucciones de seguridad de este manual invalidar n su garant a y su distribuidor no ser responsable de ning n da o u otros problemas resultantes Respete las especificac...

Page 17: ...iluminar en azul conexi n correcta 6 Funcionamiento 6 1 Ajustar la temperatura 1 Ponga el interruptor ON OFF 1 en la posici n HEAT El termostato se activar y entrar en el estado de control de la tempe...

Page 18: ...ni disolventes de limpieza para limpiar el aparato 8 Especificaciones gama de temperatura 5 C 30 C bot n de control rel potencia nominal 230 V 50 Hz 7 3 A dimensiones 106 x 166 mm peso 157 g Utilice...

Page 19: ...Zweifel bestehen wenden Sie sich f r Entsorgungsrichtlinien an Ihre rtliche Beh rde Vielen Dank dass Sie sich f r Perel entschieden haben Lesen Sie diese Bedienungsanleitung vor Inbetriebnahme sorgf...

Page 20: ...inen Funktionen vertraut gemacht haben Eigenm chtige Ver nderungen sind aus Sicherheitsgr nden verboten Bei Sch den verursacht durch eigenm chtige nderungen erlischt der Garantieanspruch Verwenden Sie...

Page 21: ...einer ebenen Oberfl che Bohren Sie zwei L cher von 6 mm und stecken Sie einen Nylond bel in jedes Loch Bohren Sie zwei L cher von 2 6 mm wenn Sie den Thermostat an einer Holzoberfl che befestigen m c...

Page 22: ...nergiesparmodus die Temperatur ist um 5 C niedriger als die eingestellte Temperatur Den Eco Modus einstellen 1 Dr cken Sie die Programmtaste 5 um den Eco Modus einzuschalten Die Programm LED 3 leuchte...

Page 23: ...alscher Anwendung dieses Ger tes F r mehr Informationen zu diesem Produkt und die neueste Version dieser Bedienungsanleitung siehe www perel eu Alle nderungen ohne vorherige Ank ndigung vorbehalten UR...

Page 24: ...do a Perel Leia atentamente as instru es do manual antes de usar o aparelho Caso o aparelho tenha sofrido algum dano durante o transporte n o o instale e entre em contacto com o seu distribuidor 2 Ins...

Page 25: ...ma utiliza o incorreta anula a garantia completamente Danos causados pelo n o cumprimento das normas de seguran a referidas neste manual anulam a garantia e o seu distribuidor n o ser respons vel por...

Page 26: ...vas liga es 5 Volte a colocar a prote o frontal e ligue a tomada de corrente el trica O LED de funcionamento 2 acender de cor azul para indicar que a liga o est correta 6 Utiliza o 6 1 Regular a Tempe...

Page 27: ...cos solventes ou detergentes abrasivos 8 Especifica es amplitude de temperatura 5 C 30 C interruptor de controlo interruptor do rel pot ncia 230 V 50 Hz 7 3 A tamanho 106 x 166 mm peso 157 g Utilize e...

Page 28: ...non rechargeable built in or replaceable lamps rubber parts drive belts unlimited list flaws resulting from fire water damage lightning accident natural disaster etc flaws caused deliberately negligen...

Page 29: ...brikant schade ten gevolge van een commercieel professioneel of collectief gebruik van het apparaat bij professioneel gebruik wordt de garantieperiode herleid tot 6 maand schade veroorzaakt door onvol...

Page 30: ...s d une utilisation professionnelle tout dommage l appareil qui r sulte d une utilisation incorrecte ou diff rente que celle pour laquelle il a t initialement pr vu comme d crit dans la notice tout do...

Page 31: ...al o colectivo del aparato el per odo de garant a se reducir a 6 meses con uso profesional da os causados por un uso incorrecto o un uso ajeno al que est previsto el producto inicialmente como est des...

Page 32: ...r Bedienungsanleitung Sch den infolge einer kommerziellen professionellen oder kollektiven Anwendung des Ger tes bei gewerblicher Anwendung wird die Garantieperiode auf 6 Monate zur ckgef hrt Sch den...

Page 33: ...um inc ndio raios de um acidente de una catastrophe natural etc danos provocados por negligencia volunt ria ou n o uma utiliza o ou manuten o incorrecta ou uma utiliza o do aparelho contr ria as presc...

Reviews: