129
6
Playback/Deleting/Editing
Direct Printing Using PictBridge
By connecting the camera to a printer that supports PictBridge using the
USB cable (I-USB17) supplied with the camera, you can print images
directly from the camera without using a PC. Select the images you want
to print and the number of copies on the camera after it has been
connected to the printer.
1
Select
d
for [USB Connection Mode] on the
[
B
Set-up] menu.
1
“Changing the USB Connection Mode” (p.153)
2
Connect the camera to the printer
using the USB cable supplied with
the camera.
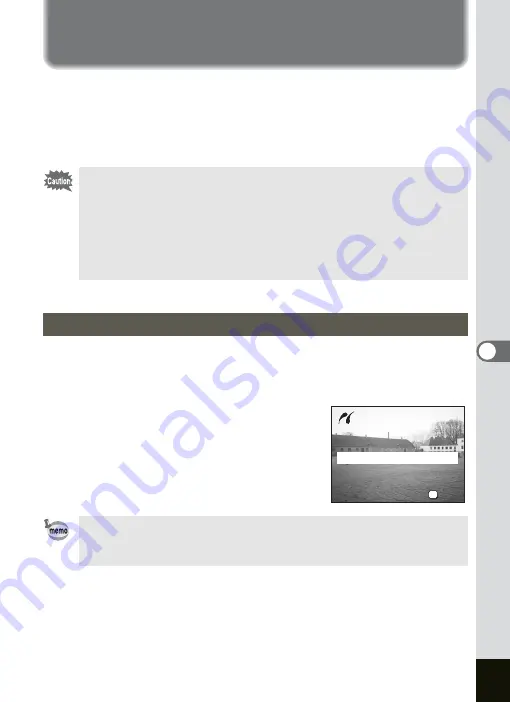
The PictBridge menu appears.
• You are recommended to use the AC adapter D-AC8 (optional)
while the camera is connected to the printer. The printer may not
work properly or the image data may be damaged if the battery
runs out of power while the camera is connected to the printer.
• Do not disconnect the USB cable during data transfer.
• Depending on the type of printer, not all the settings made on the
camera (such as paper size and DPOF settings) may be valid.
Connecting the Camera to the Printer
While the camera is connected to a printer, if the printer settings are
changed (such as when you attach an external cartridge), the
display may return to the PictBridge menu.
Print One
Print One
DPOF AUTOPRINT
DPOF AUTOPRINT
OK
OK
Select
Select
Printing Mode
Printing Mode
OK
Print All
Print One
DPOF AUTOPRINT
OK
Select
Printing Mode
Summary of Contents for OPTIO SV
Page 33: ...31 Quick Start 2 Memo...
Page 45: ...43 Common Operations 3 Memo...
Page 67: ...65 Taking Pictures 4 Example of a 3D Picture Parallel Method...
Page 109: ...107 Taking Pictures 4 Memo...
Page 143: ...141 6 Playback Deleting Editing Memo...
Page 177: ...175 8 Appendix Z Zoom 68 Zoom button 12 34 36 Zoom Display 111...
Page 178: ...Memo...
Page 179: ...Memo...


