111
3
Ta
king
Pict
ures
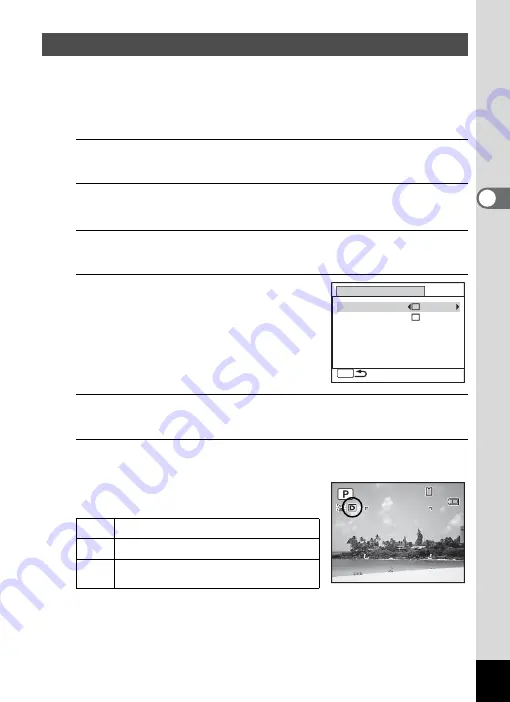
Expands the dynamic range and prevents bright and dark areas from
occurring. [Highlight Correction] adjusts the bright areas when the image
is too bright and [Shadow Correction] adjusts the dark areas when the
image is too dark.
1
Press the
3
button in
A
mode.
The [
A
Rec. Mode] menu appears.
2
Use the four-way controller (
23
) to select [D-Range
Setting].
3
Press the four-way controller (
5
).
The [D-Range Setting] screen appears.
4
Use the four-way controller (
23
)
to select [Highlight Correction] or
[Shadow Correction].
5
Use the four-way controller (
45
) to select
O
(On) or
P
(Off).
6
Press the
3
button twice.
The camera returns to capture status.
The D-Range Setting icon appears on the
display.
Correcting the Brightness (D-Range Setting)
P
When [Highlight Correction] is set to
O
Q
When [Shadow Correction] is set to
O
O
When [Highlight Correction] and
[Shadow Correction] are both set to
O
D-Range Setting
MENU
Highlight Correction
Shadow Correction
14:25
14:25
14:25
38
38
38
09/09/2011
09/09/2011
09/09/2011
Summary of Contents for Optio RX18
Page 16: ...Memo 14...
Page 32: ...Memo 30...
Page 53: ...2 Common Operations Understanding the Button Functions 52 Setting the Camera Functions 57...
Page 160: ...Memo 158...
Page 190: ...Memo 188...
Page 191: ...7 Settings Camera Settings 190...
Page 228: ...Memo 226...
Page 256: ...254 9 Appendix W White Balance 112 Windows 211 World Time 195 Z Zoom x w 78 Zoom lever 52 54...
Page 257: ...Memo...
Page 258: ...Memo...
Page 259: ...Memo...


