100
3
Ta
king
Pict
ures
3
Press the
4
button.
The camera enters the
F
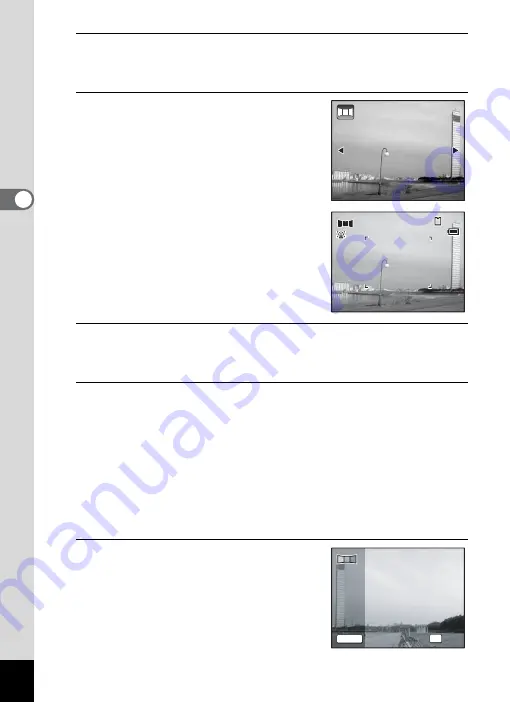
mode and the message [Set shift direction]
is displayed.
4
Use the four-way controller (
45
)
to choose the direction in which
the images will be joined.
The screen for taking the first frame is
displayed.
When the camera detects a person’s face,
the Face Detection function is activated and
the face detection frame appears (p.72).
5
Press the shutter release button halfway.
The focus frame on the display turns green when the camera focuses
on the subject at the correct distance.
6
Press the shutter release button fully.
The screen for taking the second frame is displayed after you take the
first frame.
If you select right (
5
) in Step 4:
The right edge of the first frame appears in semi-transparent form on
the left edge of the display.
If you select left (
4
) in Step 4:
The left edge of the first frame appears in semi-transparent form on
the right edge of the display.
7
Take the second frame.
Move the camera so that the semi-
transparent image and the actual view
overlap and press the shutter release
button.
Set shift direction
Set shift direction
38
38
38
14:25
14:25
14:25
09/09/2011
09/09/2011
09/09/2011
1
1
2
SHUTTER
OK
Exit
Exit
2nd Frame
2nd Frame
Summary of Contents for Optio RX18
Page 16: ...Memo 14...
Page 32: ...Memo 30...
Page 53: ...2 Common Operations Understanding the Button Functions 52 Setting the Camera Functions 57...
Page 160: ...Memo 158...
Page 190: ...Memo 188...
Page 191: ...7 Settings Camera Settings 190...
Page 228: ...Memo 226...
Page 256: ...254 9 Appendix W White Balance 112 Windows 211 World Time 195 Z Zoom x w 78 Zoom lever 52 54...
Page 257: ...Memo...
Page 258: ...Memo...
Page 259: ...Memo...


