EN-61
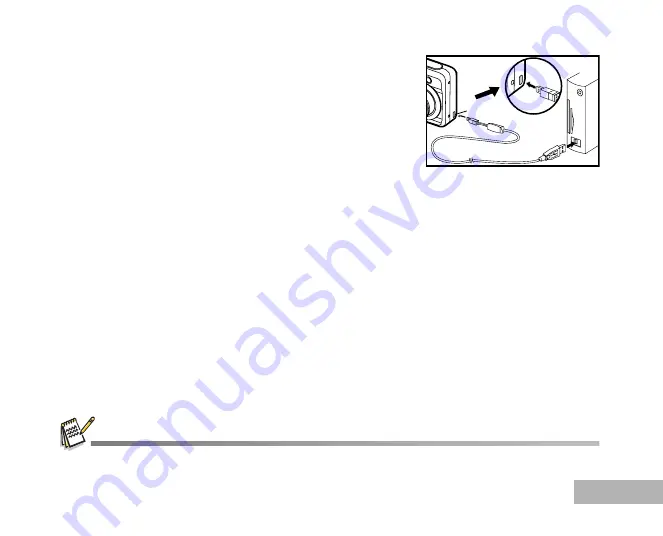
6. Connect your camera and the computer via the supplied USB
cable, making sure the shapes of input and output terminals match
each other.
7. Turn your camera on by pressing the power switch.
8. There will be a new “Removable Disk” icon detected in “My
Computer”, which contains your recorded images or movie clips.
(For Mac users, double-click "Untitled" disk drive icon on your
desktop.)
Step 3: Download images or movie clips
When the digital camera is turned on and connected to your computer, it is considered to be a disk drive, just
like a floppy disk. You can download (transfer) images by copying them from the “Removable disk” ("Untitled"
disk on a Macintosh) to your computer hard disk drive.
Windows
Open the “removable disk” and double click on the DCIM folder to open it to find more folders. Your images
are inside these folder(s). Select the desired still images or movie clips and then choose “Copy” from the
“Edit” menu. Open the destination location (folder) and choose “Paste” from the “Edit” menu. You may also
drag and drop image files from the digital camera to a desired location.
Macintosh
Open the "Untitled" disk icon, and the destination location on your hard disk. Drag and drop from the digital
camera to the desired destination.
SD Memory Card users may prefer to use an SD Memory Card reader (highly recommended).
PC/VIDEO terminal


