173
5
Se
ttings
5
Set [Shutter Sound], [Operation Sound] and [Self-timer
Sound] in the same way as in Steps 2 to 4.
6
Press the
3
button twice.
The screen that was displayed before selecting the menu appears
again.
You can change the initial date and time settings (p.51). Also, you can
change the format in which the date appears on the camera.
1
Use the four-way controller (
23
) to select [Date
Adjustment] in the [
W
Setting 1] menu, and press the
four-way controller (
5
).
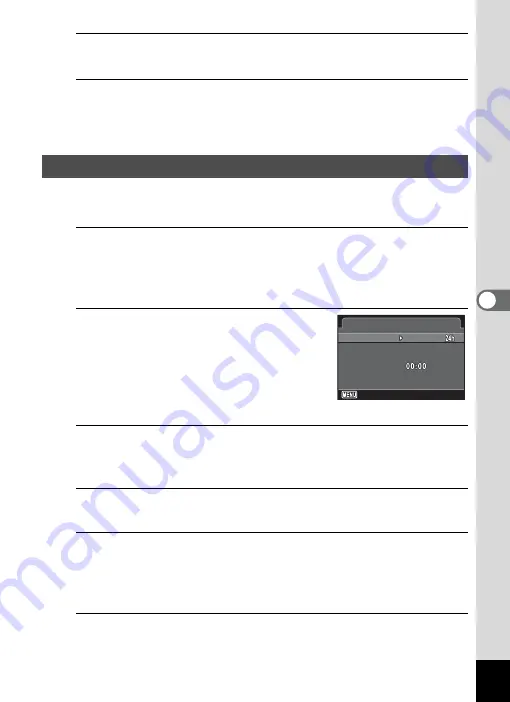
The [Date Adjustment] screen appears.
2
Press the four-way controller (
5
).
The frame moves to [mm/dd/yy].
Depending on the initial setting or previous
setting, [dd/mm/yy] or [yy/mm/dd] may be
displayed.
3
Use the four-way controller (
23
) to choose the date
format.
Choose [mm/dd/yy], [dd/mm/yy] or [yy/mm/dd].
4
Press the four-way controller (
5
).
The frame moves to [24h].
5
Use the four-way controller (
23
) to select [24h] (24-
hour display) or [12h] (12-hour display), and press the
four-way controller (
5
).
The frame returns to [Date Format].
6
Press the four-way controller (
3
).
The frame moves to [Date].
Changing the Date and Time
01/01/2013
01/01/2013
Cancel
Cancel
Settings complete
Settings complete
Date Adjustment
Date Adjustment
Date Format
Date Format
mm/dd/yy
mm/dd/yy
Date
Date
Time
Time


