92
3
Ta
king
Pict
ures
6
Press the
3
button.
The camera returns to capture status.
You can choose from six recorded pixels settings for still pictures.
The larger the number of recorded pixels, the clearer the details will
appear when you print your picture. As the quality of the printed picture
also depends on the image quality, exposure control, resolution of the
printer, and other factors, you do not need to select more than the
required number of recorded pixels. The more pixels there are, the larger
the picture and the bigger the file size.
Refer to the following table for the appropriate settings according to
expected usage.
The default setting is
g
.
• In
9
(Green) and
b
(Auto Picture) modes, the focusing area is fixed
at
J
.
• If you change the [Focusing Area] setting frequently, you can save
time by assigning it to the Green button (p.107).
Selecting the Number of Recorded Pixels
Recorded Pixels
Expected Usage
g
4288×3216
For printing high quality photos or A4-size or larger
prints, or editing images on a computer.
l
3216×3216
i
4224×2376
6
3072×2304
For making postcard-size prints.
h
1920×1080
m
640× 480
For posting on a website or attaching to e-mail.
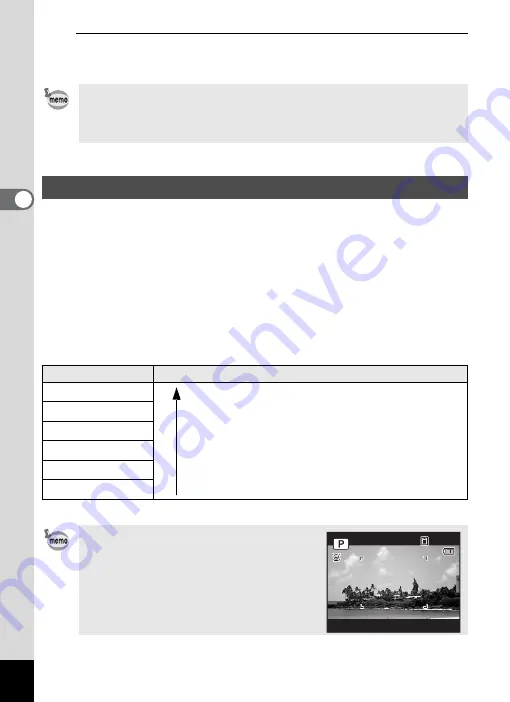
If you select
i
or
h
, the aspect
ratio of the image is 16:9 and the monitor
display for recording and playback is as
shown on the right.
Clea
rer
1 4 : 2 5
3 8
3 8
3 8
0 3 / 0 3 / 2 0 11
0 3 / 0 3 / 2 0 11
0 3 / 0 3 / 2 0 11
1 4 : 2 5
Summary of Contents for 15936
Page 30: ...Memo 28...
Page 50: ...Memo 48...
Page 51: ...2 Common Operations Understanding the Button Functions 50 Setting the Camera Functions 55...
Page 64: ...Memo 62...
Page 136: ...Memo 134...
Page 158: ...Memo 156...
Page 165: ...7 Settings Camera Settings 164...
Page 182: ...Memo 180...
Page 183: ...8 Connecting to a Computer Connecting to a Computer 182 Using the Provided Software 186...
Page 196: ...Memo 194...
Page 220: ...Memo 218 9 Appendix...


