


Folds
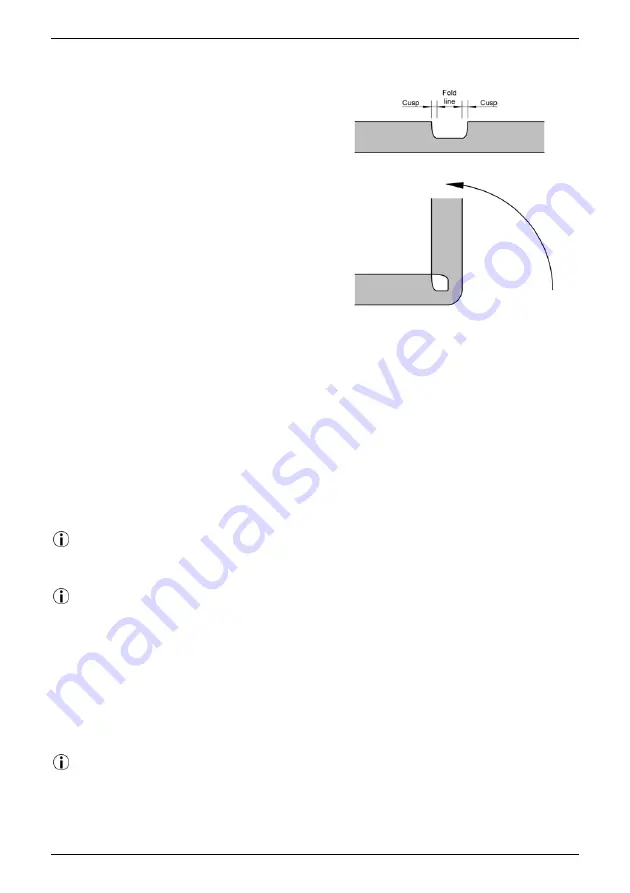
Folds are indicated on the etches by half-
etched lines. Unless stated otherwise, all folds
are made at 90° with the half-etched line on
the inside of the fold. Most folds may be made
by holding the larger part of the workpiece in
the fingers or, for smaller items, a hand vice or
similar clamp, and then driving the fold from the
smaller part either by using smooth-jawed
pliers or by turning it over against a smooth,
flat, hard block of material such as hardwood,
metal or tufnol. For longer folds the workpiece
may be clamped between two flat, straight
edged pieces of similar material. Special folding
tools or bending bars are not necessary,
though of course you may find them useful if
you have them.
Whichever way you make a fold, try not to force its location or direction, but let the brass
bend at its weakest point as determined by the centre of the etched fold line. This should
result in a correctly positioned and symmetric fold as shown in the diagram.
The act of making the fold will work-harden the metal along the line of the fold and may
even, especially with a lighter etch, cause it to yield on the outer corner of the fold. Try,
therefore, not to work a fold unnecessarily once made, as it will become increasingly
brittle and prone to breakage. In general, folds are reinforced with a fillet of solder but
this is explicitly dealt with in the instructions for each component.
Soldering
We use Carrs 145° wire solder with either Carrs Green Label liquid flux or La- Co paste
flux, except where stated otherwise. You will develop a technique that suits yourself
and your iron, but the following notes might help as a starting point.
Flux can be applied to the workpiece using a brush, a pointed cocktail stick or (for
paste flux) a syringe. With liquid flux, reducing the surface tension of the flux, for
example by adding a drop of washing up liquid or ox-gall, may help it wet the surface. The
soldering iron bit is wiped on a damp sponge before each use. A small amount of solder
can be picked up on the bit (it might need a little flux to help it) and the bit applied to the
workpiece, holding it there until the solder 'flashes' off the bit into the joint; we are using
relatively thick material so can afford to linger with the iron and get plenty of heat to the
job. Alternatively a small length of solder wire can be cut off, placed next to the joint and
the iron brought to it. The length can be anything down to the smallest sliver (and even
that cut into smaller sections), giving precise control of the amount of solder applied.
Flux residues should be neutralized and/or cleaned off after each working session.
Green Label flux may be rinsed away with water; a little added citric acid will neutralize
it. Liquid or paste fluxes can be washed away either with a proprietary flux cleaner or a
50/50 mix of methylated spirits and water.
General Notes
7/51
(c) PenBits Model Railways, All Rights Reserved
27/09/2021
Summary of Contents for BACHMANN CLASS 24
Page 2: ......