


thoroughly.
Slots
Some of the parts of our kits are designed to
fit, perpendicularly, either into or through slots
i n other parts. The slots are intended to
provide a loose sliding fit for the other part.
Because of variations in the degree of etching
(q.v., below)
, it is possible that the fit will be
looser or tighter than ideal.
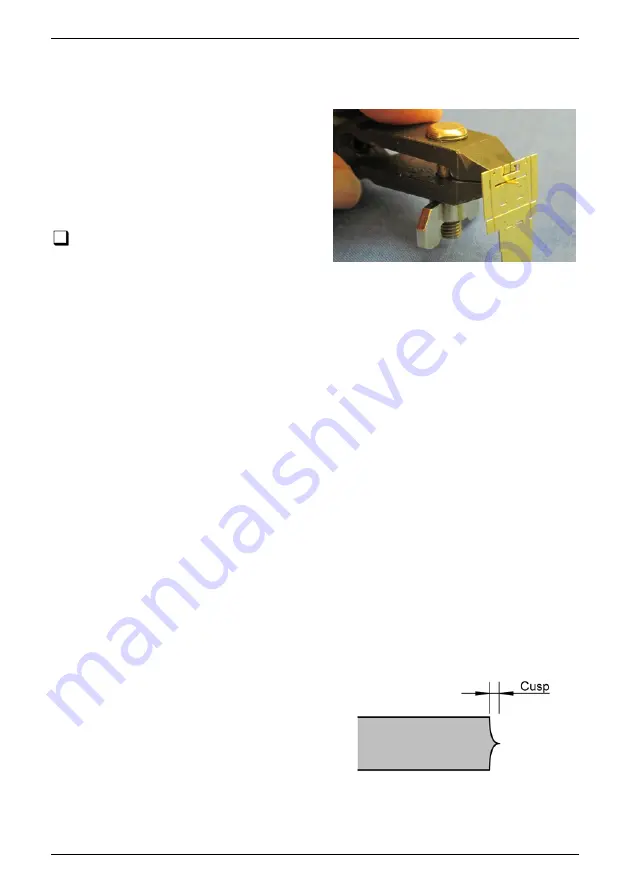
Check the width of each slot with a piece
of scrap etch before assembly, preferably
before folding the slotted part. If the scrap will
not pass through, hold it in pliers or a hand vice, as shown (though make sure the part is
well supported), and work it through the slot until the loose sliding fit is achieved. In tight
spots, it is possible to use a small drill held in a pin chuck as a file.
Degree of Etching
The etch is created for us by a third party industrial manufacturer using a process of
chemical erosion. The 'Degree of Etching', i.e. how long the metal sheet is left in the
chemical bath, is a variable which is set by the skill and judgement of the operator as
each batch of sheets is produced. That dictates that the sizes of the etched parts on
different sheets can vary, within a certain tolerance, around the nominally designed
values. The variation is more significant with the relatively thick materials, that we use in
the main structural parts of our kits, than it is with the thinner materials typically used for
detail parts.
The ideal degree of etching is indicated by the slots (see above), as manufactured, being
just slightly on the tight side of the easy sliding fit required. The range of degree of
et c hing which we deem to be acceptable is from a 'lighter' etch, in which the scrap
material has to be pushed through the slot quite firmly to achieve the clearance, to a
'heavier' etch, where the fit is a little loose. We have test built our kits from etches
across this range to confirm that they may be assembled successfully.
Cusps
The chemical erosion process works equally
from each side of the metal, resulting in the
edges of the etch having shaped 'cusps' as in
the diagram here. On edges which will be
visible on the finished model, it is good practice
to file the edges of the metal flat. Many of the
edges on our kits are hidden from view.
Where
edges
form
joints
with
other
components, on a 'lighter' etch the edges may
need to be filed to a flat surface to achieve a fit, whereas with a 'heavier' etch one might
leave more of the cusps in place. In places which can't be reached by a file, e.g. in acute
corners of the etch, the cusp may be pared away with a sharp knife.
General Notes
6/51
(c) PenBits Model Railways, All Rights Reserved
27/09/2021
Summary of Contents for BACHMANN CLASS 24
Page 2: ......