background image

Installation and Assembly:

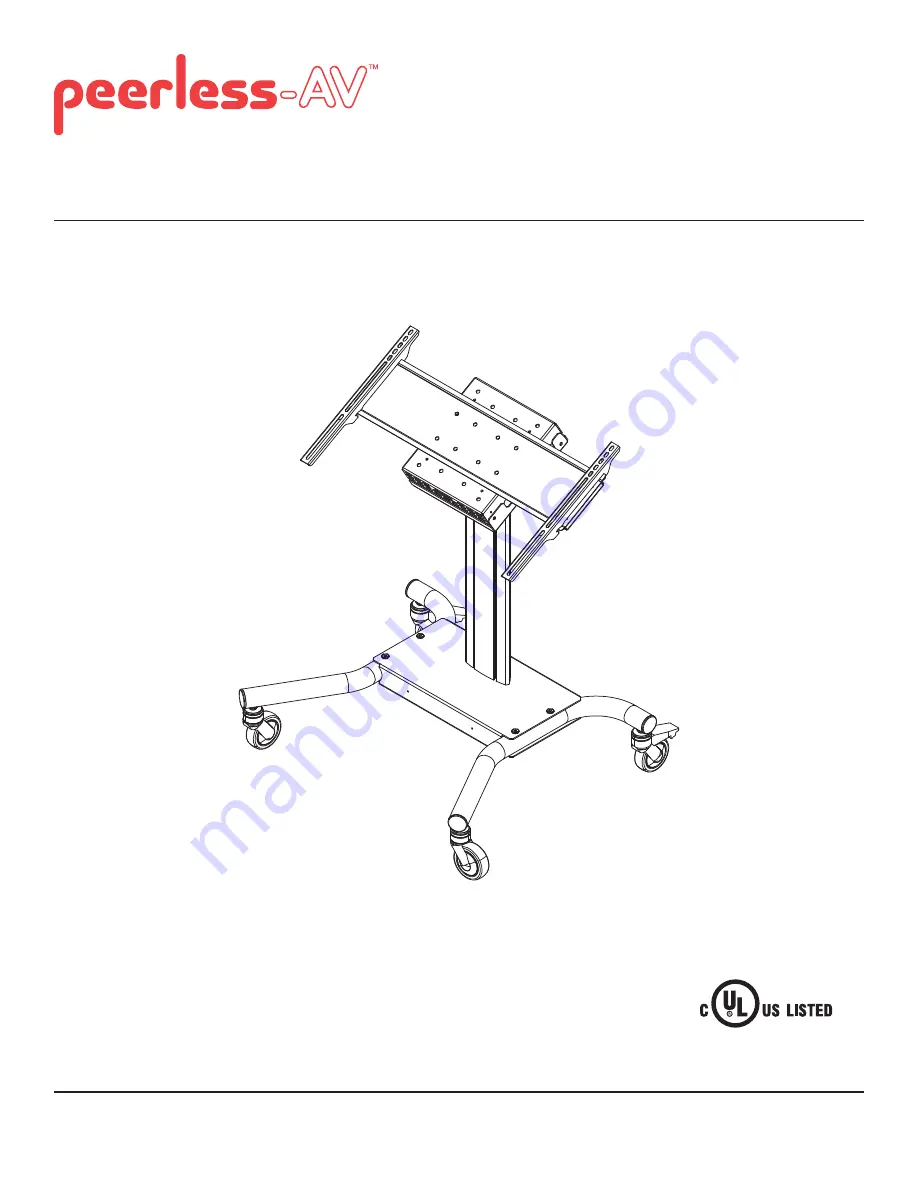
32" - 65" (81 - 165 cm) Kiosk Cart

Models:

 SC560FK

ISSUED: 09-30-11   SHEET #: 009-9057-3  05-23-12

2300 White Oak Circle  •  Aurora, Il 60502  •  (800) 865-2112  •  Fax: (800) 359-6500  •  www.peerlessmounts.com

Max UL Load Capacity:

150 lb (68 kg) display

15 lb (6.8 kg) component

Summary of Contents for SC560FK

Page 1: ...81 165 cm Kiosk Cart Models SC560FK ISSUED 09 30 11 SHEET 009 9057 3 05 23 12 2300 White Oak Circle Aurora Il 60502 800 865 2112 Fax 800 359 6500 www peerlessmounts com Max UL Load Capacity 150 lb 68 kg display 15 lb 6 8 kg component ...

Page 2: ...ers please contact your local distributor This product should only be installed by someone of good mechanical aptitude and fully understands these instructions Never exceed the Maximum UL Load Capacity on page 1 Always use an assistant or mechanical lifting equipment to safely lift and position equipment Tighten screws firmly but do not overtighten Overtightening can damage the items greatly reduc...

Page 3: ...0 lock washer 3 540 9424 K M10 x 15 mm button socket cap screw 4 520 9262 L 3 8 16 X 2 1 2 button socket cap screw 3 520 9550 M 6 mm allen wrench 1 560 9716 N 7 32 allen wrench 1 560 9715 O right leg 1 009 1295 P left leg 1 009 1296 Q caster 2 600 0044 R caster with brake 2 600 0045 S joint connector 4 530 1037 T 3 16 allen wrench 1 560 0071 U top plate 1 201 1724 V bottom plate 1 201 1699 W rubbe...

Page 4: ...9057 3 05 23 12 U V W X Y Z AA M5 x 25mm 4 520 1122 M5 x 12mm 4 520 1064 M6 x 12mm 4 520 1050 M6 x 25mm 4 520 1211 M8 x 25mm 4 520 1101 M8 x 12mm 4 520 1724 75 spacer 4 540 1059 Multi washer 4 580 1398 Security Adapter Bracket Fasteners ...

Page 5: ... N as shown in figure 1 2 NOTE Left and right legs can be identified by looking at the cart from the front Repeat for left side of column base with left leg P 1 O S H fig 1 2 fig 1 1 A O FRONT OF CART FRONT OF LEG 2 Insert casters Q R into holes of support legs O P and hand thread to secure Attach casters with brake R to rear of support legs O P Attach casters without brake Q to front of support l...

Page 6: ...bottom plate V with four M10 x 15 mm button socket cap screws K Tighten screws using 6 mm allen wrench M Attach the column bracket C to column B with three 3 8 16 x 1 button socket cap screws G Tighten screws using 7 32 allen wrench N Attach tilt plate D to column bracket C with four 5 16 18 x 3 8 button socket cap screws I as shown in rear view Tilt can be adjusted to 0 or 30 3 5 4 6 REAR VIEW D ...

Page 7: ...t W to bottom of CPU as shown below Secure CPU to top plate U using safety belt NOTE Safety belt may need to be loosened to attach CPU to component box top plate Secure top plate U to bottom plate V with four M8 x 15 mm screws X as shown in rear view Tighten screws using 4 mm allen wrench AA 7 8 9 REAR VIEW E Z W U U X V U CPU CPU SAFETY BELT CPU MAY APPEAR DIFFERENT THAN ILLUSTRATED 8 1 ...

Page 8: ...screws using 4 mm security allen wrench AA F CENTER BRACKETS VERTICALLY ON BACK OF DISPLAY X X 10 Notes The number of fasteners used will vary depending upon the type of display Multi washers and spacers may not be used depending upon the type of display Use the corresponding hole in the multi washer that matches your screw size as shown MEDIUM HOLE FOR M5 SCREWS SMALL HOLE FOR M4 SCREWS LARGE HOL...

Page 9: ...gth screw hand thread through multi washer adapter bracket and spacer in that order into display as shown below Screw must make at least three full turns into the mounting hole and fit snug into place Do not over tighten If screw cannot make three full turns into the display select a longer length screw from the baffled fastener pack Repeat for remaining mounting holes level brackets and tighten s...

Page 10: ...own in detail 1 of figure 11 1 NOTE To lock the display down tighten security screws to adapter plate E as shown in detail 1 11 Cable Management Run cables through column B using cable management holes 2012 Peerless Industries Inc All rights reserved All other brand and product names are trademarks or registered trademarks of their respective owners Peerless Industries Inc 2300 White Oak Circle Au...

Page 11: ...or repairs by Peerless b the failure to utilize proper packing when returning the product c incorrect installation or the failure to follow Peerless instructions or warnings when installing using or storing the product or d misuse or aXident in transit or otherwise including in cases of third party actions and force majeure In no event shall Peerless be liable for incidental or consequential damag...

Reviews: