Manual
10
6
Operation
6.1
Power on/off
To turn on the LCD unit, push and hold the
button for 3 … 5 seconds until you see the icons below
on your monitor:
SD card memory capacity
Battery capacity
6.2
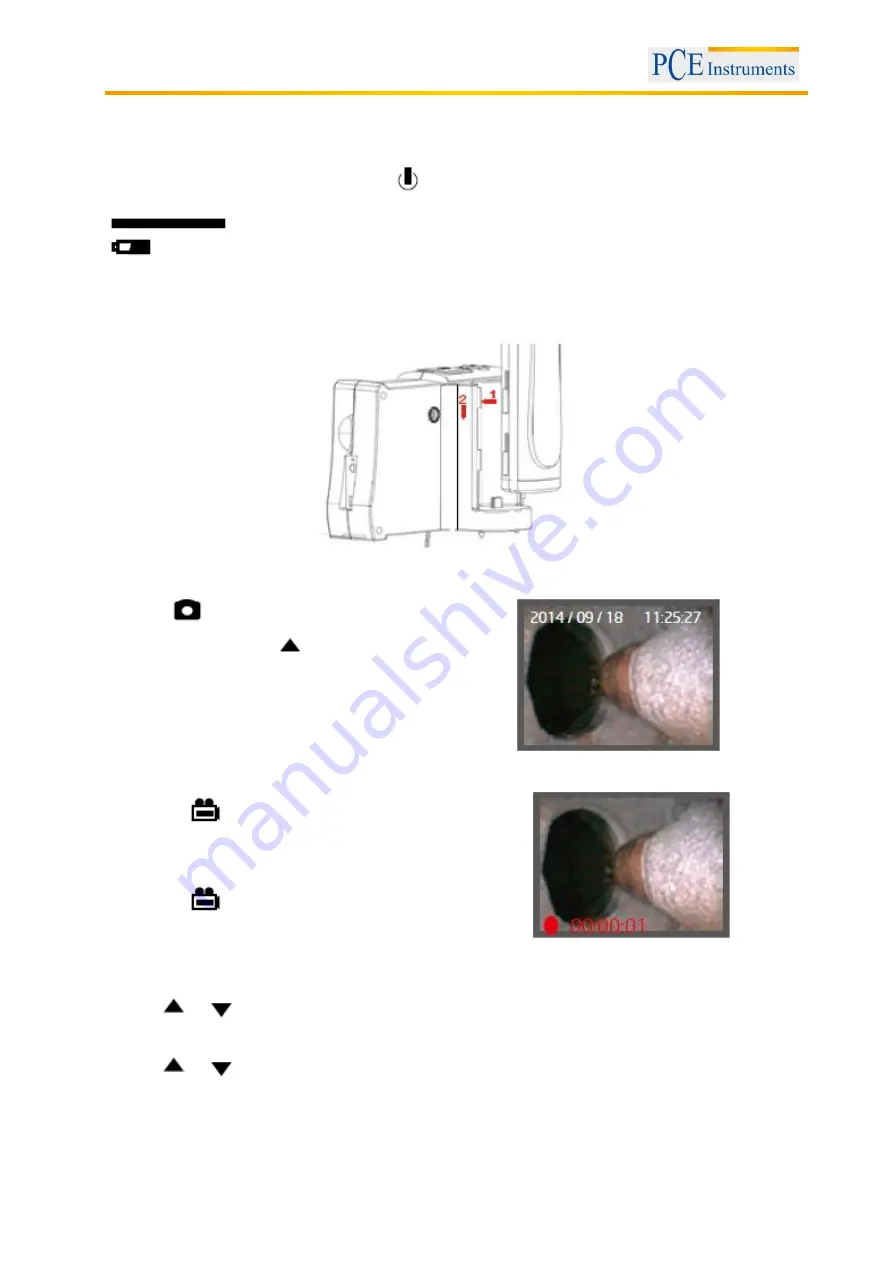
To switch from wireless to direct control
1. Insert the handle bar into the charging socket of the LCD unit as demonstrated in the figure below.
2. The image may look blurry for some time while switching from wireless to direct control.
6.3
To take pictures
Push the
button during Preview mode to take
a picture. Then push the
button to view the
picture you have just taken.
Image status: Returns to preview mode after
picture is taken.
6.4
Video recording
1. Push the
button to start video recording.
Image status: Recording time will appear at the
left-hand bottom side of the display
2. Push the
button again to stop recording.
Image status: Recording time disappears.
6.5
To view photos / videos
1. Push
or
during preview mode.
Image status: Displaying the photo / video last taken.
2. Push
or
again to view the last or second last photo / video.
Image status: All files will be saved in chronological order.
Note:
Each video will be displayed until it ends and after that, the next video or photo will be displayed.


