USERMANUAL
MODEL 2500 Series
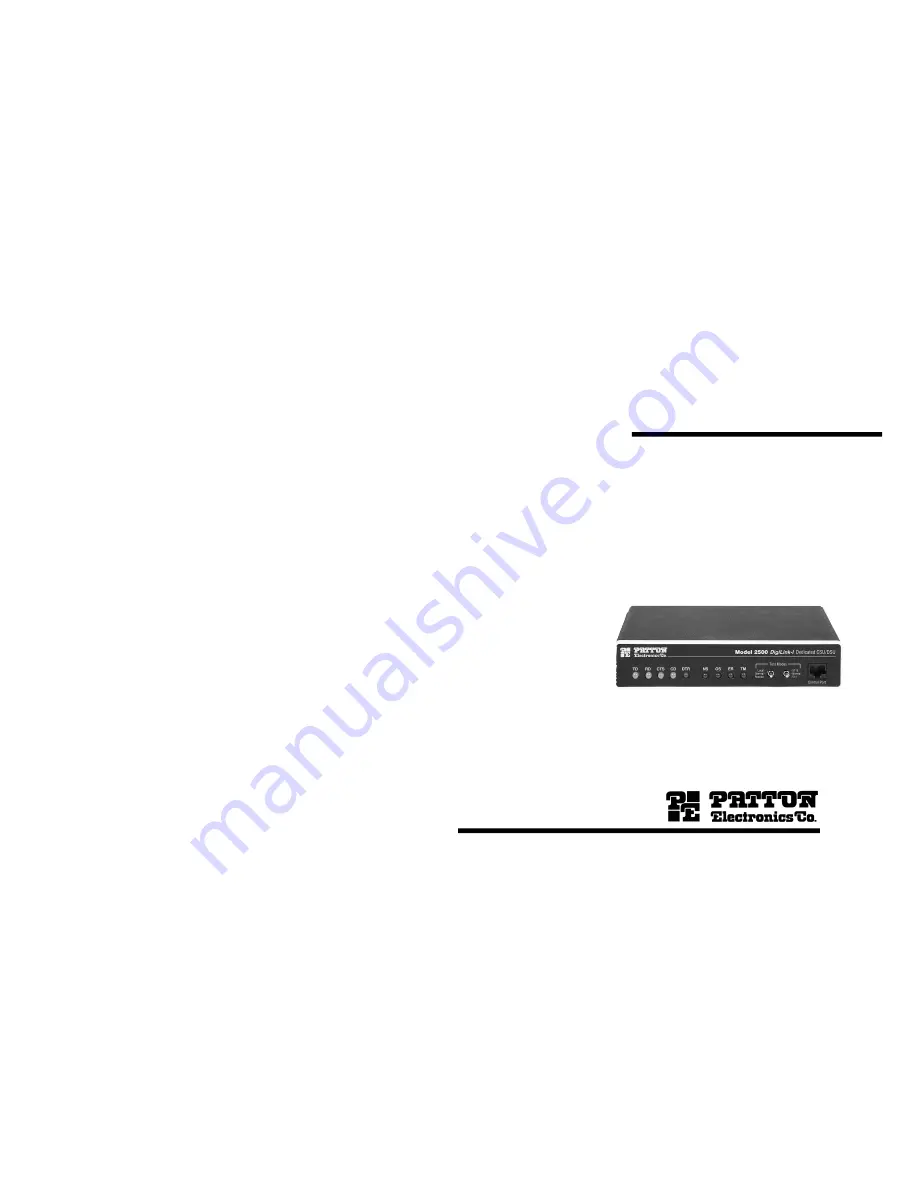
Models 2500, 2510, 2520All-Rate CSU/DSU
SALES OFFICE(301) 975-1000TECHNICAL SUPPORT(301) 975-1007
Part# 07M2500-CDoc# 099021UCRevised 3/13/96
Page 1: ...USER MANUAL MODEL 2500 Series Models 2500 2510 2520 All Rate CSU DSU SALES OFFICE 301 975 1000 TECHNICAL SUPPORT 301 975 1007 Part 07M2500 C Doc 099021UC Revised 3 13 96 ...
Page 2: ...tains no serviceable parts therefore the user shall not attempt to modify the unit in any way If this product fails or does not perform as warranted your sole recourse shall be repair or replacement as described above Under no condition shall Patton Electronics be liable for any damages incurred by the use of this product These damages include but are not limited to the following lost profits lost...
Page 3: ... provide this information to your telephone company Your telephone company may make changes in its facilities equipment operations or procedures that could affect the proper operation of the Model 2500 Series If this happens the telephone company should give you advance notice to prevent the interruption of your service The telephone company may decide to temporarily discontinue your service if th...
Page 4: ... 2 3 SUPPORTED APPLICATIONS The Model 2500 Series includes three units the Model 2500 All Rate CSU DSU the Model 2510 Switched 56 CSU DSU and the Model 2520 All Rate Switched 56 CSU DSU Depending upon the unit selected the Mode 2500 Series supports three distinct modes of operation These are outlined in the descriptions and table below Dedicated DDS Clear Channel Operation Models 2500 2520 The uni...
Page 5: ...ETWORK INTERFACE CONNECTION The Network Interface is an 8 position modular connector Connect this port to the RJ 48S jack provided by the digital data service provider If the Model 2500 Series is being used for private short haul communication the twisted pair cable will connect to this port See Appendix D for the pin assignments of this connector 3 3 CONTROL PORT INTERFACE The Control Port Interf...
Page 6: ... on only one end of the communication link In Switched 56 mode this switch should be set to On on both ends of the circuit Circuit SW1 4 Assurance Description On Enabled CTS will go low and the transmitter will be held off if the receiver is in the No Signal state or CD is low Off Disabled The transmitter and CTS will operate without regard to the receiver state RTS The RTS input can be forced on ...
Page 7: ...cription On DSR On DSR remains high On during the Analog Loop Off DSR Off DSR goes low Off during the Analog Loop 4 1 2 SWITCH SET SW2 The configuration switches on switch SW2 control the Rate Adapter DTE Rate Clock Mode Anti Stream Timer and RTS CTS Delay Figure 5 below summarizes SW2 switch settings including the factory defaults Following Figure 4 is a description of each switch setting Rate Ad...
Page 8: ... remains in the forced off condition until the terminal drops RTS Timer Value in Sec at Various Line Rates SW2 7 Timer 56 19 2 9 6 4 8 2 4 On Disabled Off Enabled 2 4 8 15 30 CTS Delay The RTS CTS turn on delay can be set to Normal or Extended Delay in mSec at Various Line Rates SW2 8 CTS Delay 56 19 2 9 6 4 8 2 4 Off Normal 0 3 0 9 1 9 3 8 7 5 On Extended 1 3 3 8 7 5 15 30 4 2 CONFIGURATION USING...
Page 9: ...he following screen will appear 2 In the Hardware Software Control Menu select item 2 to enable software switch control 3 The Main Menu will automatically reappear after your selection is entered 15 16 4 2 3 SETTING SOFTWARE SWITCH PARAMETERS From the Main Menu selecting item 3 Set Software Switch Parameters will take you to the Software Switch Menu below From this screen you can select any parame...
Page 10: ...nchronization with the 56 kbps line speed Set the Model 2500 Series for two stop bits by selecting 11 bit character length in the Character Length Menu continued Circuit Assurance Choosing option 2 in the Software Switch Menu takes you to the Circuit Assurance Menu below On dedicated DDS circuits the transmitter and the CTS output can be configured to go ON only when a working communication circui...
Page 11: ...r DTE Rate Menu opposite page The Model 2500 Series rate converter adapts a 56 kbps or 64 kbps line rate to slower DTE data rates Set the Rate Converter to match the DTE data rate If the DTE data rate is the same as the line rate disable rate conversion by selecting item 6 on this menu continued 19 20 Note For DTE data rates of 56 kbps or 64 kbps set the rate adapter to Line Rate DTE Rate and the ...
Page 12: ...tions in which the RS 232 or V 35 ports of two Model 2500 Series units are interconnected Switched 56 Model 2510 and 2520 only When using a Model 2510 or 2520 with Switched 56 service select item 4 continued Anti Streaming Timer Choosing option a in the Software Switch Menu takes you to the Anti Stream Timer Menu below Note You must use lower case letters for options a thru e This option lets you ...
Page 13: ...ns the Model 2500 Series receiver does not detect a signal from the digital service provider or in the case of short haul operation from the remote Model 2500 Series If NS is lit check for an unplugged cable broken wire or an incorrect Line Rate selection continued OS glows red to indicate Out of Service This means the Model 2500 Series has received an Out of Service signal from the digital servic...
Page 14: ...ack and telco loopback C O Loopback 5 3 1 LOCAL ANALOG LOOPBACK LAL The Local Analog Loopback LAL test checks the operation of the local Model 2500 Series Any data sent to the local Model 2500 Series in this test mode will be echoed returned back to the user device For example characters typed on the keyboard of a terminal will appear on the terminal screen see Figure 6 below LAL Test Activation T...
Page 15: ... the remote Model 2500 Series and looped back see Figure 7 below RDL Test Activation The RDL test may be activated in one of three ways 1 Toggle the front panel Local Normal Remote switch DOWN to the Remote position continued 2 Activate the RL lead from the DTE Note in order to use this option the DTE Loop Control option must be enabled see Section 4 1 2 If you are not sure which pin is the RL lea...
Page 16: ...simultaneously follow these steps continued 1 Locate the 511 511E toggle switch on the front panel of the Model 2500 Series and move it DOWN see Note 1 This activates the V 52 BER test mode and transmits a 511 pseudorandom test pattern to the other unit If any errors are received the receiving CSU DSU s red Error LED will blink sporadically see Notes 1 2 below 2 If the test indicates no errors are...
Page 17: ...es responds with this prompt Enter up to 12 digits without hyphens or other alphabetic characters followed by RETURN For example 13015551212 After dialing the number the Model 2500 Series will display the message Dialing and then display each number as it is dialed The Model 2500 Series will then prompt the user to wait while the connection is made One of the following messages will then be displa...
Page 18: ... technicians using twisted pair cable with the following characteristics Wire Gauge Capacitance Resistance 19 AWG 83nf mi or 15 72 pf ft 0163 Ohms ft 22 AWG 83nf mi or 15 72 pf ft 0326 Ohms ft 24 AWG 83nf mi or 15 72 pf ft 05165 Ohms ft To gain optimum performance from the Model 2500 Series please keep the following guidelines in mind Always use twisted pair wire this is not an option Use twisted ...
Page 19: ...United Kingdom Power Cord 0805AUS Australia New Zealand Power Cord 0805DEN Denmark Power Cord 0805FR France Belgium Power Cord 0805IN India Power Cord 0805IS Israel Power Cord 0805JAP Japan Power Cord 0805SW Switzerland Power Cord APPENDIX D INTERFACE PIN ASSIGNMENT DDS INTERFACE The DDS Interface is an RJ 48S modular jack Pin Signal 1 TX 2 TX 3 no connection 4 no connection 5 no connection 6 no c...
Page 20: ...emote Loop 24 XTC 25 TM Test Mode CONTROL PORT INTERFACE 8 Position modular connector compliant with EIA 561 Pin Signal 4 Signal Ground 5 RD Output 6 TD Input APPENDIX E TRANSMITTER CLOCK SOURCE DURING TEST LOOPS RC Received Clock 37 38 Analog Originating Receiving Clock Mode Normal Loop Remote Loop Remote Loop Internal INT INT INT RC External EXT INT EXT EXT Network RC INT RC RC ...