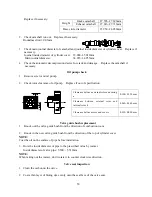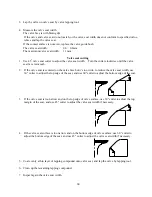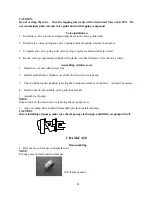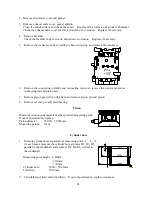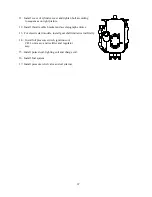
Install piston, connecting rod, piston pin and piston pin circlip
NOTE:
When installing, make sure that the mark on the connecting rod is on the same side as the mark on the
piston crown.
Piston ring installation
1. Install oil ring, 2nd ring and top ring.
NOTE:
Make sure that the mark is toward the piston crown when installing the 2nd ring.
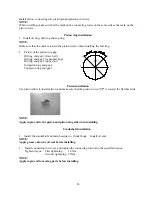
2. Picture of the piston ring gap
Oil ring end gap 1 (lower rail)
Oil ring end gap 2 (expanded ring)
Oil ring end gap 3 (upper rail)
2nd piston ring end gap 4
Top piston ring end gap 5
Piston installation
Use piston slider to install piston, and make sure that the piston crown “UP” is toward the flywheel side.
NOTE:
Apply engine oil to the piston and piston ring side when installing.
Crankshaft installation
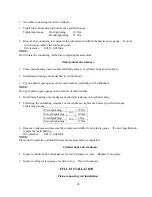
1. Install the crankshaft and main bearing to cylinder body. Install oil seal.
NOTE:
Apply grease onto new oil seal before installing.
2.
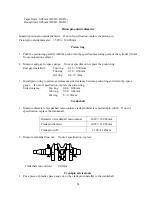
Install connecting rod cover, and tighten the connecting rod bolt to the specified torque.
Tighten torque: First tightening
10 Nm
Second
tightening
21Nm
NOTE:
Apply engine oil to moving parts before installing.
UP
1
3
2
4
5
65
Summary of Contents for F15/F9.9BM
Page 1: ...PARSUN OUTBOARD ENGINE SERVICE MANUAL F15 F9 9BM F15 F9 9W SUZHOU PARSUN POWER MACHINE CO LTD...
Page 13: ...DETECTION DEVICE Digital tachometer Digital circuit tester Peak voltage adaptor 7...
Page 36: ...EXPLOSIVE DRAWING REMARKS PART NO DESCRIPTION 30...
Page 37: ...REMARKS DESCRIPTION PART NO 110 Nm O M6x20 mm 8Nm O 18 Nm 31...
Page 38: ...PART NO DESCRIPTION REMARKS 18 Nm O M6x20 mm 8Nm O 110 Nm 32...
Page 39: ...Electric start type PART NO DESCRIPTION REMARKS 30 Nm 33...
Page 40: ...PART NO DESCRIPTION REMARKS 34...


