AT-DISP-CTRL
35
HDMI IN
HDMI OUT
SOURCE
POWER
AT-DISP-CTRL
AT-DISP-CTRL
LAN
RX
PoE
TX
TX
RESET
IP MODE
RS-232 IR OUT
DC 5V
FW
Solution Setup and Configuration Guide
The following sections provide step-by-step instructions for setting up display control using the AT-DISP-CTRL. The
following control types, and how to configure them, will be covered:
• CEC control
•
RS-232 control
•
IP control
• IR control
Display Control
The AT-DISP-CTRL provides various methods for display control: CEC, IP, RS-232, and IR Remote. No external
control system is required. Each of these methods will be covered in this section.
CEC Control
Consumer Electronics Control (CEC) is the simplest method when working with a consumer display. CEC is the
default control method for the AT-DISP-CTRL. The display must have CEC enabled to receive CEC messages. Refer
to the User Manual for the display for information on enabling CEC.
1.
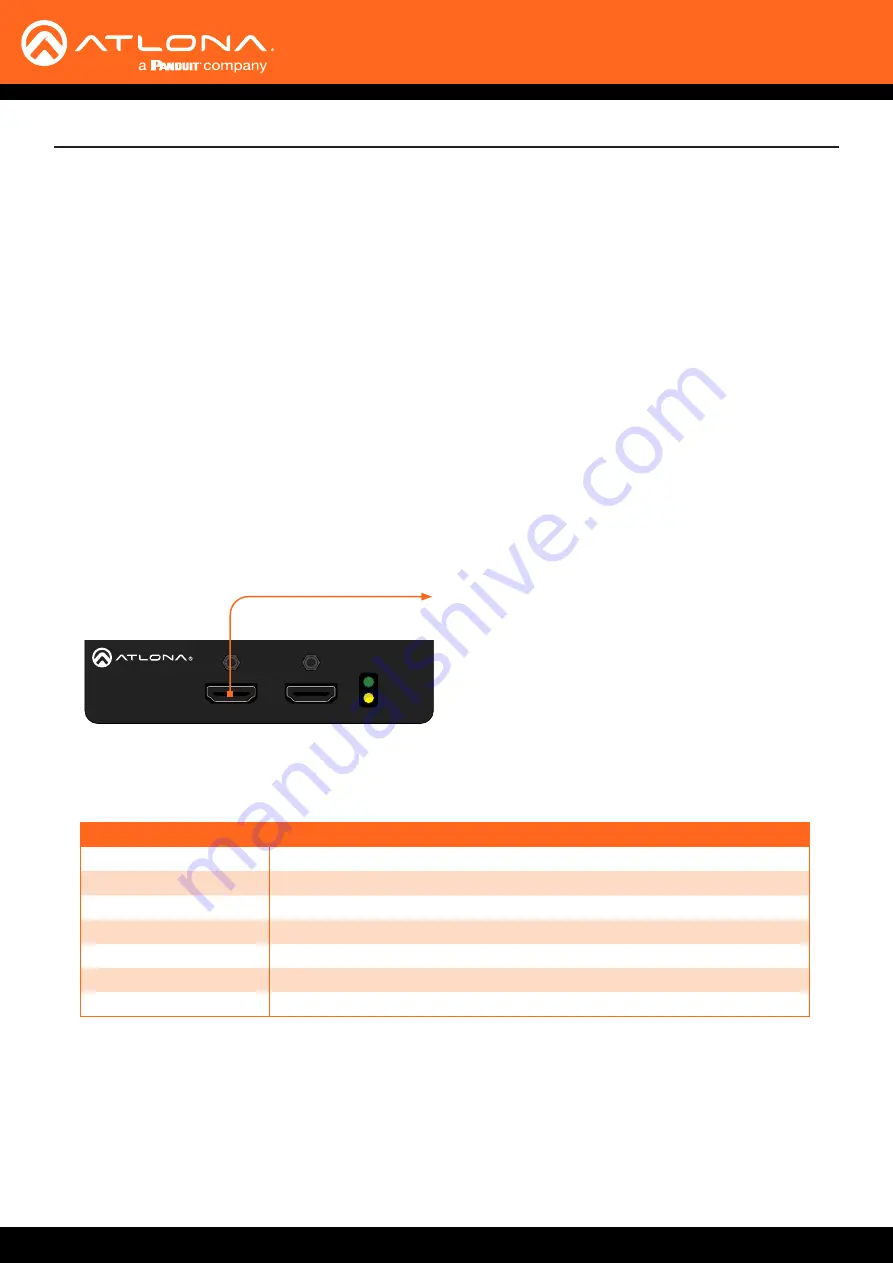
Connect an HDMI cable from the
HDMI OUT
port on the AT-DISP-CTRL to an HDMI input on the display device.
to display
Manufacturer
CEC Designation
Hitachi
HDMI-CEC
LG
SIMPLINK
Philips
EasyLink
Samsung
Sony
BRAVIA Sync
Toshiba
CE Link / REGZA Link
Visio
HDMI-CEC
2.
Enable CEC on the display device. Refer to the documentation for the display device. It should be noted that
different manufacturers will identify CEC with their own brand name. Refer to the table below.
3.
Login to the web server. Refer to
Introduction to the Web Server (page 27)
.
4. Click
Display
in the menu bar.


