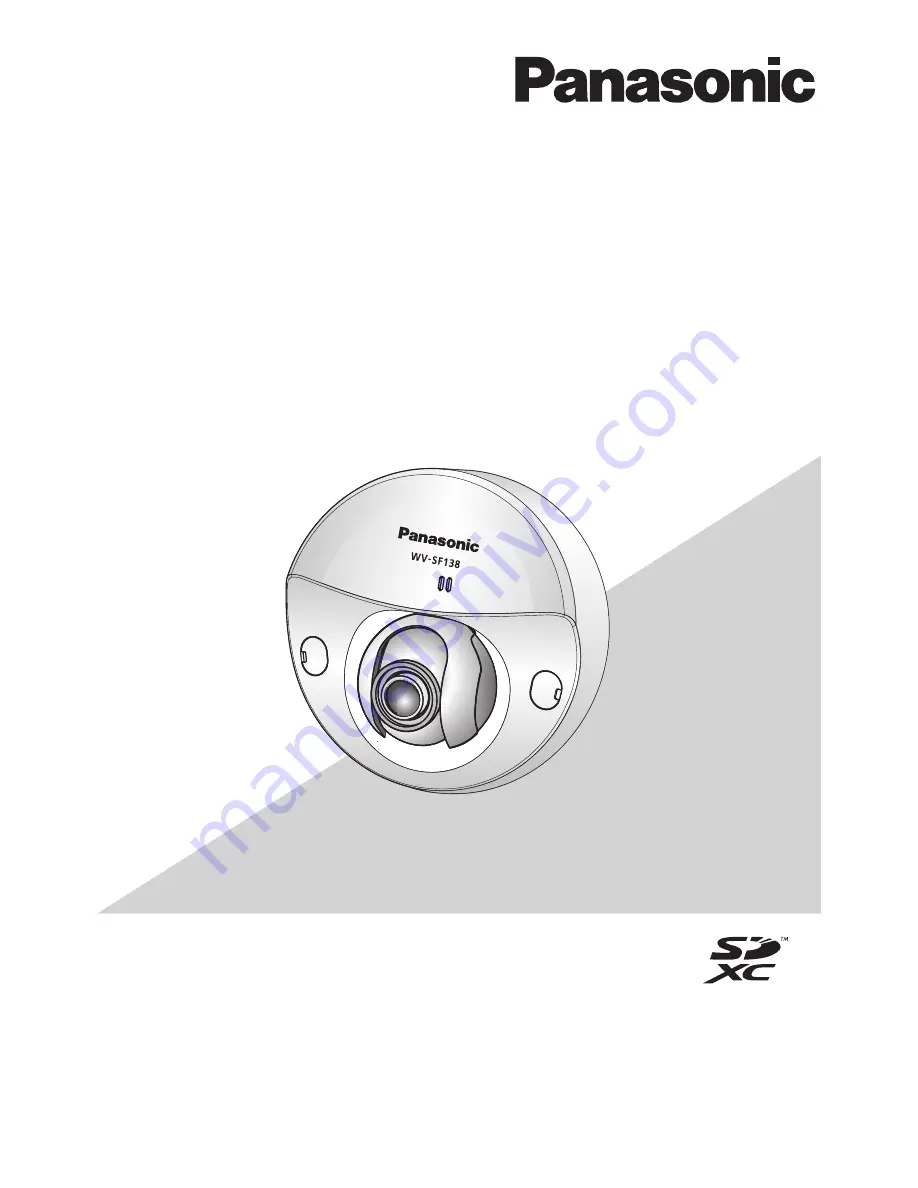
background image

Before attempting to connect or operate this product,  

please read these instructions carefully and save this manual for future use.

The model number is abbreviated in some descriptions in this manual.

Installation Guide

Network Camera

Model No.

 WV-SF138

WV-SF138

Summary of Contents for WV-SF138

Page 1: ... or operate this product please read these instructions carefully and save this manual for future use The model number is abbreviated in some descriptions in this manual Installation Guide Network Camera Model No WV SF138 WV SF138 ...

Page 2: ...ortung daß das Produkt auf das sich diese Erklärung bezieht mit der folgenden Norm oder normativen Dokument übereinstimmt Gemäß den Bestimmungen der Richtlinie 2004 108 EC Nous déclarons sous notre propre responsabilité que le produit auquel se réfère la présente déclaration est conforme á la norme spécifiée ou à tout autre document normatif conformément aux dispositions de la directive 2004 108 C...

Page 3: ...ight 8 Network security 8 Precautions 9 Precautions for installation 12 Major operating controls 14 Removing the enclosure 15 Preparations 16 Insert remove an SD memory card 18 Connection 19 Installation 21 Adjustment 22 Attaching the enclosure 24 Configure the network settings 25 Troubleshooting 27 Specifications 28 Standard accessories 31 Optional accessories 31 SDXC SDHC SD memory card is descr...

Page 4: ...ecified by the manufacturer 10 Use only with the cart stand tripod bracket or table specified by the manufacturer or sold with the apparatus When a cart is used use caution when moving the cart apparatus combi nation to avoid injury from tip over S3125A 11 Unplug this apparatus during lightning storms or when unused for long periods of time 12 Refer all servicing to qualified service personnel Ser...

Page 5: ...T LIMITATION DIRECT OR INDIRECT SPECIAL CONSEQUENTIAL OR EXEMPLARY ARISING OUT OF OR RELATING TO THE PRODUCT 2 PERSONAL INJURY OR ANY DAMAGE CAUSED BY INAPPROPRIATE USE OR NEGLIGENT OPERATION OF THE USER 3 ALL MALFUNCTIONS OR TROUBLES FROM UNAUTHORIZED DISASSEMBLE REPAIR OR MODIFICATION OF THE PRODUCT BY THE USER REGARDLESS OF THE CAUSE OF THE MALFUNCTION OR TROUBLE 4 INCONVENIENCE OR ANY LOSS ARI...

Page 6: ...LAN cable IEEE802 3af compliant Adaptive darkness correction mode Corrects the blacked out parts of dark areas of objects that have different illumination intensities Super Dynamic Operating Instructions included in the CD ROM Super Dynamic compensates brightness on a pixel to pixel basis so that it produces clearer images even if objects have various illumination intensities SDXC SDHC SD memory c...

Page 7: ...or the web browser may become inoperable Audio may not be heard if a sound card is not installed on a PC Audio may be interrupted depending on the network environment Microsoft Windows 8 RT Microsoft Windows 7 Starter Microsoft Windows Vista Starter and Microsoft Windows XP Professional 64 bit Edition are not supported When using IPv6 for communication use Microsoft Windows 8 Microsoft Windows 7 o...

Page 8: ...work your attention is called to the following security risks q Leakage or theft of information through this unit w Use of this unit for illegal operations by persons with malicious intent e Interference with or stoppage of this unit by persons with malicious intent It is your responsibility to take precautions such as those described below to protect yourself against the above network security ri...

Page 9: ...r the inspections Do not use this product in an inflammable atmosphere Failure to observe this may cause an explosion resulting in injury Avoid installing this product in the loca tions where salt damage occurs or corro sive gas is produced Otherwise the mounting portions will deterio rate and accidents such as a fall of the product may occur Install this product in a location high enough to avoid...

Page 10: ...he power is turned on Product disposal transfer Data saved on this product or a storage device used with this product may lead to personal information leakage When it is necessary to dispose or give this product to someone even when for repair make sure that there is no data on this product Cleaning this product body Be sure to turn off the power before cleaning When cleaning areas other than the ...

Page 11: ...GAGED IN A PERSONAL ACTIVITY AND OR WAS OBTAINED FROM A VIDEO PROVIDER LICENSED TO PROVIDE AVC VIDEO NO LICENSE IS GRANTED OR SHALL BE IMPLIED FOR ANY OTHER USE ADDITIONAL INFORMATION MAY BE OBTAINED FROM MPEG LA L L C SEE HTTP WWW MPEGLA COM Flickering Due to the influence of lighting flickering may sometimes happen In this case select Indoor scene for Light control mode Select Indoor scene 50Hz ...

Page 12: ...adiation an X ray a strong radio wave or a strong magnetic field is generated Locations where corrosive gas is pro duced locations where it may be damaged by briny air such as seashores Locations where the temperature is not within the specified range page 28 Locations subject to vibrations that exceed the railway specifications EN50155 Locations subject to condensation as the result of severe cha...

Page 13: ... compliant with IEEE802 3af standard Check before installation Compatibility of devices is restricted Before installation check the ratings and dimensions of the devices to be used Contact your dealer for details Router When connecting this product to the Internet use a broadband router with the port forward ing function NAT IP masquerade Refer to the Operating Instructions included in the CD ROM ...

Page 14: ...ll start up and the settings including the network settings will be initialized Do not turn off the power of the camera during the process of initialization Before initializing the settings it is recommended to write down the settings in advance Enclosure Dome cover Lens Built in microphone Initial set button Link indicator lit when linking Access indicator lit when accessing Network cable SD memo...

Page 15: ...e enclosure Hold both sides of the enclosure release the hook and remove the enclosure Removing the enclosure IMPORTANT Remove the cover film from the dome cover of the enclosure after the installation is complete Do not touch the dome cover by hand directly after removing the cover film Cover film Screw cover ...

Page 16: ...equired pull out capacity of a single screw bolt is 196 N 44 lbf or more If a ceiling board such as plaster board is too weak to support the total weight the area shall be sufficiently reinforced The mounting conditions of the camera are described as follows Installation place Recommended screw Number of screw Minimum pull out strength per 1 pc Ceiling wall Direct mounting M4 3 pcs 196 N 44 lbf Us...

Page 17: ...r wall Place the installation template label accessory on the ceiling or wall mark the hole for the cable to be passed through and for the fixing screws 3 places then open the holes Remove the installation template label and mount the camera with 3 fixing screws locally pro cured Page 21 Connecting the cable through the side cable access hole Place the installation template label accessory on the ...

Page 18: ...nclosure Page 15 Insert an SD memory card fully into the SD memory card slot until a click is heard Attach the enclosure to the camera Page 24 When removing the SD memory card from the SD memory card slot remove the enclosure page 15 and push the card until a click is heard After the SD memory card is removed attach the enclosure to the camera again Page 24 Insert remove an SD memory card Label si...

Page 19: ...on Connect a LAN cable category 5 or better straight STP between a PoE device such as a hub and the network connector of the camera IMPORTANT Use all 4 pairs 8 pins of the LAN cable The maximum cable length is 100 m 328 feet Make sure that the PoE device in use is compliant with IEEE802 3af standard When disconnecting the LAN cable once reconnect the cable after around 2 seconds When the cable is ...

Page 20: ...able category 5 or better straight LAN cable category 5 or better straight LAN cable category 5 or better straight Required cable LAN cable category 5 or better straight IMPORTANT Use a PoE switching hub which is compliant with 10BASE T 100BASE TX ...

Page 21: ...ff each device Remove the enclosure Page 15 Connect the cables to the camera Pages 19 and 20 Fix the camera with 3 screws M4 locally procured O Ceiling O Wall IMPORTANT Do not touch the lens When tightening the screws be careful to ensure that the cables does not tangle the cables ...

Page 22: ...to the lens Do not touch the lens with your hand when making adjustments Make adjustments to the direction of the lens while confirming the picture displayed on com puter s monitor O Ceiling O Wall Horizontal position 20 to 20 Vertical position 20 to 90 Vertical position 90 to 20 Horizontal position 80 to 80 When adjusting the horizontal angle of cameras mounted to a ceiling adjust the direction o...

Page 23: ...rated because the effect of Extra Zoom is not provided Adjusting the focus of the lens Attach the lens adjuster accessory and rotate the lens to adjust the focus of the lens When making adjustments to the focus of the lens attach the narrower end of the lens adjuster to the lens When attaching or removing the lens adjuster squeeze the wider end of the lens adjuster as shown in the illustration to ...

Page 24: ...ANT When attaching the enclosure the focus may be slightly disturbed If this occurs remove the enclosure and make the necessary adjustments Before attaching the enclosure make sure that the subject is present Securely tighten all the fixing screws x2 of enclosure Otherwise the camera may malfunction or the enclosure may fall resulting in injury Recommended tightening torque 0 4 N m 0 3 lbf ft Remo...

Page 25: ...ement and choose I accept the term in the license agreement and click OK The launcher window will be displayed If the launcher window is not displayed double click the CDLauncher exe file on the CD ROM Note Refer to Using the CD ROM in the Operating Instructions on the provided CD ROM for further information about CDLauncher Click the Run button next to IP Setting Software Panasonic IP Setting Sof...

Page 26: ...n figure the HTTPS settings Click the Setup button on the Live page the user authentication window will be displayed Enter the default user name and password as follows and log in User name admin Password 12345 When changing settings related to the network settings such as connection mode IP address and subnet mask click the Network Settings button in IP Setting Software screen as shown in step 3 ...

Page 27: ...ribed below Symptom Cause solution Reference pages Power is not turned on Are the PoE device and the network connector on the rear of the camera connected using a LAN cable Check whether the connection is appropriately established Depending on the PoE device the power supply will stop when the demanded power exceeds its total power limit for all PoE ports Refer to the operating instructions of the...

Page 28: ... lx 0 09 footcandle F2 2 Auto slow shutter Off 1 30 s AGC On High 0 056 lx 0 0056 footcandle F2 2 Auto slow shutter Max 16 30 s AGC On High Converted value Super Dynamic On Off Dynamic range 52 dB typ Super Dynamic On Gain AGC On High On Mid On Low Off Adaptive black stretch On Off Fog compensation On Off Light control mode setting Indoor scene 50 Hz 60 Hz ELC ELC Maximum exposure time 1 30 s Supe...

Page 29: ...320 180 Max 30 fps Image capture mode 1 3 megapixels 4 3 H 264 1280 960 VGA 640 480 QVGA 320 240 Max 30 fps JPEG MJPEG 1280 960 VGA 640 480 QVGA 320 240 Max 30 fps Image capture mode 3 megapixels 4 3 H 264 1280 960 Max 15 fps JPEG MJPEG 2048 1536 Max 15 fps Image compression method 1 H 264 Image quality Low Normal Fine Transmission type Unicast Multicast Bit rate Constant bit rate Best effort Adva...

Page 30: ...rosoft Windows Vista Microsoft Windows XP SP3 Browser Windows Internet Explorer 10 0 32 bit Windows Internet Explorer 9 0 32 bit Windows Internet Explorer 8 0 32 bit Windows Internet Explorer 7 0 32 bit Maximum concurrent access number 14 Number of sessions that can connect to cameras at the same time Depends on network conditions FTP client Alarm image transmission FTP periodic transmission Multi...

Page 31: ...he code label User License Accessory For H 264 BB HCA8A BB HCA8CE 1 Transmission for 2 streams can be individually set 2 AAC Advanced Audio Coding is only used when recording audio on an SD memory card 3 Refer to Notes on Windows Vista Windows 7 Microsoft Windows 8 on the provided CD ROM for further information about system requirements for a PC and precautions when using Microsoft Windows 8 Micro...

Page 32: ...ean Union If you wish to discard electrical and electronic equipment please contact your dealer or supplier for further information Information on Disposal in other Countries outside the European Union These symbols are only valid in the European Union If you wish to discard these items please contact your local authorities or dealer and ask for the correct method of disposal Note for the battery ...

Reviews: