Note:
R
In order to maintain battery pack performance and prevent the battery pack from discharging,
remove the battery pack when the Wireless Monitor is off the Base Unit or the power plug is
unplugged from the power outlet for a week or longer.
– Recharge the battery pack before using the Wireless Monitor again.
Setting the date and time
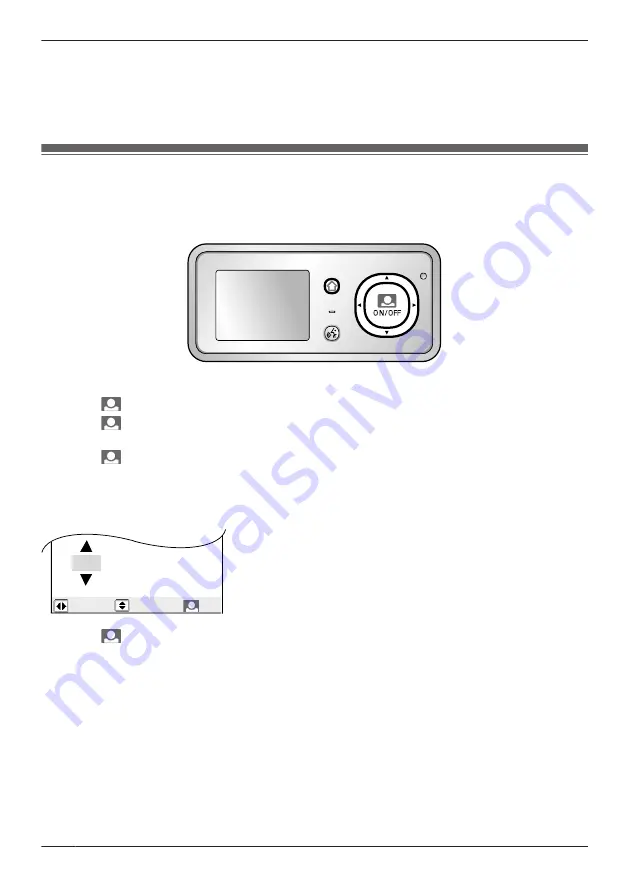
This unit has a recording function. The date and time will not be recorded when recording unless they are
set (page 25). You can set the date and time using the Wireless Monitor.
R
The date and time registered to the Base Unit can also be changed on additional Wireless Monitors.
MENU
PRESS TALK
1
Press
M
MENU
N
, then select
“
ALL SETTINGS
”
by pressing
MDN
,
MCN
,
MFN
, or
MEN
.
2
Press
M
N
(Monitor button) (
“
OK
”
), then select
“
START-UP SETTINGS
”
by pressing
MDN
or
MCN
.
3
Press
M
N
(Monitor button) (
“
OK
”
), then select
“
TIME AND DATE SETTINGS
”
by pressing
MDN
or
MCN
.
4
Press
M
N
(Monitor button) (
“
OK
”
), then set the current date and time.
Select the year/month/date/hour/minute by pressing
MFN
or
MEN
.
Select numbers by pressing
MDN
or
MCN
.
R
You can scroll numbers by pressing and holding
MDN
or
MCN
.
Example:
2012-11-23 11: 45
OK
5
Press
M
N
(Monitor button) (
“
OK
”
) after finishing the settings.
R
A beep will sound when the settings are changed.
6
To finish the operation, press
M
MENU
N
2 times.
Note:
R
Time may get out of sync by about 60 seconds per month.
16
Getting Started
Summary of Contents for VL-CM851A
Page 45: ...Customer services For United States 45 Appendix ...
Page 46: ...Warranty For United States 46 Appendix ...
Page 47: ...47 Appendix ...
Page 48: ...Warranty For Canada 48 Appendix ...
Page 49: ...49 Appendix ...
Page 51: ...51 Notes ...


