


- 45 -
●
Required speed (effective): at least 1.5 Mbps for SD (Standard Definition)
and 6 Mbps for HD (High Definition) picture quality, respectively. If the
transfer speed is not enough, contents may not be played back properly.
■
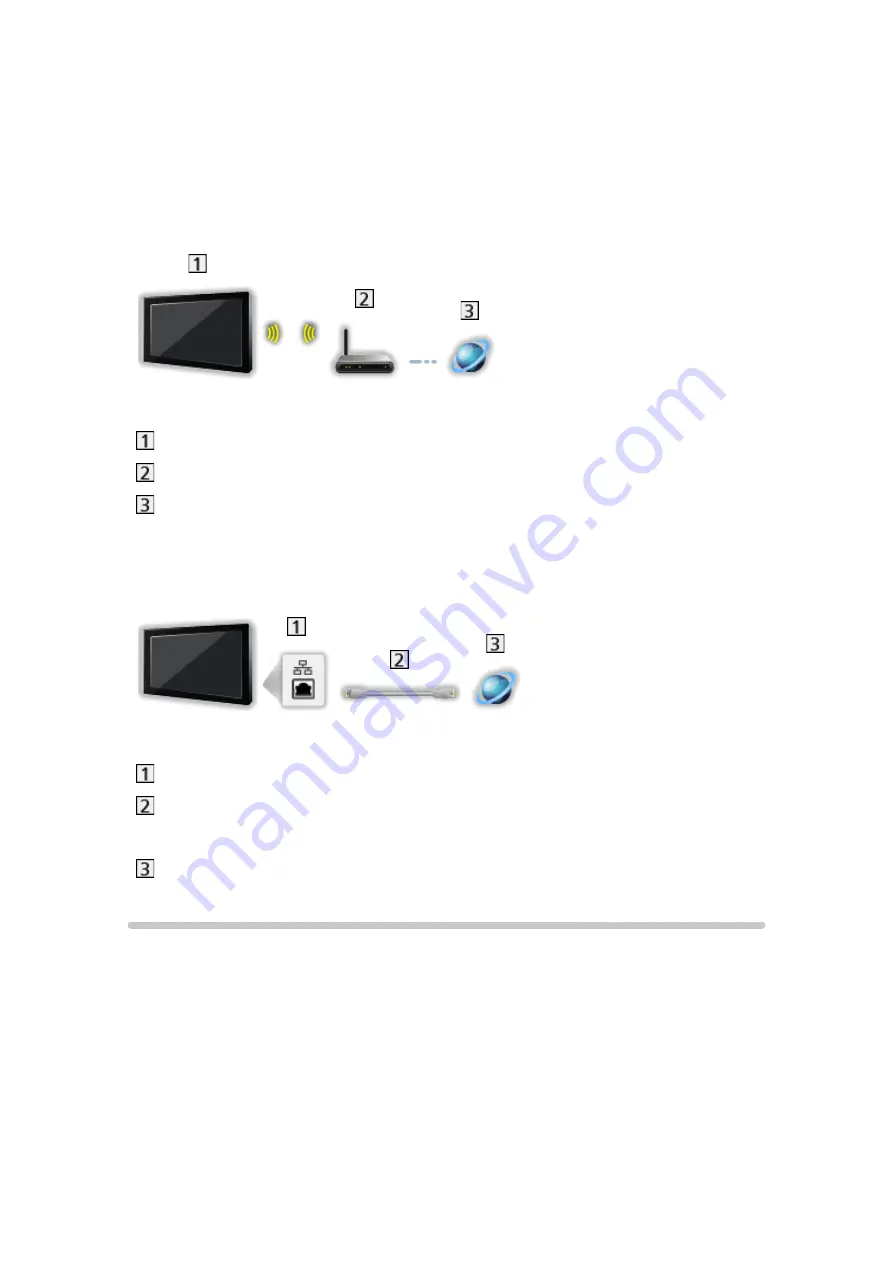
Wireless connection
Built-in wireless LAN (Rear of the TV)
Access point
Internet environment
■
Wired connection
ETHERNET terminal
LAN cable (Shielded)
●
Use the Shielded Twist Pair (STP) LAN cable.
Internet environment
Note
●
Ensure to use a LAN straight cable.
●
Set up and connect equipment required for the network environment. You
cannot make such settings on this TV. Read the manual of the equipment.
●
If your modem has no broadband router functions, use a broadband router.
●
If your modem has broadband router functions but there are no vacant
ports, use a hub.
●
Ensure that the broadband routers and hubs are compatible with
10BASE-T / 100BASE-TX.


