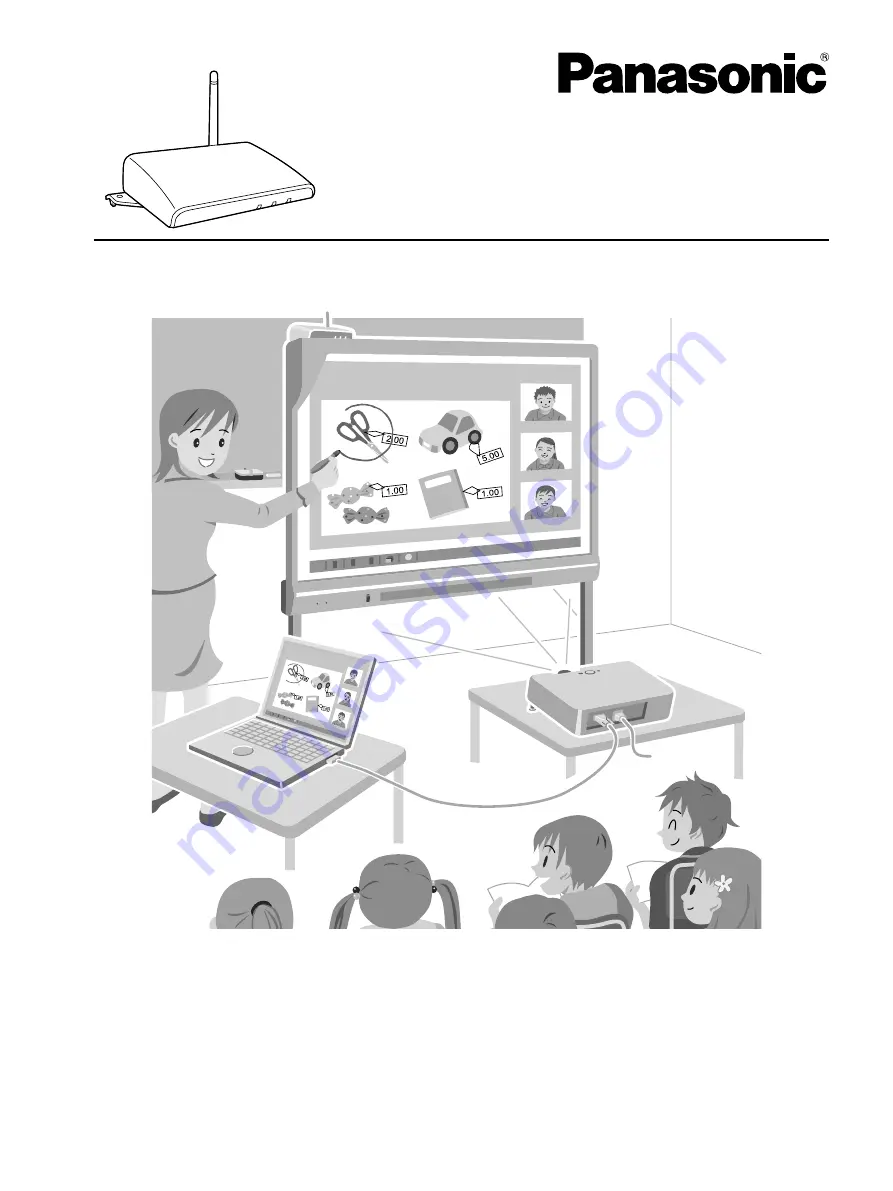
background image

Installation Manual Included (for qualified service personnel)

• To assemble this unit, please refer to the Installation Manual on pages 17 through 26.

• Before operating this unit, please read these instructions completely and keep them carefully for future 

reference.

• This unit is designed for installation by a qualified servicing dealer.

Installation performed by non-authorized individuals could cause safety-related problems with the operation of 

this equipment.

For U.S.A. only:

• To locate the closest authorized dealer in your area, please call 1-800-449-8989.

Installation Instructions

Wireless Kit

Model No.


UE-608040

Summary of Contents for UE-608040

Page 1: ...completely and keep them carefully for future reference This unit is designed for installation by a qualified servicing dealer Installation performed by non authorized individuals could cause safety related problems with the operation of this equipment For U S A only To locate the closest authorized dealer in your area please call 1 800 449 8989 Installation Instructions Wireless Kit Model No UE 6...

Page 2: ... creating a wireless environment is very straightforward About the documentations The Wireless Kit has 2 manuals Installation Instructions this document Explains the preparations required before using the Wireless Kit Operating Instructions electronic documentation Explains the settings and operation of the Wireless Kit This manual is available on the included CD ROM For details regarding viewing ...

Page 3: ...hines Corporation in the United States other countries or both Intel and Pentium are trademarks of Intel Corporation in the U S and other countries All other trademarks identified herein are the property of their respective owners System Requirements Computer IBM PC AT or compatible with a CD ROM drive CPU Intel Pentium 4 processor or later Operating System Windows 2000 SP4 Windows XP SP2 Windows ...

Page 4: ...ectronic Manual 15 After Installation 16 Make Computer Settings 16 Installation Manual for qualified service personnel 17 For Your Safety 17 Notice 17 Included Accessories 19 Installation 21 Wireless LAN Settings 25 Returning Settings to the Factory Default 26 Specifications 27 Hardware Specifications 27 Software Specifications 28 Settings Overview 29 Appendix 32 4 Installation Instructions Table ...

Page 5: ...he unit safely For Users WARNING Power Stop operation immediately if the unit emits smoke excessive heat abnormal smell or unusual noise These conditions can cause fire or electric shock Immediately turn off the elite Panaboard and unplug the power cord of the elite Panaboard Contact your dealer for service Installation and Relocation Have the unit installed removed and disposed of only by qualifi...

Page 6: ...e equipment to malfunction Use at least 20 cm 8 in away from pacemakers Electromagnetic waves generated by this device can affect the operation of pacemakers CAUTION Installation and Relocation Do not place the unit in a hot humid or dusty environment Prolonged exposure to these adverse conditions may cause fire or electric shock 6 Installation Instructions For Your Safety ...

Page 7: ...aterials such as wood and glass except glass containing wire mesh but not through walls and floors made from steel reinforcements metal concrete etc Avoid using the Wireless Kit in locations prone to static electricity If you use the Wireless Kit where a lot of static energy is generated such as a on a carpet communications may be affected In that case you must remove the static energy or source o...

Page 8: ...formation so that unauthorized third parties cannot view change delete or copy it Security Warnings Take appropriate safety measures when using the Wireless Kit in order to avoid the following possible incidents The leakage of your personal registered information Malicious operation by an untrusted third party Users being locked out or otherwise prevented from using the Wireless Kit by an untruste...

Page 9: ...y problems Newly purchased wireless devices may not have the security settings enabled by default In order to minimize the threat of unauthorized access make sure to read the instruction manuals and if necessary configure the security settings for each wireless device before using them Please note that even if all security settings are configured there is a slight chance that they can be breached ...

Page 10: ...s 7 characters or fewer and limit access to the security settings for users other than the administrator In the Wireless Kit s security settings an administrator password for Web access set by an administrator is necessary The default value is pboard 6 characters You can set this password to any value Do not leave the included CD lying around Leaving the CD out is a security risk Thoroughly establ...

Page 11: ... Instructions 1 Installation Instructions This document About Using the CD ROM To prevent damage to the CD ROM Do not touch or write on the surface of the disc Do not leave the disc out of the protective case Do not leave the disc in the direct sunlight or near heat sources Do not place heavy objects on the disc case or drop the case To clean the disc hold the disc by its edges and wipe it from th...

Page 12: ...s to factory default by pressing this reset button For details refer to Returning Settings to the Factory Default Page 26 F Network Port For use by service personnel Do not use this port G USB Port Connect the elite Panaboard to the Wireless Kit using a USB cable Do not connect devices other than an elite Panaboard H Power Port Connect the power cable from the elite Panaboard The Wireless Kit rece...

Page 13: ...be used for the Wireless Kit Set a suitable IP address and subnet mask after consulting with your network administrator If you are unsure of what values to use refer to the examples below settings using a private address If you will be using multiple Wireless Kits and or computers set different IP addresses for each device 1 Generic allowable settings using a private address 192 168 AAA BBB 192 16...

Page 14: ...e To provide encrypted secure data communications be sure to choose one of the following 128bits ASCII string 128bits 16 hexadecimal 128bits 16 hexadecimal 64bits ASCII string WEP Key Sets the encryption key for communication data 128bits ASCII string 13 alphanumeric characters 128bits 16 hexadecimal 26 hexadecimal digits 0 9 A F DCCBC32020C47F69988B2 46C1E 000000000000 000000000000 00 Note You ca...

Page 15: ...Operating Instructions is displayed in your Web browser 1 Set the included CD ROM Device Server Setup CD into your CD ROM drive The below menu appears Note If the menu screen does not appear automatically open your CD ROM drive from My Computer and run Autorun exe 2 Click Manual Installation Instructions 15 Viewing the Electronic Manual ...

Page 16: ...y link local use the Device Server Setup CD to change the device server s the Wireless Kit s internal settings SSID IP address etc Set the computer s IP address Change the computer s wireless network settings from DHCP to the same IP address group as the device server Because the device server already has an IP address set you must assign a related IP address to the computer or else you will not b...

Page 17: ...ld result in serious injury or death CAUTION Denotes hazards that could result in minor injury or damage to the unit These symbols are used to alert operators to a specific operating procedure that must not be performed These symbols are used to alert operators to a specific operating procedure that must be emphasized in order to operate the unit safely Notice WARNING Installation and Relocation S...

Page 18: ...nd other automatically controlled equipment Electromagnetic waves generated by this device can affect equipment and can cause equipment to malfunction Use at least 20 cm 8 in away from pacemakers Electromagnetic waves generated by this device can affect the operation of pacemakers CAUTION Installation and Relocation After installing or moving the electronic board lock the casters and set the fall ...

Page 19: ...ecting to the elite Panaboard D Screw 2 For installing onto the elite Panaboard M3 14 E USB Cord Tie 1 For bundling the USB cable F Cord Keeper 3 For securing the power cable and USB cable G Hook Fastener 1 For securing the bundled USB cable H CD ROM 1 Device Server Setup CD Operating Instructions Setup and Connection Software I Installation Instructions 1 Installation Instructions This document I...

Page 20: ...he disc out of the protective case Do not leave the disc in the direct sunlight or near heat sources Do not place heavy objects on the disc case or drop the case To clean the disc hold the disc by its edges and wipe it from the center to the edges with a dry soft cloth 20 Installation Instructions Included Accessories ...

Page 21: ... the top left and 1 screw from the back of the elite Panaboard Note You only need 1 of the 2 screws from the top left area you can dispose of the unnecessary screw 2 Attach the device server and secure it using the included screws M3 14 Note Make sure the tabs on the device server unit fit into the slots on the back of the elite Panaboard 3 Attach the safety cord to the device server using the scr...

Page 22: ...rver 5 Bundle the USB cable included with the elite Panaboard using the USB cord tie Note Bundle the cable in the position and manner shown in the below illustration 30 cm 11 3 4 in UB T781 UB T781W 125 cm 4 ft 1 1 4 in UB T761 105 cm 3 ft 5 3 8 in 15 25 cm 5 7 8 9 7 8 in 6 Attach the cord keepers A three locations marked to the elite Panaboard 20 mm 3 4 in 20 mm 3 4 in 1 22 Installation Instructi...

Page 23: ...o the elite Panaboard 10 As shown in the illustration in step 9 determine where you will fasten the USB cable bundled by the USB cord tie and then attach the hook fastener to the back of the elite Panaboard and fasten the bundled USB cable Note If you are installing the elite Panaboard on a wall you do not need to attach the hook fastener You can put the cable between the elite Panaboard and the w...

Page 24: ...l operation The Wireless LED blinks every 0 2 seconds The device server s internal wireless module is not being recognized The device server must be replaced The Wireless LED is dark Reset the Wireless Kit s settings to its factory defaults See Returning Settings to the Factory Default Page 26 None of the LEDs light up or blink Check the power cable of the Wireless Kit and the power switch and pow...

Page 25: ...pply the settings prepared in Wireless LAN Settings Information Page 13 Use the included charts Confirm that the Panaboard Link connection software can be used to establish a connection and break a connection to the elite Panaboard s USB device 4 Confirming the Wireless Kit s Settings Information Confirm the Wireless Kit s SSID Communication Channel and IP address Use the included charts Provide t...

Page 26: ...n the back of the Wireless Kit turn the elite Panaboard s power switch to on Keep the reset button pressed down to start the process of returning settings to the factory default 1 Once the status LED orange turns on settings are complete Notice When performing a factory setting reset do not turn off the power to the elite Panaboard connected to the Wireless Kit Once you have reset the settings to ...

Page 27: ...S SS Transmission Speed 1 Mbit s 2 Mbit s 5 5 Mbit s 11 Mbit s Automatic detection Channels The number of available channels differs for each region US 1 11 ch EU 1 13 ch IEEE802 11g Frequency 2 4 GHz Transmission System OFDM Transmission Speed 6 Mbit s 12 Mbit s 18 Mbit s 36 Mbit s 48 Mbit s 54 Mbit s Automatic detection Channel The number of available channels differs for each region US 1 11 ch ...

Page 28: ...of USB devices that can connect to the Wireless Kit However a multiple function device will occupy a connection for each function For example a combination printer scanner storage device will occupy 3 connections Note About Connecting to USB Hubs Connection performance cannot be fully guaranteed when a USB hub is used between the elite Panaboard s 2 USB ports and USB devices About USB Devices Full...

Page 29: ...se received ENABLE IP Address Set the Wireless Kit s IP address The value is represented by four 3 digit numbers ranging in value from 0 254 in the format xxx xxx xxx xxx 0 0 0 0 Subnet Mask Set the Wireless Kit s subnet mask The value is represented by four 3 digit numbers ranging in value from 0 254 in the format xxx xxx xxx xxx If it set to 0 0 0 0 this setting is disabled and a subnet mask wil...

Page 30: ... used in AdHoc mode and can be set within the following ranges US 1 11 ch EU 1 13 ch Users must be on the same communication channel to communicate wirelessly All devices using the same SSID will use the SSID s set channel and override other channel settings 11 Network Authentication Network authentication can be set to Open or Shared Open open system Authentication is not performed and full acces...

Page 31: ...ing New Password Set the Wireless Kit s administrator password for Web access The password can be up to 7 ASCII characters in length This password is used for user authentication when changing settings via a Web browser pboard Installation Instructions 31 Settings Overview ...

Page 32: ...ings Table for the Device Server Check Notes Result Date 2009 3 31 Example entry IP address 192 168 100 1 Subnet mask 255 255 255 0 No Ex 1 2 3 4 5 6 7 8 9 10 Fail OK The default gateway does not need to be set 32 Installation Instructions ...

Page 33: ...MAC address Panaboard Classroom 01 192 168 100 10 255 255 255 0 11 00 80 92 3F E0 10 No Ex 1 2 3 4 5 The default gateway does not need to be set The WEP Encryption Key can contain the following number and type of characters 64 bit ASCII string 5 characters 64 bit 16 hexadecimal 13 digits 128 bit ASCII string 13 characters 128 bit 16 hexadecimal 26 digits 1 2 3 4 5 6 7 8 9 10 11 12 13 D C C B C 3 2...

Page 34: ...34 Installation Instructions Notes ...

Page 35: ...Installation Instructions 35 Notes ...

Page 36: ...lection and recycling of old products and batteries please contact your local municipality your waste disposal service or the point of sale where you purchased the items Penalties may be applicable for incorrect disposal of this waste in accordance with national legislation For business users in the European Union If you wish to discard electrical and electronic equipment please contact your deale...

Reviews: