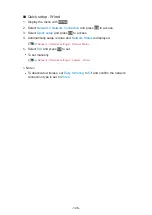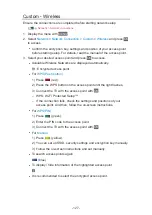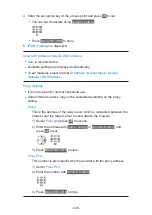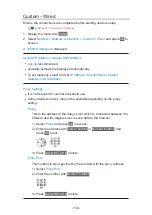
Custom - Wired
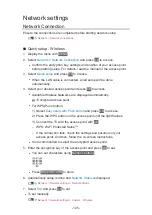
Ensure the connections are completed before starting network setup.
1. Display the menu with
MENU
.
2. Select
Network
>
Network Connection
>
Custom
>
Wired
and press
OK
to
access.
3.
IP/DNS Settings
is displayed.
Acquire IP Address
/
Acquire DNS Address
●
Auto
is recommended.
●
Available settings are displayed automatically.
●
To set manually, select and set
IP Address
/
Subnet Mask
/
Default
Gateway
/
DNS Address
.
Proxy Settings
●
It is not required for normal household use.
●
Some internet services may not be available depending on the proxy
setting.
Proxy
:
This is the address of the relay server which is connected between the
browser and the target server to send data to the browser.
1) Select
Proxy
and press
OK
to access.
2) Enter the address with
Cursor buttons
or
Numeric buttons
, and
press
OK
to set.
3) Press
BACK/RETURN
to store.
Proxy Port
:
This number is also specified by the provider with the proxy address.
1) Select
Proxy Port
.
2) Enter the number with
Numeric buttons
.
3) Press
BACK/RETURN
to store.
- 130 -
Summary of Contents for TX-24DS500B
Page 1: ...eHELP English TX 24DS500B TX 32DS500B TX 40DS500B TX 49DS500B TX 55DS500B TX 40DS400B ...
Page 55: ... Reset to Defaults Reset to Defaults Resets Advanced Settings to the default settings 55 ...
Page 199: ...Reset to Defaults Resets the current Picture Viewing Mode to the default settings 199 ...
Page 206: ...Reset to Defaults Resets the current Sound Mode to the default settings 206 ...
Page 210: ...VIERA Name Sets your favourite name for this TV Network Network settings VIERA Name 210 ...
Page 217: ...Time Zone Adjusts the time data Watching Basic Adjusting time Ireland only 217 ...
Page 222: ...USB Device Setup Safely removes USB device Media Player Using Media Player Information 222 ...
Page 247: ...v 3 100 2 ...


