


Getting Started
Useful Information
Troubleshooting
Appendix
Contents
OPERATING INSTRUCTIONS
Personal Computer
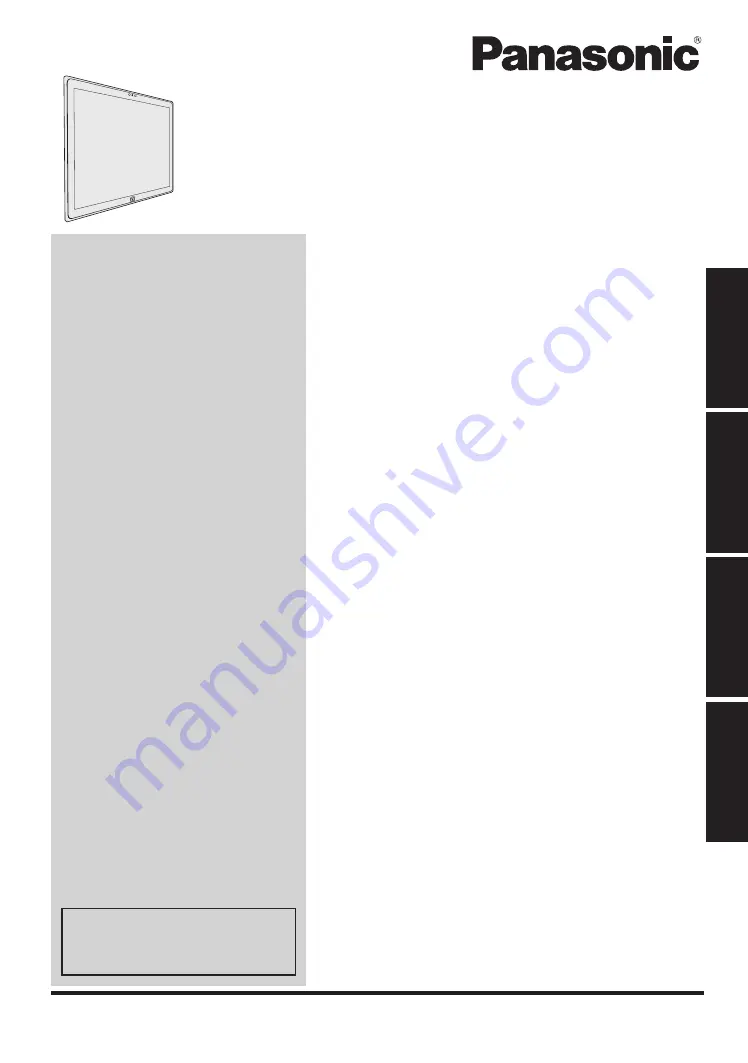
Model No.
UT-MB5000
series
Handling and Maintenance ............................
10
Installing Software .........................................
15
Troubleshooting
Troubleshooting (Basic) .................................
19
Appendix
LIMITED USE LICENSE AGREEMENT ........
24
Specifications ................................................
26
Standard Limited Warranty ............................
29
Please read these instructions carefully before using this product, and save this manual for future use.
Useful Information
Introduction ......................................................
2
Description of Parts .........................................
4
First-time Operation .........................................
6
Turning On / Turning Off ..................................
9
Getting Started
Please print and use pages con-
taining important descriptions
for software installation, etc.


