


Advanced (Playback)
- 162 -
We recommend resizing to [
] if you want to attach a picture to an e-mail or use it on a
website. (Pictures set to the minimum number of pixels for [ASPECT RATIO] cannot be
further reduced in size.)
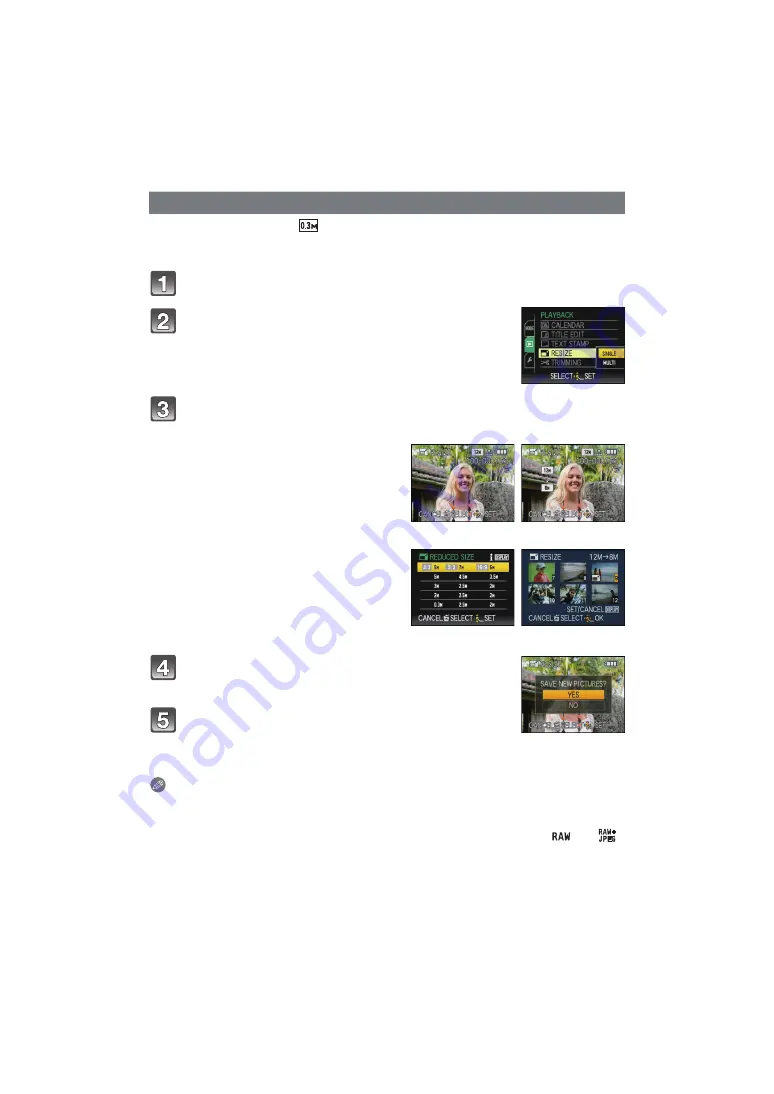
Select [RESIZE] on the [PLAYBACK] Mode menu.
Press
3
to select [YES] and then press [MENU/
SET].
Press [
‚
] to return to the menu screen.
¢
¢
The menu screen is automatically restored when [MULTI] is
selected.
• Press [MENU/SET] to close the menu.
Note
• You can set up to 50 pictures at one time in [MULTI].
• The picture quality of the resized picture will deteriorate.
• It may not be possible to resize pictures recorded with other equipment.
• Motion pictures, pictures stamped with [TEXT STAMP], or pictures taken using [
] or [
]
cannot be resized.
[RESIZE] Reducing the picture size (number of pixels)
Press
3
/
4
to select [SINGLE] or [MULTI] and then
press [MENU/SET].
Select the picture and size.
[SINGLE] setting
1
Press
2
/
1
to select the picture, and
then press [MENU/SET].
2
Press
2
/
1
to select the size
¢
, and then
press [MENU/SET].
¢
Only the sizes to which the pictures can be
resized is displayed.
[SINGLE]
[MULTI] setting
1
Press
3
/
4
to select the size, and then
press [MENU/SET].
• When [DISPLAY] is pressed, an explanation
of resizing is displayed.
2
Press
3
/
4
/
2
/
1
to select the picture,
and then press [DISPLAY].
• Repeat this step for each picture, and press
[MENU/SET] to set.
[MULTI]


