


190
Using Menu Functions
Menu list
→
[Custom
] →
[Monitor / Display]
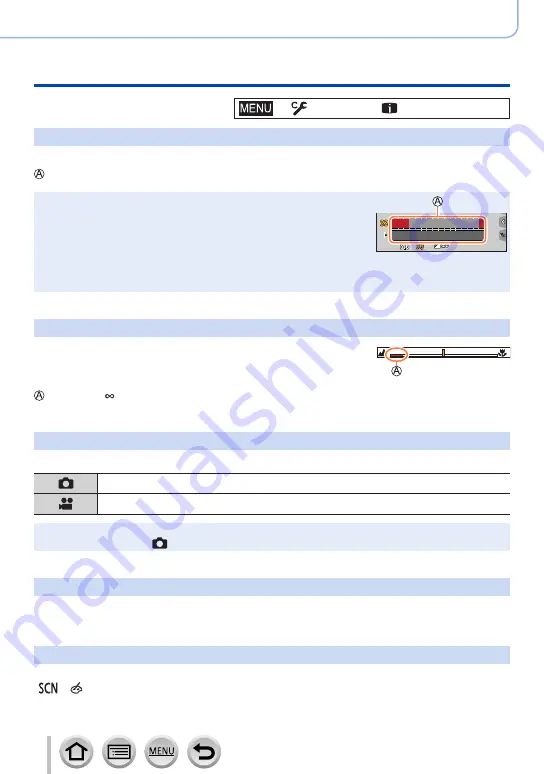
[Expo.Meter]
Enabling/disabling the exposure meter display.
Exposure meter
●
When you set this function to [ON], an exposure meter is displayed
during Programme Shift, aperture setting, and shutter speed
setting.
●
Proper exposure is not possible in the range indicated in red.
●
If the exposure meter is not displayed, press the [DISP.] button to
switch the display of the monitor.
●
The exposure meter will turn off if no operation is performed for
approximately 4 seconds.
8.0
5.6
4.0
8
15
30
60
125
[MF Guide]
When you focus manually, the MF guide is displayed on the
screen. You can check whether the point of focus is to the
near side or the far side.
Indicator for (infinity)
[Rec Area]
Switching the angle of view setting used for recording still pictures and motion pictures.
Indicated as the angle of view when recording still pictures.
Indicated as the angle of view when recording motion pictures.
●
The recording area indicated is an approximation.
●
[Rec Area] is fixed to [ ] when recording 4K photos or recording in [Post Focus].
[Remaining Disp.]
Switching the display between the number of recordable pictures that you can take and
the available recording time.
[Menu Guide]
Displaying/not displaying the selection screen when the mode dial is switched to
[
]/[ ].


