9. Using Menu Functions
228
Displays a picture immediately after it is taken.
• [Duration Time (6K/4K PHOTO)] works only for 6K/4K photo recording, while [Duration Time
(Post Focus)] works only for Post Focus recording.
• If you set [Playback Operation Priority] to [ON], you can perform certain playback operations
during Auto Review. For example, you can switch between different types of playback screens
or delete pictures.
• If you select [HOLD], the picture taken stays displayed until the shutter button is pressed
halfway. [Playback Operation Priority] will be fixed to [ON].
You can display the recording screen in black and white.
You can check the effects of the chosen aperture and shutter speed on the recording
screen in Manual Exposure Mode.
In-focus portions (portions on the screen with clear outlines) are highlighted when focus is
being adjusted manually.
• When [Detect Level] in [SET] is set to [HIGH], portions to be highlighted are reduced, allowing
you to achieve a more precise focus.
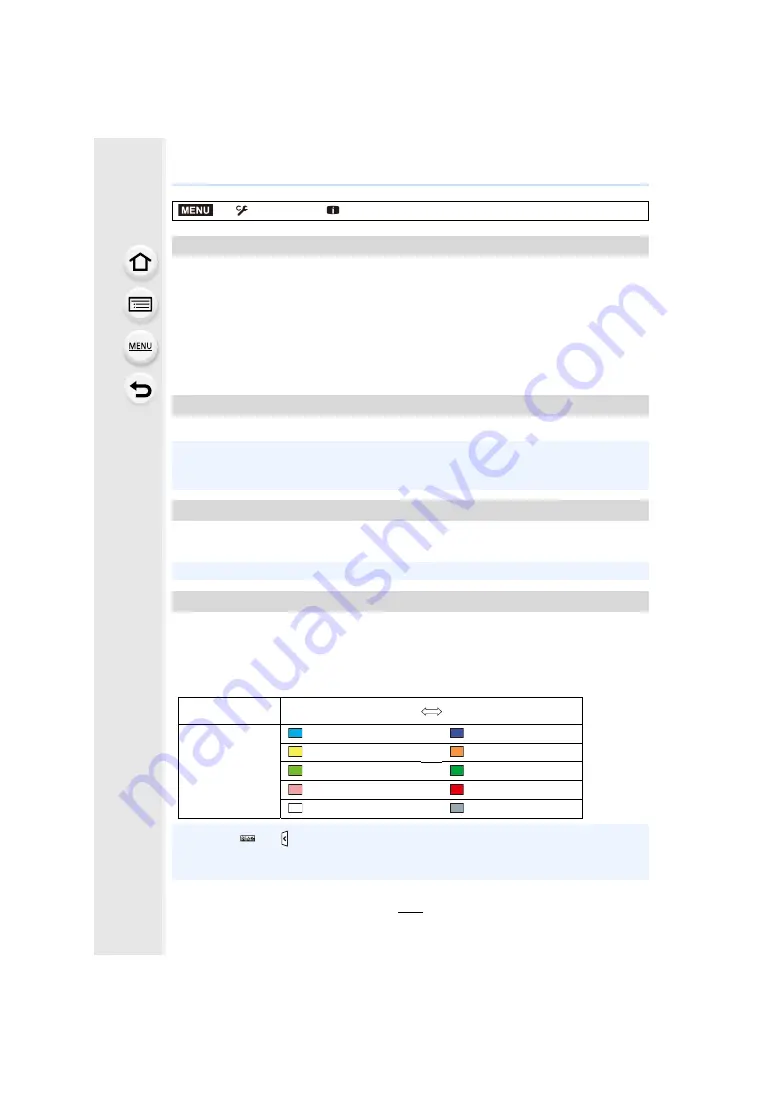
• Changing the [Detect Level] setting also changes the [Display Color] setting as follows.
>
[Custom]
>
[Monitor / Display]
[Auto Review]
[Monochrome Live View]
• Even if you use the HDMI output during recording, this function will not work for the connected
device.
• Recorded images will not be affected.
[Constant Preview]
• This function does not work when using the flash.
[Peaking]
[Detect Level]
[HIGH]
[LOW]
[Display Color]
[
] (Light blue)
[
] (Blue)
[
] (Yellow)
[
] (Orange)
[
] (Yellow-green)
[
] (Green)
[
] (Pink)
[
] (Red)
[
] (White)
[
] (Gray)
• Each time [
] in [ ] is touched, the setting is switched in order of [ON] (
[Detect Level]:
[LOW])
>
[ON] (
[Detect Level]: [HIGH])
>
[OFF].
• [Peaking] does not work with [Rough Monochrome] in Creative Control Mode.
MENU


