7 Edit marking data
Related topics
Change the appearances of user interface elements
Perform marking time measurement
7.2
Editing tools overview
To create marking objects and edit marking data, use the tools in the ribbon of the “Marking
settings” screen.
Create marking objects
Select the icon representing the object type that you want to create.
(1)
(2)
(3)
(4)
(5)
(6)
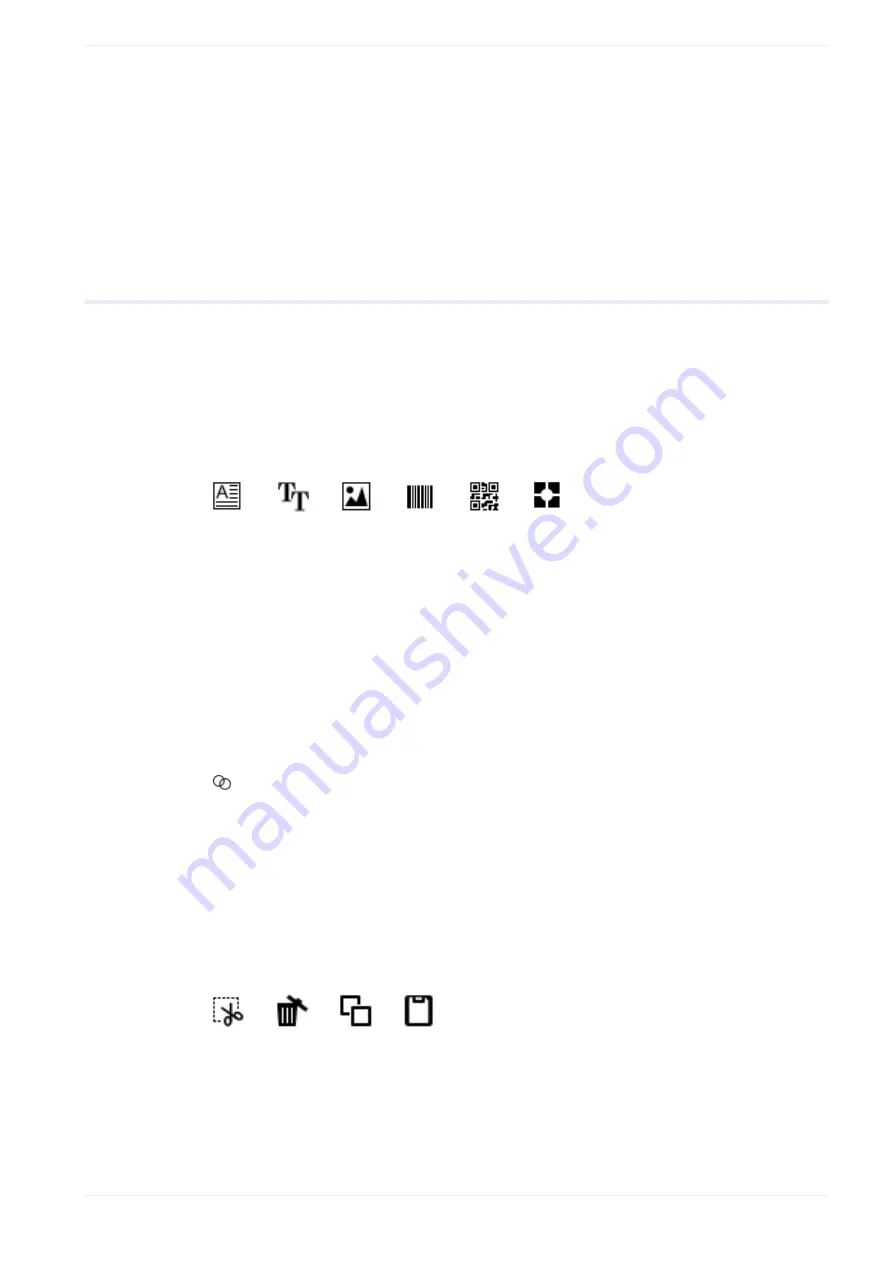
(1) “Character” tool
(2) “TrueType” tool
(3) “Graphic” tool
(4) “Bar code” tool
(5) “2D code” tool
(6) “Point radiation” tool
Create an object group
Select the following icon to create a new object group in the object list.
“Group” icon
Basic operations
To perform basic operations, use the icons in the ribbon. Alternatively, you can use keyboard
shortcuts to modify an object directly in the marking image editor. Select an object in the
marking image editor or an object group in the object list. Then select any of the following
icons:
(1)
(2)
(3)
(4)
(1) To cut an object, select the “Cut” icon or press <Ctrl>+<X>.
(2) To delete an object, select the “Delete” icon or press <Del>.
(3) To copy an object, select the “Copy” icon or press <Ctrl>+<C>.
(4) To paste the copied or cut object, select the “Paste” icon or press <Ctrl>+<V>.
ME-NAVIS2-OP-1
85


