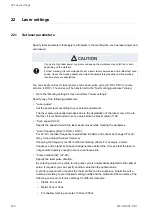
22 Laser settings
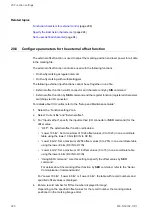
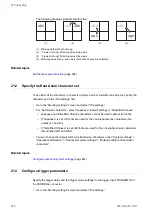
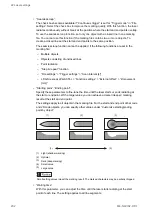
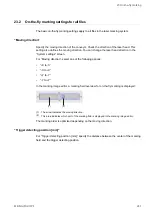
• “First shot tuning” (LP-RC):
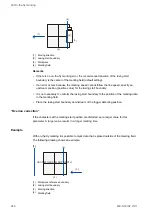
Specify the laser power at the start point. If you set a large value, the start point becomes
wider or darker.
Initial setting: 0
(1)
(2)
(3)
(4)
(5)
(1) Narrow (light)
(2) Optimal
(3) Wide (dark)
(4) Small value
(5) Large value
Small setting values impact the marking result. Short lines of the marked characters may be partially
chipped.
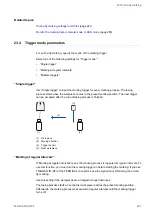
• “Align the first shot position” (LP-RF, LP-RV):
Select the check box to improve the marking quality of the filling lines. With this function,
the start positions of the filling lines are organized.
Enabling this function results in a longer marking time.
Settings for bar code and 2D code objects:
• “Customize to barcode/2D code”:
Select this check box to be able to specify different values for the start and end point of
bar code or 2D code objects. The setting does not apply to the human readable text.
• “Starting point (barcode/2D code)”, “Ending point (barcode/2D code)”:
Specify this parameter to fine-tune the time until the laser starts or ends radiating at the
start or end point. With a larger value you can achieve a darker (deeper) marking result at
the start and end point.
Related topics
22.3 Specify smart setting parameters
In the “Smart settings” dialog, specify adequate values for laser power and scan speed
depending on the marking or processing application.
• Go to the “Marking settings” screen and select “Laser settings”.
• Select “Smart settings” to open the dialog.
234
ME-NAVIS2-OP-1

