– 81 –
Chapter 5 Basic Operations — Memory
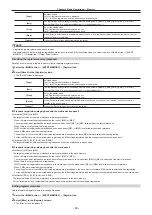
[ME1]
[DSK]
[AUX Sel1]: [All], [AUX1] - [AUX16]
[AUX Sel2]: [AUX1] - [AUX16]
[AUX Sel3]: [AUX1] - [AUX16]
[AUX Sel4]: [AUX1] - [AUX16]
[AUX Sel5]: [AUX1] - [AUX16]
CBGD1
CBGD2
[XPT]
[AUX]
Key1
Key2
[Key XPT]
[A/B XPT]
[CBGD]
BKGD
[BKGD]
[Key1]
[Key2]
[ME2]
Key1
Key2
BKGD
[BKGD]
[Key1]
[Key2]
Key1
Key2
[Key3]
[Key4]
PinP1
PinP2
[Key3]
[Key4]
PinP1
PinP2
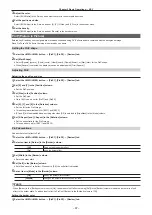
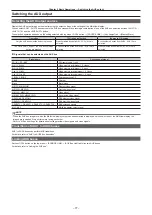
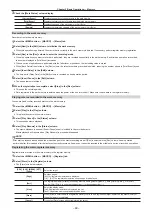
1
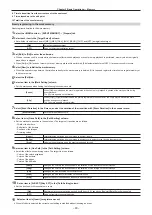
Select the <MEM> button
→
[SHOT MEMORY]
→
[Detail Select] tab.
2
Select an item in [BKGD]/[Key1]/[Key2] in the [Detail ME] column.
[ON]
Made the target for recalling.
[OFF]
Not made the target for recalling.
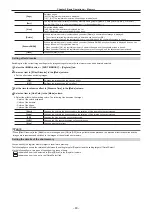
3
Select an item in [A/B XPT]/[Key XPT] in the [Detail XPT] column.
[ON]
Made the target for recalling.
[OFF]
Not made the target for recalling.
4
Select an item in [AUX Sel1] to [AUX Sel5] in the [Detail AUX] column.
f
Select an item from [AUX1] to [AUX16].
To select all AUX buses, select [All] in [AUX Sel1].
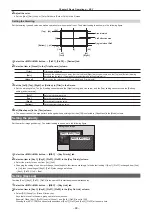
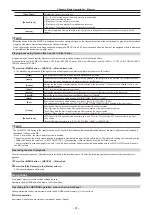
Setting the target of registering and playing back when operating on the multi-selection panel
Press the <SHOT MEM> button on the multi-selection panel, then set the target of registering and playing back when [ME ALL] is selected in the
[TARGET SELECT] menu.
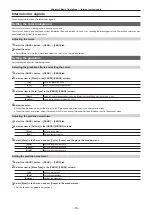
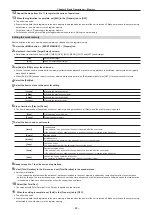
1
Select the <MEM> button → [SHOT MEMORY] → [Multi Select] tab.
2
Select an item in [ME1]/[ME2]/[DSK]/[AUX] in the [Select ME All] column.
[ON]
Made the target of registering and playing back.
[OFF]
Not made the target for registering and playing back.
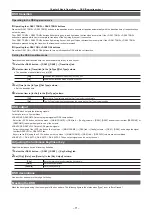
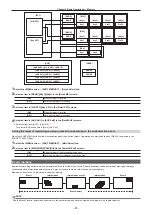
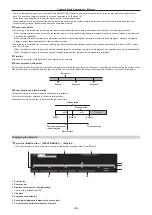
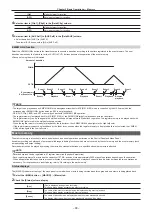
Event memory
Register multiple image effects that can be registered in the shot memory as events. Smooth transitions can be achieved by playing back images
continuously while interpolating between events. A group of these events are referred to as an event memory.
Maximum 64 events can be registered in one event memory.
Event 1
Interpolation
Interpolation event 2
Interpolation
Event 3
Event memory
@
@
NOTE
t
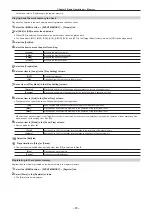
Use the Menu Panel to register and edit events in the work memory, and save the created event memory in a register memory.
Summary of Contents for Live Production Suite Series
Page 5: ...Please read this chapter and check the accessories before use Chapter 1 Overview ...
Page 11: ...This chapter describes installation and connection Chapter 2 Installation and Connection ...
Page 50: ...This chapter describes menu operations Chapter 5 Basic Operations ...
Page 113: ...This chapter describes the configuration of operations Chapter 7 Configuring Operations ...
Page 122: ...This chapter describes how to operate system menus Chapter 8 System Menu ...
Page 136: ...This chapter describes plug in functions Chapter 9 External Interfaces ...
Page 140: ... 140 Chapter 10 Specifications Dimensions Dimensions of the XPT Unit AV LSX10 Unit mm inch ...
Page 141: ... 141 Chapter 10 Specifications Dimensions Dimensions of the ME Unit AV LSM10 Unit mm inch ...
Page 153: ...This chapter describes the setting menu table and terms Chapter 11 Appendix ...
Page 176: ...Web Site https www panasonic com Panasonic Corporation 2020 ...

