1.6.2 Using Voice Messaging (Built-in Simplified Voice Message
[SVM])
Your PBX can provide you with answering machine service if an SVM card is installed.
Your extension is assigned a message box, into which callers can leave voice messages for you.
After callers reach your message box, they will hear your personal greeting message. You can record two
kinds of personal greetings: a normal greeting message and a greeting message for each time mode. You can
also play back and clear your greeting messages and the voice messages left by callers.
–
Recording a Normal Greeting Message
–
Recording a Greeting Message for Each Time Mode
–
Redirecting Your Calls to Your Message Box
–
–
Listening to Voice Messages Left by Callers
–
Accessing Your Message Box from an Outside Telephone
–
Accessing the Message Box of Another Extension from Your Extension
•
You may hear a busy tone when trying to access your message box if too many other users
are already accessing their message boxes. In that case, wait a few minutes and try again.
•
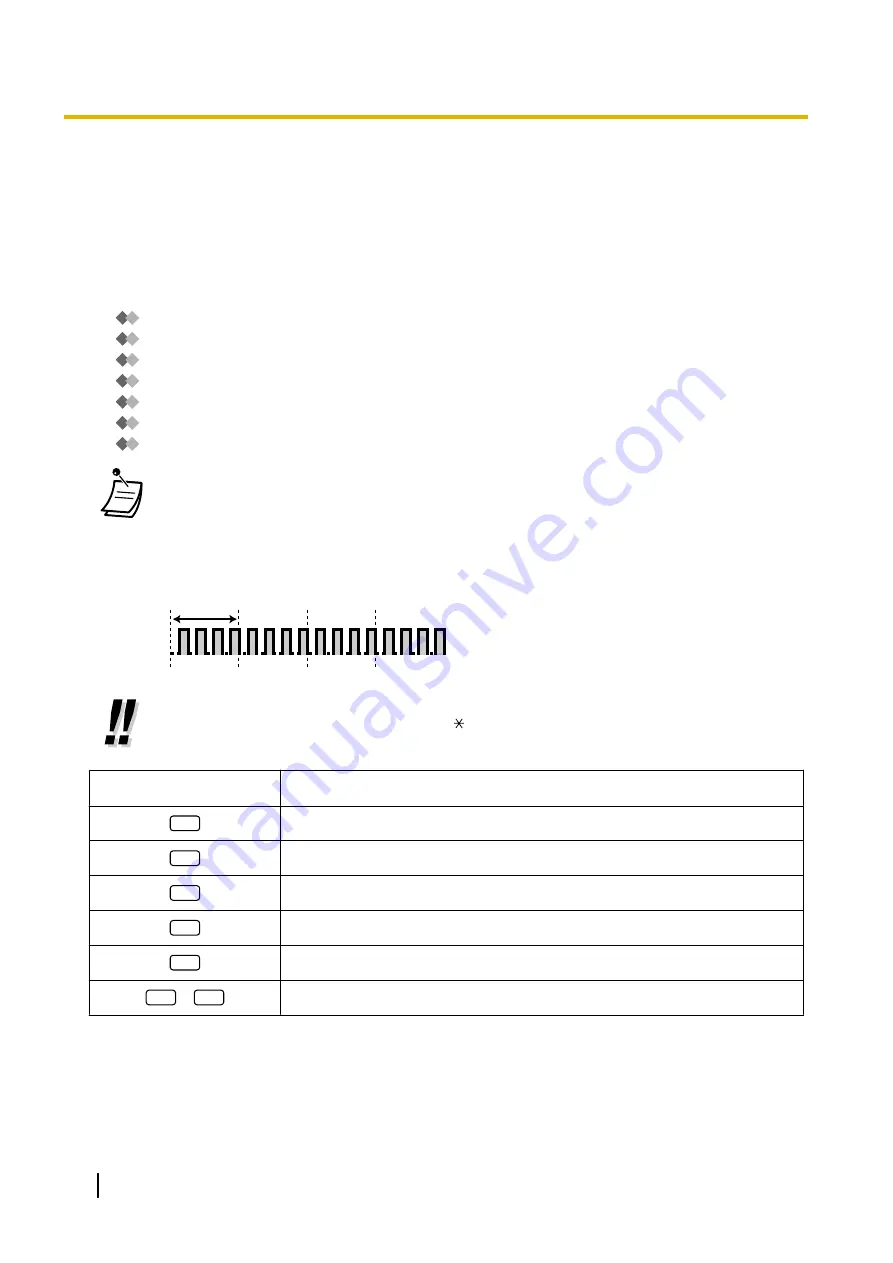
If the used recording space (including greeting messages and voice messages left by callers)
for the SVM card reaches a certain limit, the display informs you that the recording space is
almost full, and you will hear dial tone 3 when going off-hook.
Dial Tone 3
1 s
•
Operation Reference When Accessing Your Message Box
After entering the SVM feature number ( 38), the operations below are available by entering
the corresponding numbers.
Operation No.
Operation
0
To clear the normal greeting message
1
To record a normal greeting message
2
To play back the normal greeting message
3
To listen to voice messages left by callers
8
To set a greeting message for each time mode
#
6
To leave a voice message to another extension’s message box
100
User Manual
1.6.2 Using Voice Messaging (Built-in Simplified Voice Message [SVM])
Summary of Contents for KX-TDA150
Page 14: ...14 User Manual Table of Contents ...
Page 126: ... This step can be omitted 126 User Manual 1 8 2 Refusing Incoming Calls Do Not Disturb DND ...
Page 168: ...Table 1 Standard mode 168 User Manual 1 13 2 Using the Directories ...
Page 169: ...Table 1 Standard mode for RU model User Manual 169 1 13 2 Using the Directories ...
Page 170: ...Table 2 Option mode 170 User Manual 1 13 2 Using the Directories ...
Page 171: ...Table 2 Option mode for CE model User Manual 171 1 13 2 Using the Directories ...
Page 172: ...Table 2 Option mode for RU model 172 User Manual 1 13 2 Using the Directories ...
Page 174: ...174 User Manual 1 13 3 Accessing System Features System Feature Access ...
Page 232: ...232 User Manual 4 3 1 What is This Tone ...
Page 233: ...Index User Manual 233 ...


