


Setting Up the KX-NT400
This section describes the settings that you can
configure when you start the KX-NT400.
IMPORTANT
•
The KX-NT400 requires 2 IP addresses for its
operation. Before configuring the start-up
settings, make sure that 2 IP addresses are
available for the KX-NT400.
•
Using the PC Maintenance Console to
programme the PBX, you must set the Incoming
Call Log Memory for the KX-NT400 to 0. If you
do not change this setting, missed calls will not
be handled correctly on the
Feature Key
screen
or the
Calls
screen (in Line Buttons mode).
For details about the Incoming Call Log
Memory setting, see the PBX’s documentation.
•
The "ringing" icons on the
Contacts
screen (for
example,
) do not appear if you use the
default settings. To make the ringing icons
appear, you must set the DSS key mode for
Incoming Call setting to "ON or Flash" using the
PC Maintenance Console. For details, see the
PBX’s documentation.
•
It is recommended that you do not change the
Preferred Line Assignment—Outgoing setting
from its default value (Intercom). Changing it
can result in inconsistent behaviour when
making outgoing calls.
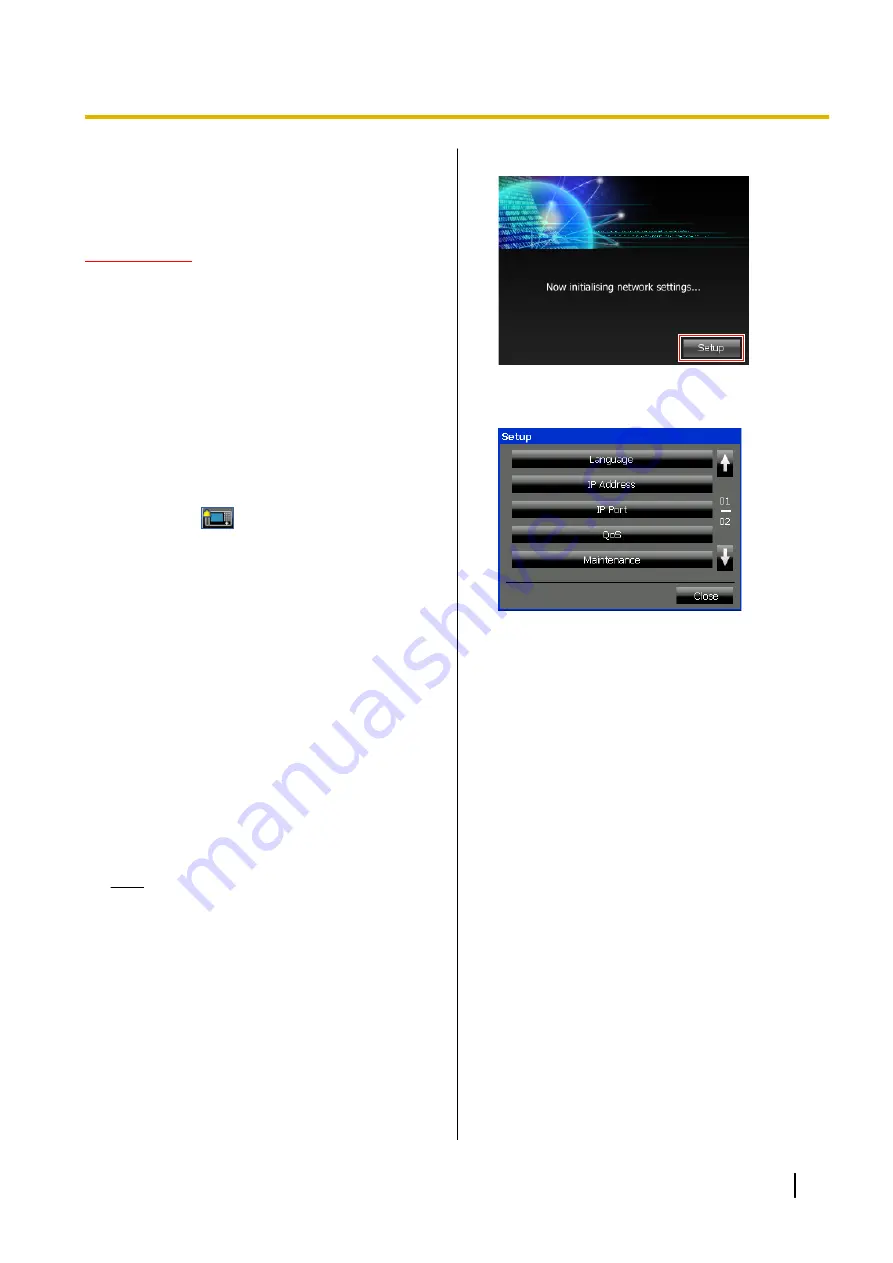
Accessing the Start-up Settings
1.
Connect the KX-NT400 to an Ethernet cable
capable of delivering power (PoE compliant), or use
an optional AC adaptor to supply power.
2.
Connect the KX-NT400 to the network.
Note
The first time you start the KX-NT400, the
calibration screen appears. Follow the
instructions to calibrate the screen. For details,
see "Display / Operation Settings (Page 121)".
3.
On the start-up screen, press
Setup
.
4.
Select the item for the settings you want to
configure.
Operating Instructions
165
Installation and Setup


