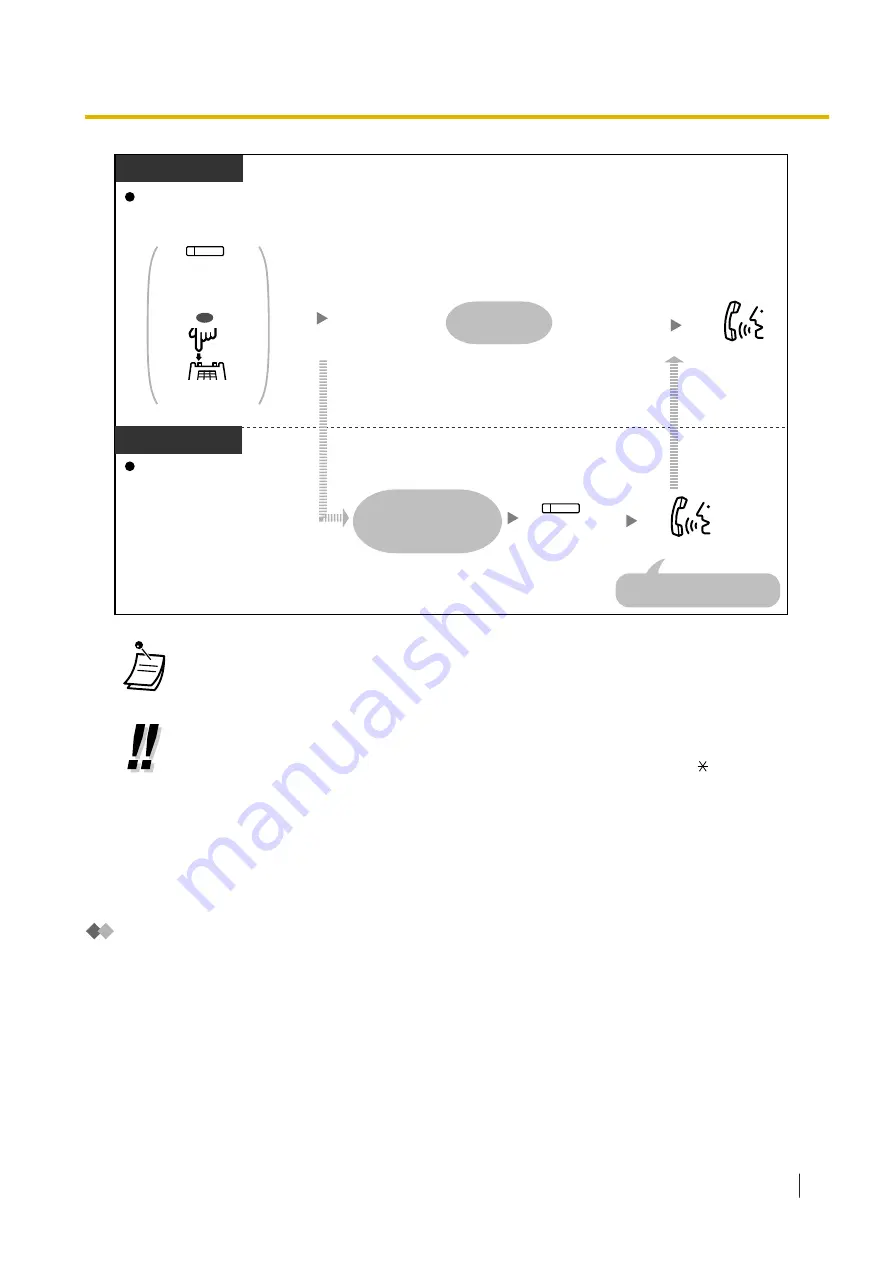
Talk.
Caller
Called Party
PT/PS
During an announcement
During an announcement
PT/SLT/PS
(DSS)
Press
DSS
corresponding
to the caller.
Press
Recall/
hookswitch
.
OR
(DSS)
Press
corresponding
DSS
.
A notification tone
occurs, and the display
shows the called party's
information.
Wait for reply.
Talk.
Introduce the called party to
the conversation.
•
A maximum of 32 parties (including the caller) can join the conference. Also, depending on
system settings, a maximum of 32 parties (including the caller) can join the conversation.
•
Push-to-Talk for PT/PS/SLT users
If the Broadcast Mode and this mode are selected through system programming, the called
PT/PS/SLT users can join the conversation by pressing any dial key (0–9, , #) during the
voice announcement.
By assigning PSs with the Hands-free Answerback feature enabled to a conference group,
the caller can create a wireless paging system. All of the called PS users, with the Hands-
free Answerback feature enabled, will hear the voice announcement. Then, any PS user
can respond by pressing any dial key, and their reply will be heard by all of the called
parties.
Join After Time Out
Extensions or outside telephones can join the multiple party conversation that has been already started
using this feature. For example, if the conference group members fail to answer when a conference group
call is made, they can join the multiple party conversation later using this feature. They can join the
conversation from outside telephones (through DISA or TIE Line) or extensions. This feature is available for
both modes: Conference Mode and Broadcast Mode.
For security reasons, you can set a specific entry code for the conference group call. To join the
conversation, extensions/outside telephones have to enter the same entry code. Therefore, you have to
inform the parties to be added to the conversation of the entry code in advance.
1.7.3 Making a Conference Group Call
Operating Manual
103
Summary of Contents for KX-NSX2000
Page 10: ...Table of Contents 10 Operating Manual ...
Page 203: ...Table 1 Standard mode 1 14 2 Using the Directories Operating Manual 203 ...
Page 204: ...Table 1 Standard mode for RU model 1 14 2 Using the Directories 204 Operating Manual ...
Page 205: ...Table 2 Option mode 1 14 2 Using the Directories Operating Manual 205 ...
Page 206: ...Table 2 Option mode for CE model 1 14 2 Using the Directories 206 Operating Manual ...
Page 207: ...Table 2 Option mode for GR model 1 14 2 Using the Directories Operating Manual 207 ...
Page 250: ...2 2 2 Message Manager Features 250 Operating Manual ...
Page 288: ...4 1 3 Supervisory Monitor ACD Control 288 Operating Manual ...
Page 314: ...Note 314 Operating Manual ...


