Wi-Fi Connection Guide
High Definition Video Camera
Model No.
HC-X920/HC-X920M
HC-V720/HC-V720M
HC-V520/HC-V520M
VQC9464
It is required to install the “Image App” on your smartphone/tablet to connect this unit.
1
[Android
™
]: Select “Google Play™ Store”.
[iOS]: Select “App Store
SM
”.
2
Enter “Image App” into the search box.
3
Select “Image App” and install it.
This unit cannot be used to connect to a public wireless LAN
connection.
Step.1
Install the “Image App” on your smartphone/tablet
Step.2
Confirm the Wi-Fi
®
connection method
Step.3
Connect to Wi-Fi
ENGLISH
To use the Wi-Fi
®
function, it is required to connect this unit to a wireless access point or smartphone via Wi-Fi.
≥
This guide explains the [Link to Cell] function with the use of a Wi-Fi connection.
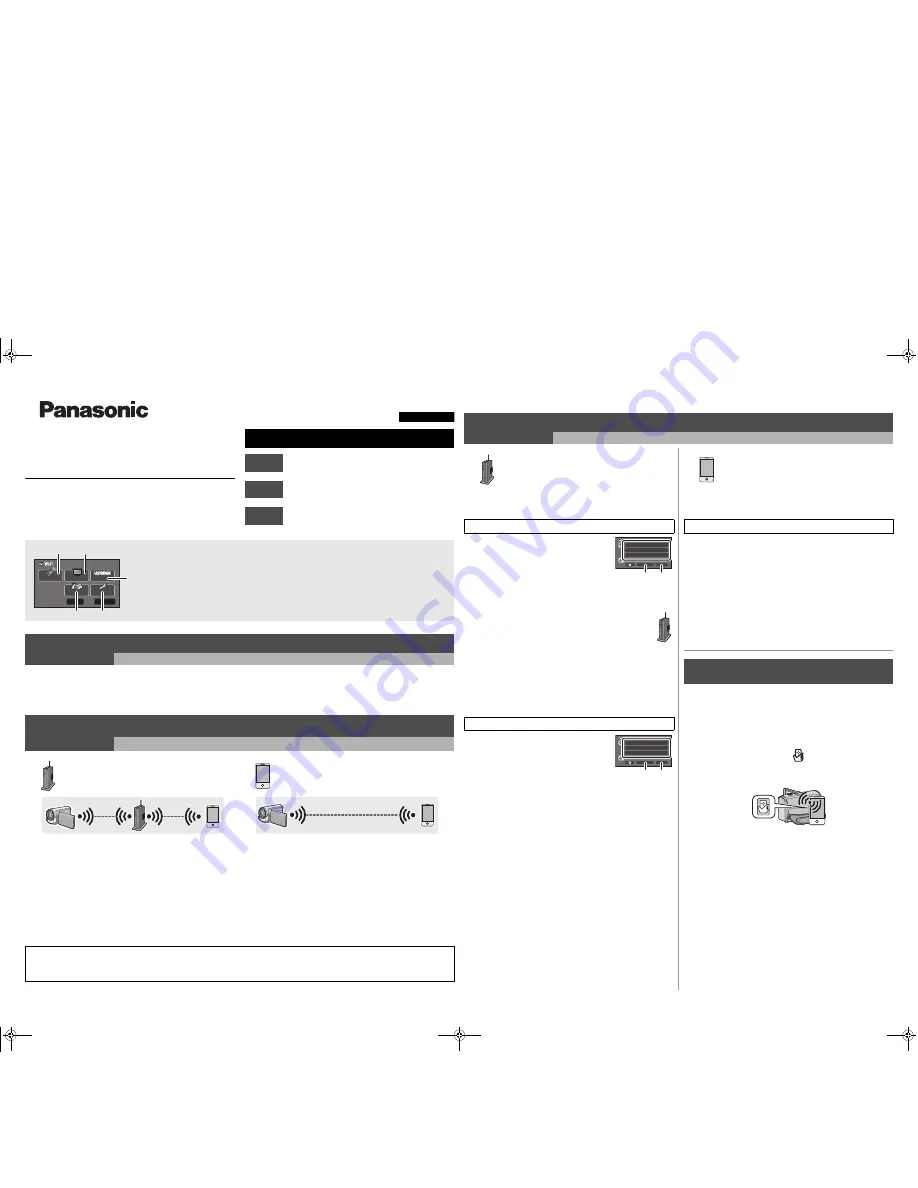
A
[Link to Cell]
B
[DLNA Play]
C
[Live Cast]
D
[Wi-Fi Setup]
E
[Home Cam]
≥
Please refer to the owner’s manual (PDF format) of this unit for details
about the setup/operation of this unit.
≥
Please refer to the operating instructions of the device in use for
details about the setup/operation of the wireless access point or
smartphone.
Step.1
Install the “Image App” on your smartphone/tablet
An environment that can connect to the network is required.
Step.2
Confirm the Wi-Fi
®
connection method
Confirm the wireless access point and smartphone used.
When connecting to a wireless
access point (wireless LAN router)
When connecting to a smartphone
1
Check if the wireless access point is compatible with
IEEE802.11b/g/n.
≥
Proceed to step 2 once the compatibility is confirmed.
2
Check if the wireless access point is compatible with
WPS*.
Compatible with WPS:
Proceed to
A
[Easy Connection (WPS)] of Step.3
Not compatible with WPS:
Proceed to
B
[Manual Connection] of Step.3
* WPS is an abbreviation for Wi-Fi Protected Setup™.
Proceed to
C
[Direct Connection] of Step.3
≥
Android and Google Play are trademarks or registered trademarks of Google Inc.
≥
App Store is a service mark of Apple Inc.
≥
“Wi-Fi”, “Wi-Fi Protected Setup”, “WPA” and “WPA2” are marks or registered marks of the Wi-Fi Alliance.
≥
QR Code is a registered trademark of DENSO WAVE INCORPORATED.
A
[Easy Connection (WPS)]
1
Press the Wi-Fi button on this unit to setup the Wi-Fi.
2
Touch a Blank row to register a new
wireless network.
3
Touch [Easy Connection (WPS)].
4
Press the WPS button on the
wireless access point.
≥
When the connection is complete, a message is displayed on this
unit.
5
Touch [Link to Cell] and start up the
smartphone application “Image App”.
≥
When the connection is complete, images from this unit are
displayed on the smartphone screen.
B
[Manual Connection]
≥
Please refer to the operating instruction of the device in use for details
about the setting and display of the wireless access point.
1
Press the Wi-Fi button on this unit to setup the Wi-Fi.
2
Touch a Blank row to register a new
wireless network.
3
Touch [Manual Connection].
4
Touch [Search for wireless
network].
≥
For more details about [Manual Setting], please
refer to the owner’s manual (PDF format) of this
unit.
5
Touch the wireless access point to connect.
6
Touch [ENTER].
≥
If an Encryption key (Password) is not set on your router, the connection is
complete and a message is displayed.
7
(When there is an Encryption key (Password))
Touch [INPUT], then enter the Encryption key
(Password) of the wireless access point.
≥
For details on how to enter characters, refer to the owner’s manual (PDF
format).
≥
When the entry is complete, touch [Enter].
8
(When there is an Encryption key (Password))
Touch [NEXT].
≥
A message is displayed when the connection is complete.
9
Touch [Link to Cell] and start up the smartphone
application “Image App”.
≥
When the connection is complete, images from this unit are displayed on
the smartphone screen.
C
[Direct Connection]
1
Press the Wi-Fi button on this unit to setup the Wi-Fi.
2
Touch [Change connection type].
3
Touch [QR code].
≥
The QR code is displayed on this unit screen.
4
Start up the smartphone application “Image App”.
5
Scan QR code displayed on this unit with the
smartphone.
≥
When using an iOS device, the profile install screen will be displayed on
the smartphone. After installing, close the displayed screen by pressing
the Home button and start up “Image App” again.
≥
When the connection is complete, images from this unit are displayed on
the smartphone screen.
This function can be used with the NFC compatible device with Android (OS
version 2.3.3 or later). (Except for some models)
NFC is an abbreviation for Near Field Communication.
≥
When this unit and the smartphone are connected to the same wireless
access point, the result is a wireless access point connection. All others
are direct connections.
1
Start up the smartphone application “Image App”.
2
Touch the smartphone on
of this unit when a
message to touch the NFC mark of the device is
displayed on the smartphone screen.
≥
Proceed with the connection by following the smartphone screen
instructions.
≥
When the connection is complete, images from this unit are displayed on
the smartphone screen.
≥
The NFC function cannot be used on the smartphone when a message to
touch the NFC mark of the device is not displayed. Try other connection
methods.
Step.3
Connect to Wi-Fi
The setting screen for the wireless access point is displayed when the Wi-Fi button is pressed for the first time.
When connecting to a wireless
access point (wireless LAN router)
[Wi-Fi Setup]
#
[Wireless Settings]
[Wi-Fi Setup]
#
[Wireless Settings]
A
[Delete]
B
[ENTER]
A
[Delete]
B
[ENTER]
When connecting to a smartphone
[Wi-Fi Setup]
#
[Direct Connection]
Connect with using NFC
HC-V720/HC-V720M/HC-V520/HC-V520M
VQC9464~Wi-FiGuide_mst.fm 1 ページ 2012年12月6日 木曜日 午後3時39分


